
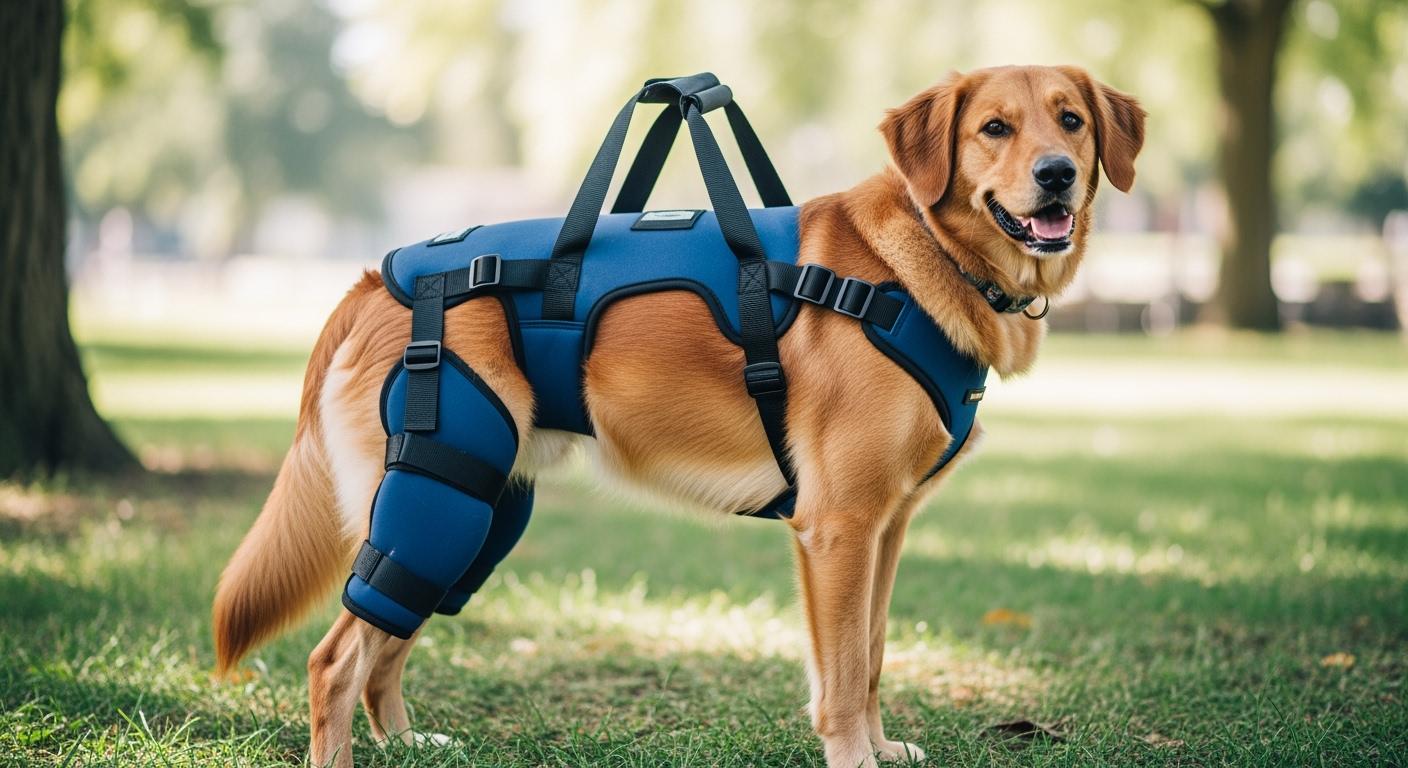
Dog rear lift harness fit and pressure points should be judged by one practical question: does the harness support the back end without creating rubbing, pinching, or unstable lifting. A good rear lift harness should help the dog stay balanced, let the handler assist movement smoothly, and keep pressure away from sensitive areas during daily use. If you want a broader overview of support types and daily mobility use before focusing on rear lift harness fit, start with this dog support sling guide.
The best rear lift harness is not simply the one that lifts the highest. It is the one that spreads support across the correct contact areas, stays stable during walking and transfers, and does not create new pressure problems under the belly or around the inner thighs.
To judge whether a harness is suitable for daily walks, stairs, and transfers, focus on belly support position, strap path, pressure distribution, and how the dog moves once the harness is actually in use.
Das Wichtigste in Kürze
- A rear lift harness should support the dog’s back end without concentrating pressure on the belly, groin, or inner thigh area.
- Fit should be judged during real movement, not only during initial fitting.
- Daily checks for rubbing, drift, and pressure marks matter just as much as the harness size itself.
Dog Rear Lift Harness Fit and Pressure Points
Why Fit Matters for Comfort and Support
You should check dog rear lift harness fit and pressure points before trusting the harness for daily use. The right fit gives the dog steady rear support, helps the handler guide movement more smoothly, and reduces the chance of rubbing or uneven lifting. A poor fit may still “lift” the dog, but it often creates new pressure or instability at the same time.
Tip: Always judge harness fit after the dog has taken a few supported steps. A harness that looks fine while the dog is standing still can still create pressure points once movement begins.
A well-fitted rear lift harness should support the back end without forcing the dog into an awkward posture. It should help with short walks, step-ups, and transfers while keeping contact pressure broad and predictable instead of narrow and sharp.
- A good harness spreads pressure across safer contact zones instead of one small lifting point.
- Harness structure and strap adjustment both change comfort and stability.
- Straps should avoid soft belly compression, groin crowding, and inner-thigh rubbing.
For broader mobility planning beyond harness fit alone, compare this article with the dog lift harness solution for hind leg weakness.
Common Pressure Areas and Contact Points
You should look closely at where the harness touches the dog because pressure problems usually begin at the contact points, not at the handle. The fit and pressure points of a rear lift harness matter because the dog has to tolerate those contact areas through walking, transfers, and repeated daily use.
| Pressure Area | Was zu überprüfen ist |
|---|---|
| Lower belly support zone | Check for concentrated upward pressure, bunching, or visible discomfort. |
| Groin and inner thigh area | Watch for crowding, rubbing, or strap contact during walking. |
| Rear strap edges | Look for hot spots, red marks, or shifting after short use. |
| Transition points between panels and straps | Make sure the harness does not pinch when the dog sits or turns. |
A harness that does not fit correctly can change how the dog walks, especially when the handler is lifting from the rear. That is why pressure checks matter just as much as size checks. If the dog shortens stride, shifts away from the harness, or starts looking tense under support, the fit needs to be reviewed.
Different harness styles also change how pressure feels in daily use. Rear-support harnesses should be judged by how they distribute load under the belly and around the hind-support zone, not by generic harness rules alone.
| Fit Issue | Likely Result | Was ist zu tun? |
|---|---|---|
| Belly strap too far forward | Poor balance and unstable rear support | Reposition the support zone before tightening more |
| Support zone too narrow | Concentrated pressure and less tolerance | Use broader contact support if available |
| Straps too tight | Pinching, rubbing, or reduced movement | Loosen and recheck under motion |
| Straps too loose | Slipping, twisting, and uneven lift | Refit and test during short supported walking |
You should look for rubbing, red marks, bunching, or pinching where the harness touches. Those signs usually mean the harness is not sitting correctly or the support zone is too concentrated.
Checking fit and pressure points helps you decide whether the current harness is actually safe for daily mobility work or whether the fit, strap path, or harness style needs to change.
Measure Your Dog for a Harness

Key Measurement Points: Neck, Chest, Back
You need to measure your dog before choosing a rear lift harness size. Accurate measurements help you improve support placement and reduce pressure problems before the harness is even used. For rear lift harness fit, the most important measurements are the ones that affect belly support, body balance, and strap path during assisted movement.
| Measurement Point | Warum das wichtig ist |
|---|---|
| Chest girth | Helps determine overall harness body fit and front stability. |
| Belly circumference | Helps position the rear support zone more accurately. |
| Back length | Helps check whether the harness sits correctly for the dog’s body shape. |
| Rear support distance if required | Helps prevent the support section from sitting too far forward or too far back. |
You should always measure before choosing a size. Skipping this step often leads to slipping, poor pressure distribution, or a support zone that sits in the wrong place once lifting begins.
Tip: Use a soft measuring tape, keep the dog calm, and measure on a non-slip surface. A relaxed standing posture gives more useful numbers than measuring while the dog is twisting or sitting.
Achieving the Perfect Harness Fit
You want to achieve the best rear lift harness fit by combining measurement with real movement testing. Start with a tape measure, a helper if needed, and a calm standing posture from the dog. Then fit the harness and judge how it behaves once the dog takes a few supported steps.
Follow these steps for a more reliable fit check:
- Measure chest, belly, back length, and any brand-specific rear support point.
- Select the size using the chart for that exact harness design.
- Fit the harness so the support zone sits where rear assistance is actually needed.
- Check that the straps feel secure without bunching soft tissue.
- Test the harness during short assisted walking before using it for harder tasks.
Accurate measurement matters, but movement testing is what reveals whether the harness really fits. Inaccurate sizing often leads to slipping, uneven pressure, and less useful support during daily mobility work.
You should always recheck the fit after use, especially if the dog’s weight, coat, or body condition changes. For broader daily-use planning after this section, compare this article with the dog support sling guide.
Note: Measurement gives you the starting point. Pressure-point checks during movement tell you whether the fit is actually working.
For condition-first planning before product comparison, continue to the hind-leg weakness solution page or review the dog lift harness collection.
Adjusting for the Best Rear Lift Harness Fit
Proper Strap Tightness and Placement
You need to make sure the straps are secure enough to hold the harness in place without compressing soft tissue. Rear lift harnesses usually fail from two directions: straps that are too loose allow slipping and twisting, while straps that are too tight create pressure and reduce tolerance.
- The support zone should sit where rear assistance is needed, not too far forward on the belly.
- Straps should feel secure without digging into the dog during movement.
- The handle should help you lift in a controlled way instead of pulling the dog sharply upward.
Choose a harness style and size that matches both the dog’s body shape and the daily task it needs to support.
Multiple Adjustment Points and Customization
Multiple adjustment points help because rear lift harnesses often need small corrections after walking, stairs, or transfers. Good adjustment range lets you improve fit without turning every problem into a size-up or size-down decision.
| Adjustment Benefit | Warum das wichtig ist |
|---|---|
| Better support placement | Helps keep the rear support zone where it actually works best. |
| Reduced pressure points | Lets you fine-tune tension before discomfort builds up. |
| Improved stability | Reduces slipping and twisting during assisted movement. |
You should use adjustment to improve stability and comfort together, not to compensate for a fundamentally wrong harness position.
Daily Usability: Walks, Stairs, Transfers
Test the harness during the tasks the dog actually needs to do. Watch how the dog moves during short walks, step-ups, and transfers, and check whether the support zone stays stable under motion. After each session, look for red marks, bunching, slipping, or signs that the dog is moving worse with the harness than without it.
When the harness fits correctly, daily use becomes more predictable and less stressful for both dog and handler. For broader mobility planning after this section, compare this article with the dog mobility support solution page.
Signs of a Poorly Fitted Dog Harness
Identifying Pressure Points and Discomfort
You should look for signs that the rear lift harness is not fitting correctly. A harness that is too tight or too loose can both create problems. Check your dog after walks, stairs, and transfers because pressure issues usually show up after the task, not before it.
Checklist: Signs of discomfort and poor fit
- red skin, heat, or missing hair under the support zone
- rubbing or sore spots near the belly, groin, or inner thighs
- pinching when the dog sits or turns
- the harness shifts to one side or twists during walking
- the dog stops walking, braces against the lift, or tries to remove the harness
- sore or swollen areas where the harness repeatedly contacts the body
Note: If you see any of these signs, remove the harness and reassess the fit before the next session. Rear lift harness problems usually come from support placement, strap tension, or pressure concentration rather than from lifting alone.
If the dog gains or loses weight, changes coat, or starts moving differently, check the fit again. Some dogs also need a different harness style when the current one cannot reduce pressure well enough.
Common Fit Mistakes to Avoid
Many rear lift harness problems come from the same few fit mistakes. You can reduce most of them by checking support placement and pressure after movement instead of only tightening straps harder.
Top mistakes and how to avoid them
| Fehler | How to Avoid It |
|---|---|
| Choosing size by weight alone | Measure the dog and compare to the chart for that exact harness. |
| Putting the support zone too far forward | Reposition before tightening more. |
| Using abrupt upward lifting | Lift steadily and guide movement instead of jerking upward. |
| Ignoring early red marks or bunching | Stop early and correct the fit before the next session. |
| Leaving the harness on when not needed | Remove it during rest if active support is no longer required. |
Rear lift harnesses should support movement, not replace diagnosis or a wider mobility plan. For a broader support path after this section, review the hind-leg weakness solution page and the dog lift harness collection.
You can evaluate dog rear lift harness fit and pressure points by following three practical checks:
- Place the rear support zone where it can help the back end without crowding the belly or groin.
- Adjust the straps so the harness feels secure but not compressive.
- Test the harness during real movement and recheck for red marks, rubbing, or drift afterward.
Regular fit checks help you provide safer daily support and make pressure problems easier to catch early. For next steps, continue to the dog support sling guide, the hind-leg weakness solution page, the dog mobility support solution page, or the dog lift harness collection depending on whether you still need education, condition planning, or product comparison. Data authenticity note: This article is for educational purposes only. It is designed to help readers evaluate rear lift harness fit and pressure points for dogs, not to replace veterinary diagnosis or individualized mobility planning.
Häufig gestellte Fragen
How do you know if a dog rear lift harness fits correctly?
A rear lift harness fits correctly when the straps feel secure without pinching, the support zone stays stable during movement, and the dog can still move without obvious discomfort.
Where are the most common pressure points with a rear lift harness?
Rear lift harness pressure usually appears near the belly support zone, groin, inner thighs, and strap edges. Check those areas after each use for redness, heat, or soreness.
Can you use a rear lift harness for stairs and transfers?
Yes. You can use a rear lift harness for stairs and transfers if it fits correctly, supports the back end evenly, and does not create unstable or painful lifting during the task.
How often should you check harness fit and pressure points?
You should check fit and pressure points before every activity and again after the dog has moved. Many rear-lift fit problems only show up after a short walk or transfer.
What should you do if you see signs of discomfort?
Remove the harness, inspect the contact areas, and reassess support placement before the next use. If discomfort continues after careful adjustment, ask your veterinarian whether the harness style or support plan needs to change.
