
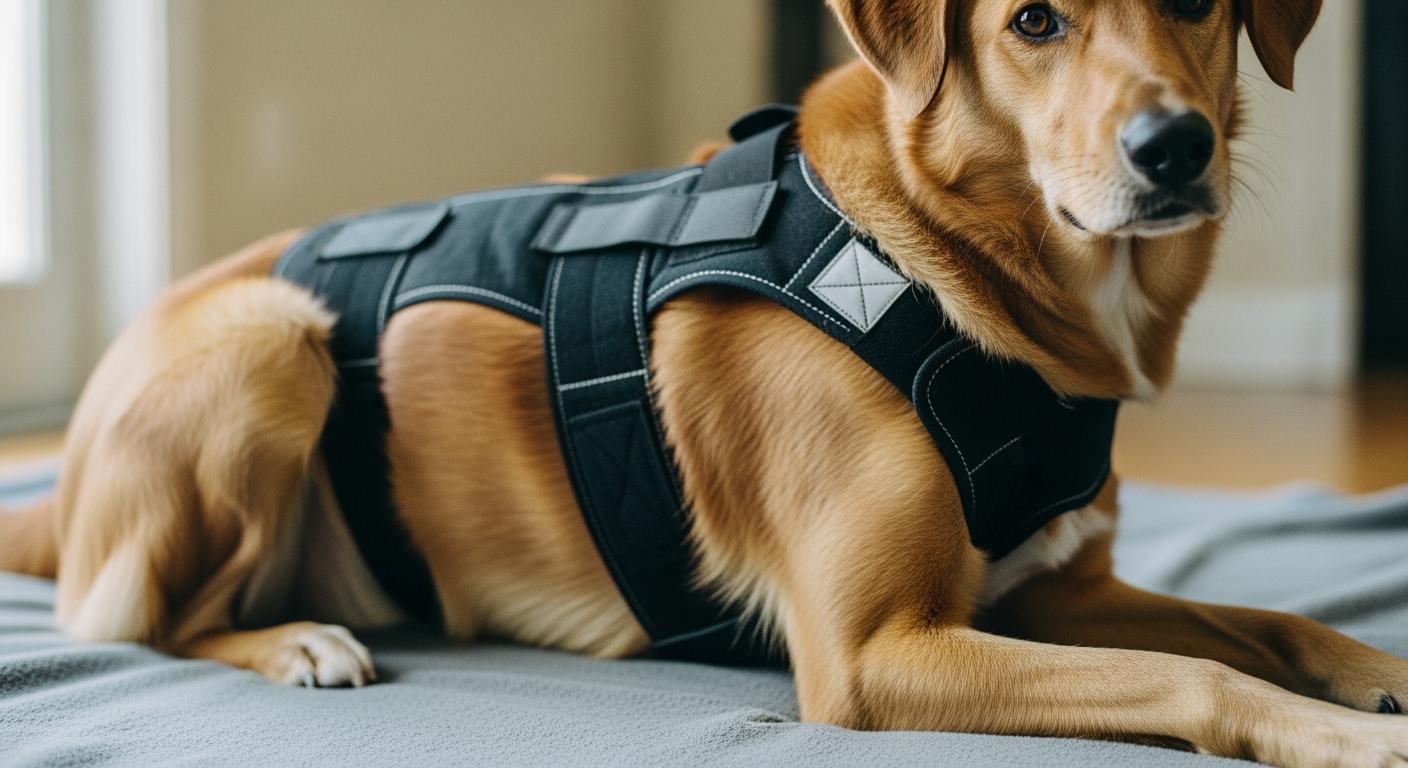
You place a back support brace on your dog. Standing still, the front edge sits behind the shoulder blades. The fit looks right. Then your dog walks. Within minutes, the front edge creeps forward. It settles directly over the shoulder blades. Your dog shortens its front steps. Red marks appear under the panel edge. You tighten the straps. The marks get worse.
This is not a sizing error. It is a shoulder clearance failure — and it follows predictable mechanics.
A dog’s scapula translates forward and backward with every stride, sliding beneath the skin through a range that varies by breed and gait speed. When a back brace front edge intrudes into that motion zone, each scapular glide drives the panel edge forward in a ratcheting cycle. The brace walks itself onto the shoulders. Tightening the straps accelerates the process: it increases friction between the edge and the moving scapula, turning each step into a stronger forward push. The fundamental problem is not how tight the brace is. It is where the front edge sits relative to the scapular motion envelope, and whether the panel shape respects that boundary under dynamic load.
A back support brace built around shoulder clearance positions the front edge behind the active scapular zone and uses rear anchor geometry that resists forward creep — so the panel stays put without relying on strap tension alone.
What you see Likely cause Why tightening may fail Better fit or design response Front edge presses over shoulder blades Poor shoulder clearance Increases edge pressure Shaped panel with rounded front edge One side moves forward more than the other Uneven anchor or fit Pulls brace forward asymmetrically Adjust anchor angle for even load Dog shortens front steps Front edge restricts scapular motion Limits shoulder extension Panel with deeper shoulder cutout Red mark under front panel edge Pressure concentration at edge line Worsens with strap tension Soft padding and rolled edge transition Brace slides forward after sitting Weak rear anchor design Forward drift on posture change Stable rear anchoring with broad contact Dog scratches at upper shoulder area Pressure or skin irritation No relief from tension adjustment Recheck panel shape, edge, and padding
Why the Front Edge Shifts Forward Over the Shoulder Blades
The shoulder blade does not stay still when a dog moves. During each front-leg stride, the scapula slides forward as the limb reaches, then backward as the limb drives. The total displacement is small — often less than an inch in medium-sized dogs — but it is constant. A brace panel whose front edge crosses into this travel zone becomes an obstacle.
Here is the mechanical sequence: the scapula moves forward under the panel edge → the edge catches on the rising contour of the shoulder → the dog’s next stride pulls the brace forward by that catch point → the edge now sits further forward, encroaching deeper into the scapular zone → each subsequent stride repeats the ratchet. Within a few minutes of walking, a brace that was perfectly positioned at standstill has migrated a half-inch or more forward.
This is why standing-fit checks mislead. At rest, the scapula sits in a neutral position and the brace appears to clear it. Motion reveals the interference. The structural difference between a well-cleared back brace and one that migrates comes down to where the front edge terminates relative to the scapular motion envelope — and whether rear anchoring resists forward translation when the dog changes posture.
A narrow chest strap or a straight-cut front panel edge concentrates force along a single line. When that line crosses the scapular path, every step transmits a pulse of pressure through a small contact area. The result is not just discomfort — it is asymmetric gait compensation. The dog shortens the stride on the pressured side. Over hours of wear, this asymmetrical loading transfers stress up through the thoracolumbar junction.
What you can verify: walk the dog for 15 minutes with the brace on. Before removing it, mark mentally where the front edge sits. Remove the brace and check whether the edge left a defined red line. A diffuse pink area that fades within 20 minutes suggests even load distribution. A sharp horizontal red line that persists longer signals edge-concentrated pressure — the panel shape is cutting into the scapular path.
Front-Edge Pressure and Strap Tightness Are Not the Same Problem
When the front edge sits over the moving scapula, tightening the chest strap pulls that edge harder into the shoulder contour. The contact area does not increase. The force per square inch rises. A narrow strap or a thin panel edge under increased tension behaves like a dull blade — it concentrates load along a single line rather than distributing it across a broad surface. Sharp red lines, skin irritation, and hot spots form directly under that edge line.
This is why a back brace with a shaped front panel and rolled edge transition produces a different result. The edge is not a straight cut across the shoulder zone. It is contoured to arc behind the scapular path, and the edge itself is rounded — no sharp corner to concentrate force. When tension increases, the load spreads across the full contact surface of the panel rather than concentrating at a single edge line.
What you can verify: after a walk, run your fingers along the front edge line under the brace while it is still on. You should feel even contact along the panel, not a distinct ridge where the edge digs in. After removing the brace, compare the skin under the front panel to the skin under the middle of the brace. If the front-edge skin shows a noticeably sharper mark than the rest, the panel edge geometry is concentrating pressure — and tightening will worsen it, not fix it.
Disclaimer: This check assumes a short-coated dog where skin marks are visually accessible. Double-coated breeds may show subtler rub marks that need hand-checking rather than visual inspection. Run your fingers under the front edge to feel for heat or raised tissue. If the dog’s chest conformation falls far outside typical breed proportions — particularly dogs with very deep or very narrow chests — the edge clearance described here may not catch every pressure point.
| Signal level | What the caregiver sees | Action |
|---|---|---|
| Green | Brace stays behind shoulder-blade zone, dog moves normally, no lasting marks | Continue use, monitor fit |
| Yellow | Light mark, mild slipping, slight gait change, repeated need to reposition | Adjust fit, monitor closely |
| Red | Swelling, heat, open skin, pressure sore, new limping, pain response, worsening neurologic signs | Stop use, contact veterinarian |
What Fit Structure Keeps the Front Edge Behind the Shoulder-Blade Zone
Front panel shape. A panel that cuts straight across the chest places its entire edge in the scapular path. A contoured panel arcs upward and rearward, tracing a line that stays behind the shoulder blade through its full range of motion. The difference in manufacturing terms is in the pattern cut — a curved front profile requires more precise fabric layering but eliminates the forward edge that catches the scapula. In production, a contoured panel adds seam complexity but removes the single largest source of dynamic fit failure.
Edge transition. The edge is where the panel meets the dog. A raw-cut or thinly bound edge presents a narrow contact ridge. A rolled edge or a padded binding spreads that contact across a wider surface. When a dog lowers its head or rounds its back — postures that push the shoulder blades forward — a rolled edge glides over the contour change rather than digging in. A thin edge catches.
Anchor geometry. The straps that hold the brace in place do more than tighten. Their routing angle determines whether tension pulls the brace backward into position or forward onto the shoulders. A chest strap that runs straight across the sternum creates a forward pull vector when the dog extends its front legs. A chest anchor angled slightly rearward — routing from the lower chest up toward the mid-back panel — converts that same motion into a stabilizing force. Combined with a rear anchor that wraps around the abdomen or hindquarters, the brace resists forward drift without high strap tension.
These three elements work together. A contoured panel without rear anchoring still walks forward. A strong rear anchor paired with a straight-cut front edge still creates a pressure line. The combination — contoured front, rolled edge, rearward-angled chest routing, and abdominal rear anchor — is what keeps the brace stable through posture changes without overtightening.
Step-by-step fit check after movement:
- Place the brace while the dog stands naturally. Confirm the front edge sits behind the scapular zone.
- Walk the dog for 15–20 minutes. Watch turns, rises, and sitting down.
- Before removing, note whether the front edge has crept forward from its starting position.
- Remove the brace and inspect both shoulder-blade areas for marks, heat, or swelling.
- Recheck light marks after 20–30 minutes. Marks that persist signal edge pressure.
- Adjust anchor routing or stop use if pressure signs repeat.
When the Brace Works, When It Fails, and When Another Support Plan Is Safer
A back brace with proper shoulder clearance works when the panel shape matches the dog’s scapular range, the edge transition is rounded, and the rear anchor holds position through posture changes. This configuration supports the thoracolumbar spine without interfering with forelimb mechanics. Dogs with straight-backed conformation and moderate chest depth tend to fit this profile well.
It fails when the front edge cannot stay behind the scapular zone — either because the panel shape does not match the dog’s shoulder contour, or because the anchor system cannot resist forward drift. Dogs with very deep chests, pronounced shoulder angulation, or barrel-shaped ribcages present a harder fit: the front panel must clear a larger scapular excursion while the chest anchor must stabilize across a more curved surface. In these cases, what looks centered at standstill often drifts within minutes of walking.
Signs that the brace is not the right support for this dog at this time: repeated red marks that do not fade within 30 minutes, the dog freezing before turns, one-sided drift that returns after every adjustment, scratching or biting at the shoulder area within the first 10 minutes of wear. These are not training issues. They are structural mismatch signals.
When a back brace cannot maintain shoulder clearance, a lift harness may provide safer torso support because it distributes load through handles rather than relying on a front panel edge to hold position. The support type should match the dog’s movement pattern — not the other way around.
A back brace worn with poor shoulder clearance creates a cycle of compensation: the dog shortens its stride to avoid edge pressure → asymmetric loading stresses the opposite limb → posture shifts → the brace drifts further → the cycle accelerates. Recognizing this pattern early prevents the brace from becoming the source of the problem it was meant to address.
In rehabilitation contexts where back bracing is part of a structured plan, shoulder clearance becomes even more critical — controlled movement exercises amplify the forward-creep ratchet if the panel edge sits even slightly too far forward.
| Mark Type | What You See | What To Do |
|---|---|---|
| Light, fading | Disappears in 20–30 minutes | Continue use, monitor daily |
| Deep, persistent | Remains after 30 minutes | Stop use, consult veterinarian |
| Swelling or sores | Raised, hot, or open skin | Stop use, seek veterinary care |
FAQ
What should you check if the brace looks centered while standing but shifts forward after walking?
Check whether the front edge sits behind the scapular motion zone — not just at standstill, but after movement. Walk the dog for 15–20 minutes. Compare the front edge position before and after. If it has crept forward, the panel shape likely cuts into the scapular path. Adjust anchor routing angle or try a panel with a deeper shoulder cutout. Do not tighten the straps — that increases edge pressure without stopping the creep.
Why does tightening the straps not stop the brace from sliding forward?
Tightening increases friction between the front edge and the moving scapula. Each stride then pulls the brace forward with more force, not less. The ratchet accelerates. The solution is not more tension — it is a front edge that stays behind the scapular travel zone and a rear anchor that resists forward translation independently of strap tightness.
What design features reduce front-edge pressure over the shoulder blades?
A contoured front panel that arcs behind the scapular path, a rolled or padded edge transition that spreads contact across a wider surface, a chest anchor routed at a rearward angle, and a rear abdominal anchor that holds position through posture changes. These four features address the root cause — geometry — rather than treating friction as the fix.
When should you stop using the brace and switch to a different support?
Stop if you see swelling, heat, open skin, pressure sores, new limping, or pain response. Also stop if the front edge repeatedly drifts forward despite adjustment, or if the dog freezes, scratches, or refuses to move within minutes of wear. These are structural mismatch signals. A lift harness or a rest-based plan may be safer for dogs whose conformation makes shoulder clearance difficult to maintain.
| Performance Difference | Why it matters | Main limitation | Where it works |
|---|---|---|---|
| Contoured front panel vs. straight-cut panel | Arcs behind scapular path; no edge catches the moving shoulder | Requires more precise pattern grading across sizes | Dogs with moderate to high shoulder excursion during gait |
| Rolled edge vs. thin bound edge | Distributes contact across wider surface; no sharp pressure line | Adds bulk at the panel perimeter | Dogs with sensitive skin or thin coats |
| Rearward chest anchor angle vs. straight-across routing | Converts forward limb motion into stabilizing rearward pull | Requires correct anchor point placement on the panel | Dogs that alternate between standing, sitting, and walking |
| Rear abdominal anchor vs. chest-only strapping | Resists forward creep independently of front strap tension | Adds a second anchor point to adjust | Dogs with deep chests or forward-shifted shoulder conformation |
