
You want clear steps to use a dog anti-lick sleeve safely at home. This guide helps all pet parents, even if you are new to wound care. Most pet owners see better comfort for their dogs with this gear:
87.8% report improved comfort
You protect healing by following your vet’s advice and checking your dog’s comfort.
Key Takeaways
Pick the correct size and type of anti-lick sleeve. This helps your dog feel comfortable and keeps the wound safe.
Watch how your dog acts and look at the sleeve two times each day. Make sure it does not slip and that your dog can heal.
Listen to your veterinarian about how long to use the sleeve and how to care for it. This helps your dog get better and stops problems.
What a dog anti-lick sleeve does and doesn’t do
How a lick sleeve for dogs protects wounds
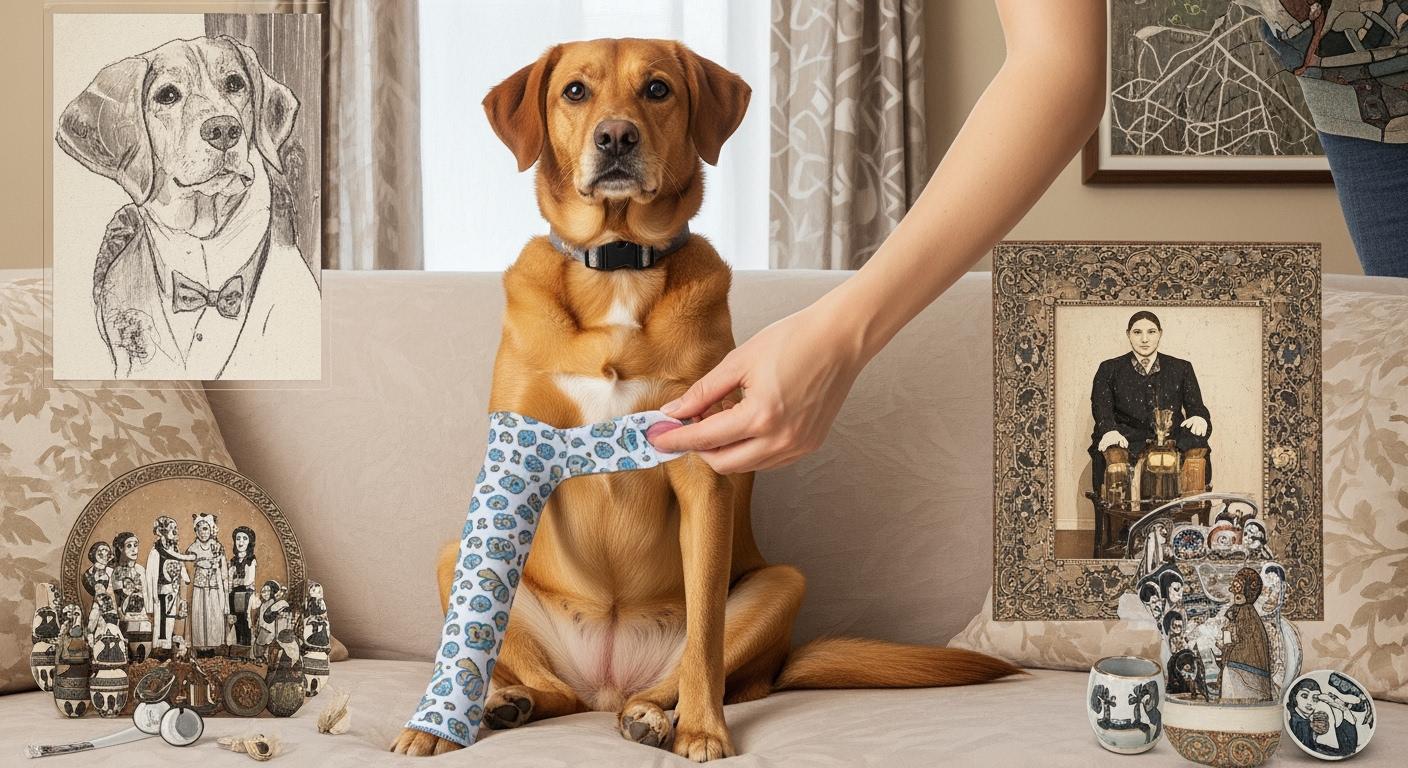
You want to keep your dog safe and comfortable during post surgical recovery. A dog anti-lick sleeve acts as a barrier that covers your dog’s limb. This gear helps prevent licking, scratching, and contamination of open wounds. You can use a lick sleeve for dogs after surgery, for hot spots, lick granulomas, or when your dog has a bandaged limb. Many veterinarians recommend a lick sleeve for dogs with pain from arthritis, injuries, dermatitis, behavioral issues, or parasitic infections.
Step A: Choose the right size and style for your dog’s needs.
Step B: Place the sleeve over the affected area, making sure it covers the wound.
Step C: Secure the straps snugly, but not too tight.
Step D: Check the fit and comfort every morning and evening.
Step E: Follow your vet’s instructions for how long to keep the sleeve on—usually 10–14 days for incisions, or up to 3 weeks for full healing.
Tip: A lick protection sleeve supports healing by blocking your dog’s tongue and teeth from reaching the wound.
What sleeves can’t prevent: chewing, uncovered spots, bandage risks
A lick sleeve helps reduce licking and contamination, but you must watch for other risks. Some dogs may chew at the sleeve if they feel anxious or bored. If your dog tries to chew, add a cone for extra protection. The sleeve only covers the area you place it on, so uncovered spots may still be at risk. Always check above and below the sleeve for redness, swelling, or odor. If you use a sleeve over a bandage, make sure it does not shift or compress the bandage. Call your vet if you see any problems or if the wound does not improve.
When to use a lick sleeve for dogs vs other gear
Choosing the right gear for your dog’s recovery helps you protect the wound and support healing. You want to match the gear to your dog’s needs and behavior. Use this quick decision table to guide your choice:
Wound Location or Behavior | Best Gear Combo |
|---|---|
Leg incision or hot spot | |
Paw or toe scuffing | Lick sleeve for dogs + booties |
Belly or torso incision | Recovery suit |
Chewing or licking at night | Lick sleeve + cone |
Bandaged limb | Lick sleeve (outer barrier only) |
Matching sleeve to wound location: leg, hock, paw, thigh
You should always check the wound location before choosing gear. For leg, hock, paw, or thigh injuries, a lick sleeve gives targeted protection. If your dog has a paw or toe injury, add booties for extra coverage. For belly or torso wounds, switch to a recovery suit.
Behavior: licking, chewing, or anxiety at night
Some dogs start licking or chewing after bedtime. If you notice this, add a cone at night for extra safety. Monitor your dog’s behavior closely. If your dog seems anxious or tries to remove the sleeve, supervise during the first few hours and adjust as needed.
Tip: Always check the fit and comfort of the lick sleeve twice daily. Watch for swelling, redness, or slipping.
When to add a cone for extra protection
You may need to add a cone if your dog tries to chew or lick through the sleeve. The cone should extend about 2 inches past the nose. Use the cone for the first 10–14 days after surgery or until your vet says it is safe to remove. Here is a quick comparison of risks if you use a sleeve alone:
Risk Description | Details |
|---|---|
Limited protection for some areas | Sleeve may not cover head, neck, or lower legs |
Risk of removal or chewing | Some dogs may remove or chew the sleeve |
Need for monitoring | Regular checks and adjustments are necessary |
Slipping off | Sleeve may slip if not sized correctly, especially in active dogs |
Damage from chewing | Chewing can damage the sleeve and expose the wound |
Follow these steps for safety:
Step A: Assess your dog’s behavior and comfort.
Step B: Choose the right gear for the wound location.
Step C: Consult your veterinarian for advice.
Step D: Monitor your dog’s adjustment to the gear.
Step E: Prioritize safety and healing with daily checks.
You support your dog’s recovery by using the right gear and following your vet’s instructions.
Fitting and applying a dog anti-lick sleeve
How to measure for a secure fit
You want your dog to stay comfortable and safe during post surgical recovery. Start by measuring your dog’s leg before you buy a lick sleeve. Use a soft tape measure. Measure the length from the paw up to the top of the leg where the sleeve will sit. Check the circumference at the widest part of the leg. Write down these numbers. Compare your measurements to the sizing chart from the sleeve manufacturer. Choose a size that covers the wound and fits snugly without squeezing.
Tip: Always measure when your dog is standing. This gives the most accurate fit.
Step-by-step: putting on the sleeve
Follow these steps to apply a lick sleeve for dogs. This method helps you secure the sleeve quickly and safely.
Step A: Unbuckle the sleeve and decide which side to use.
Step B: Position your dog so the operated leg is on top if your dog is lying down.
Step C: Pull the sleeve over the paw and up to the ankle.
Step D: Wrap the long strap underneath your dog’s belly.
Step E: Wrap the strap around the belly two times. Make sure the fabric stays smooth.
Step F: Click the buckles and adjust the strap for a snug fit.
Step G: Supervise your dog for the first few hours. Watch for chewing or slipping.
Note: Most dogs adjust to a lick protection sleeve within the first day. Fast application takes about 60 seconds once you practice.
Comfort check: snug, not tight; no bunching or slipping
Check the fit every morning and evening. The sleeve should feel snug but not tight. You want to avoid bunching at the joints or slipping down the leg. Use this table to help you check the fit:
Fit Check Area | What to Look For | What to Do If You See a Problem |
|---|---|---|
Above the sleeve | No swelling or redness | Loosen strap or call your vet |
Below the sleeve | No swelling or coldness | Adjust sleeve or check for slipping |
Around the paw | No bunching or twisting | Smooth out fabric |
Strap area | No edge cutting into skin | Re-wrap strap, ensure snug fit |
Sleeve position | Stays in place during movement | Add traction or re-fit sleeve |
If you notice the sleeve slipping, try these steps at home:
Check if the sleeve size matches your dog’s leg.
Re-wrap the strap, making sure it goes under the belly twice.
Adjust the buckles for a closer fit.
Add a soft band or gentle traction tape above the sleeve if needed.
Watch your dog walk and run. Make sure the sleeve stays in place.
Scenario: If your dog runs and the sleeve slips down, pause and check the fit. Re-wrap the strap and adjust the buckles. If slipping continues, add traction or contact your vet for advice.
Keep the sleeve clean and dry. Machine wash in cold water and hang dry or use low heat. Replace the sleeve if it gets wet or soiled. Always follow your veterinarian’s instructions and check the wound twice daily. A dog anti-lick sleeve helps protect open wounds and supports healing by preventing self-trauma and contamination.
Daily care and safety checks
You play a key role in your dog’s healing. A strong daily routine helps you spot problems early and keeps your dog comfortable. Use these steps every day to support safe recovery.
Morning and evening: skin, swelling, odor, moisture
Start and end each day with a full check of your dog’s gear and skin. This routine protects your dog’s healing and prevents setbacks.
Step A: Gently look at the skin above and below the sleeve. Check for swelling, redness, heat, coldness, or any rubbing.
Step B: Smell the area around the sleeve. Notice any new or foul odors.
Step C: Feel for moisture. The sleeve and skin should stay dry.
Step D: Check for discharge at the wound site, such as blood or pus-like fluid.
Step E: Log your notes in a simple notebook or on your phone. Write down any changes, even small ones.
Common mistakes:
Skipping checks when your dog seems fine
Missing signs of swelling or odor
Not drying the sleeve fully after washing
Forgetting to log changes
Moisture and odor can build up for several reasons:
Damp environments
Materials that hold moisture
Storing or cleaning the sleeve without full drying
Mold on pet clothes grows like mold on damp towels or shoes. It likes warm, damp places, especially if air does not move. Rainy weather and high humidity make this worse.
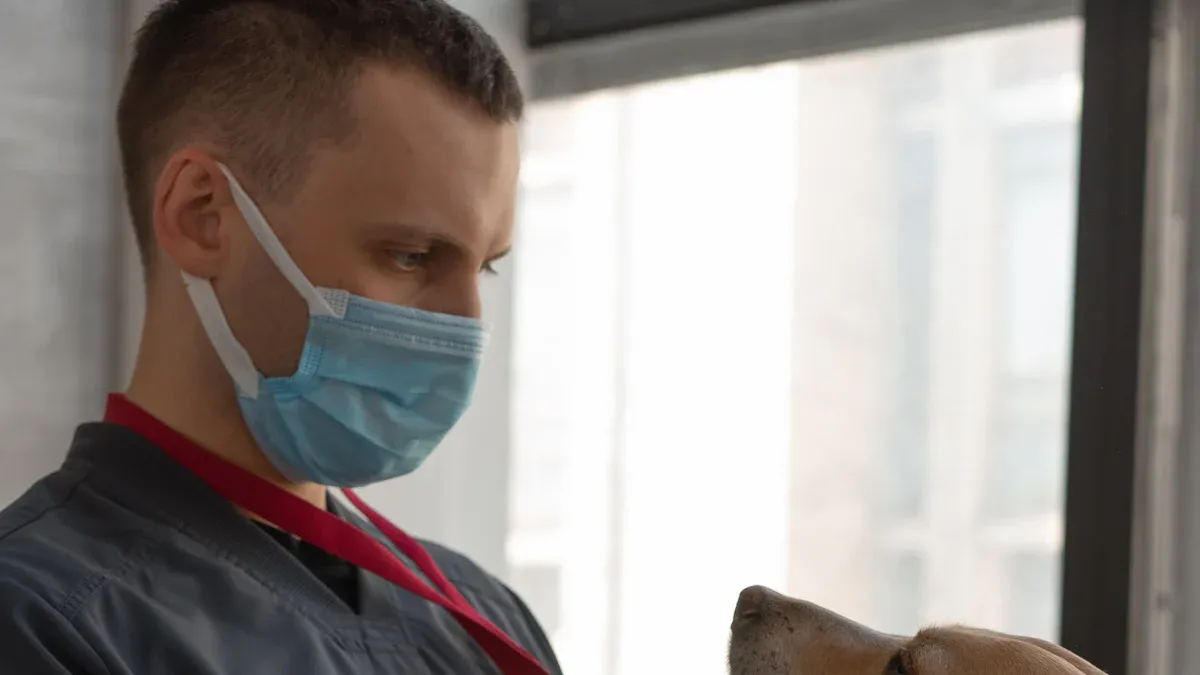
If you see any swelling, redness, or smell something bad, call your veterinarian. These signs can mean the wound needs more care.
Bathroom breaks and keeping the sleeve clean
Dogs need regular bathroom breaks. You must keep the sleeve clean and dry during these times.
Step A: Remove the sleeve if your vet says it is safe.
Step B: If you keep the sleeve on, check that it does not get wet or dirty.
Step C: Wipe off any dirt or moisture right away.
Step D: Change to a clean sleeve if the current one gets soiled.
Step E: Log any accidents or problems.
Dogs often walk through wet grass or mud. Wet sleeves can slow healing and cause skin problems. Always have a spare sleeve ready.
Cleaning, rotation, and when to call the vet
Clean gear supports healing. Rotate sleeves to keep your dog comfortable.
Step A: Wash the sleeve in cold water. Hang dry or use low heat.
Step B: Rotate between two or more sleeves if possible.
Step C: Check the fit and comfort after each wash.
Step D: Watch for signs that mean you should call your vet.
Red flags—call your veterinarian if you see:
Discharge at the wound site, such as blood or pus-like fluid
Rapidly increasing redness or swelling
Foul smell from the wound or sleeve
Persistent bleeding beyond 24 hours
Sudden severe pain
Your dog removes sutures or staples
Caregiver strain note:
Caring for dogs during healing can feel stressful. Take breaks, ask for help, and use a checklist to stay organized.
Check above and below the sleeve for swelling, redness, heat, coldness, rubbing, odor, or discharge
Confirm toes (if visible) are not swollen, red, or smelly
Make sure the sleeve is clean and dry
Check that the sleeve has not slipped or bunched
Upgrade protection if your dog can still reach the wound
You support your dog’s healing by following this routine. Twice-daily checks and quick action keep your dog safe and comfortable. Always follow your veterinarian’s advice and the time windows on your quick reference card.
Troubleshooting common sleeve problems
If the dog still licks or chews: upgrade or add gear
Some dogs may try to lick or chew even with a sleeve. You can take these steps to keep your pet safe:
Add a cone (E-collar) for extra protection, especially at night or when you cannot supervise.
Use booties if your dog targets the paw or toes.
Supervise your dog closely during the first few hours with new gear.
Choose a sleeve with a supportive harness or padded design for better hold.
If licking or chewing continues, call your veterinarian for advice.
Tip: Protective sleeves help prevent self-trauma and support healing by blocking access to the wound.
If the sleeve slips: adjust fit or add traction
Sleeve slippage is common in active dogs. You can fix this problem with a few simple steps:
Choose a sleeve made from breathable, snug materials like neoprene or nylon.
Apply the sleeve evenly and avoid overstretching the top band.
Add anti-slip gel strips or side spring stabilizers for better grip.
Wash and air dry the sleeve often to keep its shape.
Check the fit after each walk or play session.
If you use a sleeve over a bandaged leg, make sure the sleeve does not shift or compress the bandage. Always follow your vet’s bandage rules. If the bandage moves or feels tight, stop and call your vet.
If you see redness or swelling: stop and call your vet
You must check your dog’s skin above and below the sleeve twice daily. Look for redness, swelling, heat, or coldness. If you see any of these signs, remove the sleeve and call your veterinarian right away. Do not wait if you notice foul odor, discharge, or sudden pain. These signs mean your dog needs medical help.
Safety reminder: Always follow your vet’s instructions and the quick reference card for check times and gear use. Protective gear supports healing by preventing self-trauma and contamination.
You help your dog heal by checking the anti-lick sleeve every day. Use your checklist and quick reference card to feel sure. This helps your dog heal better and feel less stressed. You may not need to visit the vet as often. The sleeve keeps the wound safe for a long time. Careful use of the gear helps your dog stay comfortable.
Wounds heal better
Dogs feel less stress
Fewer trips to the vet
No daily bandage changes needed
Good for wearing a long time
FAQ
How long should my dog wear the anti-lick sleeve?
You should keep the sleeve on for 10–14 days after surgery or until your veterinarian confirms healing. Always follow the time windows on your Quick Reference Card.
Can my dog go outside while wearing the sleeve?
Yes, your dog can go outside. Check the sleeve for moisture or dirt after each walk. Replace it if wet or soiled to support safe healing.
What should I do if the sleeve gets wet or dirty?
Remove the sleeve right away.
Wash it in cold water.
Hang dry or use low heat.
Use a clean sleeve to prevent contamination.
