
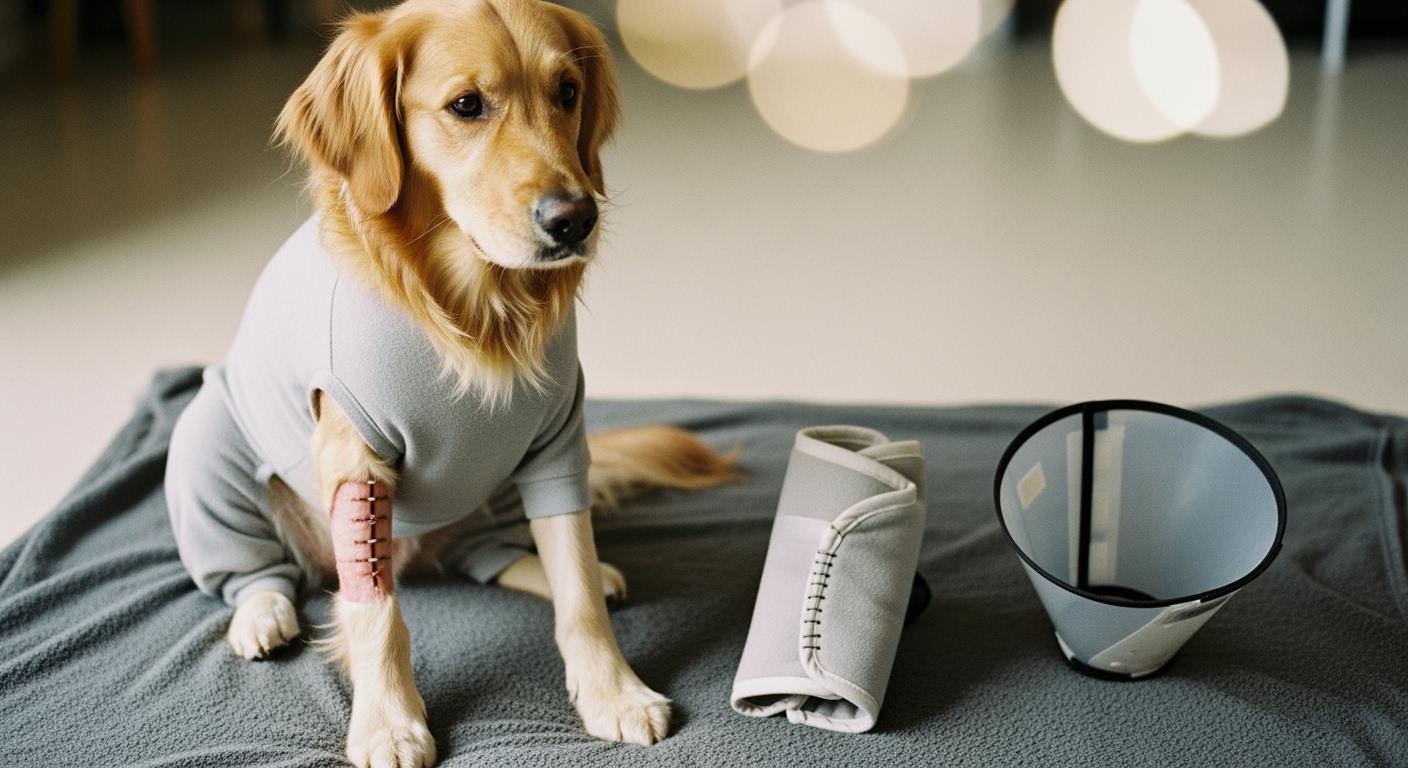
The suit looks right when your dog stands. The fabric wraps the torso cleanly. Then the dog sits. The rear leg tucks under, the hip angle closes, and the cuff that sat below the incision a moment ago is now riding above it. The wound is exposed. This is not a sizing mistake. It is a coverage-geometry failure built into how most recovery suits handle post-surgical protection — and it repeats every time the dog changes position.
Why a Dog Recovery Suit Leaves a Leg Incision Exposed
Most recovery suits are patterned for one job: covering the chest, belly, and flank. The leg opening is an exit point for the limb, not a coverage zone. The fabric panel that wraps the torso terminates at a hem or cuff somewhere on the upper thigh. Where that edge lands determines whether the incision stays covered — and the edge moves.
Here is the causal chain that matters. The suit anchors on the torso. When the dog stands, the rear leg extends rearward and the fabric drapes over the upper thigh. When the dog sits, the hip flexes — the femur rotates forward and the thigh angle relative to the torso changes by roughly 40 to 60 degrees depending on breed conformation. The suit, anchored at the chest and belly, does not follow that rotation. The leg opening edge rides up the thigh. If the incision sits within that ride-up zone — common for stifle, upper tibial, and lateral thigh incisions — the wound clears the fabric edge. The barrier is gone.
You can verify this yourself. Put the suit on, mark the cuff position with a piece of low-tack tape on the fur, walk the dog ten steps, then ask for a sit. Check whether the cuff has migrated more than half an inch above the tape mark. More than half an inch of drift means the suit edge is moving enough to clear a typical incision site.
Narrow rolled-edge cuffs compound the problem. A thin rolled hem concentrates the fabric-to-skin contact into a line. Under the shear force of leg movement, that line has no surface area to resist sliding — it acts like a cord under tension, cutting across the thigh rather than gripping it. A wider flat-hem cuff distributes contact pressure across a band, creating more friction surface. Hind leg sleeves face the same edge-slip challenge when the cuff design prioritizes a clean finish over anti-roll geometry.
Where Standing Checks Hide the Real Coverage Gaps
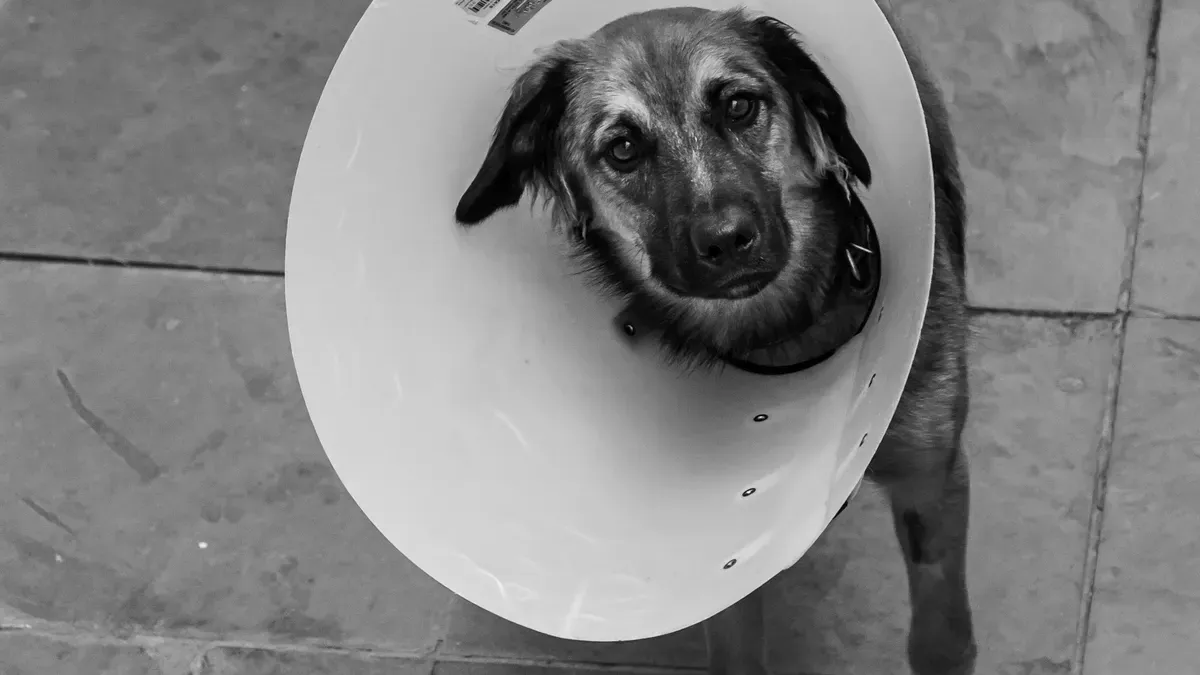
A standing-only fit check is the most common false positive in recovery-suit coverage testing. The dog stands. The fabric looks fine. The owner assumes coverage is adequate. Then the dog curls up unsupervised, the cuff rides, and the wound is reachable.
Three positions expose the real coverage map: sit, curl, and the transition between standing and lying down. In each, the hip angle changes and the suit edge moves relative to the incision. The movement is predictable — the edge always drifts toward the body, away from the paw, because the fabric is pulled upward as the leg tucks. What changes is how far it drifts and whether the incision falls inside or outside the new edge position.
The incision zones most vulnerable to this drift are the lateral stifle, the proximal tibia, and the upper hamstring area. These sit within a few inches of the typical suit leg opening. A suit that extends the leg panel another two to three inches — reaching closer to the hock — buys a buffer zone that absorbs the ride-up without exposing the wound. Recovery sleeves designed for back-leg incisions close this gap by wrapping the leg directly rather than relying on torso-anchored fabric.
Check tongue access separately. Some dogs can reach the wound even when the fabric appears to cover it, by pressing their muzzle against the suit edge and licking underneath. Run a finger along the cuff line while the dog is curled — if you can slide a fingertip under the edge and reach the incision zone, the dog’s tongue can too.
| Performance Difference | Why It Matters | Main Limitation |
|---|---|---|
| Recovery suit — torso coverage | Covers belly and flank incisions well | Leg opening rides up when dog sits or curls |
| Targeted recovery sleeve — leg wrap | Moves with the leg, not the torso | Edge can still slip if cuff lacks anti-roll design |
| Suit plus sleeve combination | Protects torso and leg wounds simultaneously | Requires position checks on both barriers |
| Cone or e-collar only | Blocks tongue access regardless of coverage | Does not protect the wound from environmental contact |
When a Recovery Sleeve or Cone Is the Safer Choice
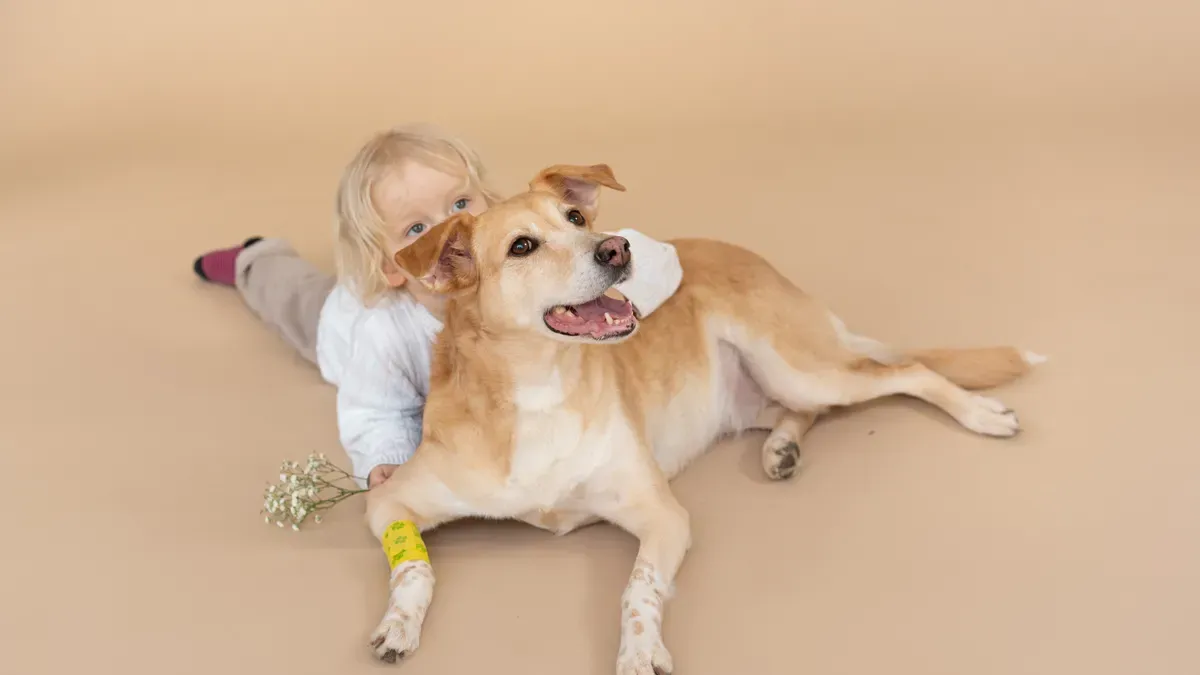
A recovery sleeve changes the coverage model: instead of anchoring to the torso and hoping the leg opening happens to land right, the sleeve anchors to the leg itself. It wraps the limb circumferentially and moves with the joint. The wound stays inside the coverage zone regardless of hip angle because the sleeve travels with the femur and tibia, not the ribcage.
The design detail that determines whether this actually works is cuff termination. A sleeve that ends in a narrow elastic band concentrates tension into a ring. Under repeated flexion — every sit, every curl, every step — that ring can roll, bunch, or migrate toward the joint, exposing the wound edge. A sleeve with a wider flat-hem termination distributes the retention force across a broader band and resists rolling because the wider surface area creates more contact friction against the fur and skin. Comparing recovery sleeves against cones comes down to whether the primary risk is wound contact or wound licking — and often the answer is both.
Walk the dog ten steps after fitting the sleeve, then check whether the cuff has rolled or migrated. A sleeve that stays within a quarter-inch of its original position after movement has adequate edge stability. One that rolls or slides more than that needs a different cuff design or a longer sleeve length to build in a drift buffer.
There are wounds where no fabric barrier is the right answer. If the incision is draining heavily, has an active infection, or is in a location where any fabric contact creates pain, the safer path is an e-collar combined with veterinary guidance — not a suit or sleeve. Fabric holds moisture against a draining wound. A wet barrier against an incision is worse than no barrier at all.
| What You See | What It Means | What to Do |
|---|---|---|
| Incision visible when dog sits | Suit edge rides above wound zone | Switch to a recovery sleeve or add cone |
| Cuff migrates more than half an inch after movement | Edge stability inadequate for this incision site | Use a longer sleeve with flat-hem cuff |
| Dog licks fabric edge or presses muzzle under cuff | Tongue access is not blocked | Add e-collar; do not tighten fabric |
| Fabric presses directly on sutures | Contact pressure on wound line | Remove barrier; reposition or change product |
| Barrier fabric becomes damp or wet | Moisture trapped against incision | Remove, dry skin thoroughly, check for drainage |
| Redness, swelling, odor, or discharge appears | Possible wound complication | Contact veterinarian; do not rely on barrier alone |
Disclaimer: The coverage checks described here assume a short-coated dog where fabric drift is visually trackable. Double-coated breeds may show subtler cuff migration because the undercoat obscures the fabric edge — hand-check the cuff position by feel rather than relying on visual inspection alone. If the dog’s leg conformation falls outside typical breed norms, particularly angular limb deformities or very deep chests, the fit-checks described may not catch every pressure point.
A recovery sleeve or anti-lick barrier that passes a movement test — stays in place, does not roll, does not press on sutures — offers better leg-incision protection than a torso-first suit alone. But no fabric barrier replaces wound monitoring. Check the incision twice daily. If the barrier is wet, remove it. If the wound looks worse, the barrier is not the answer — veterinary assessment is.
FAQ
Why does my dog’s recovery suit leave the leg incision uncovered when the dog moves?
The suit anchors on the torso. When the dog sits or curls, the hip angle changes and the leg opening rides up the thigh. The fabric follows the body anchor point, not the leg. If the incision sits within that ride-up zone — common for stifle and upper tibial wounds — the edge clears it every time.
Can I just tighten the leg cuff to close the gap?
No. Tightening a cuff over a wound site concentrates pressure on the suture line, traps moisture, and can cause swelling. The gap is a coverage-geometry problem, not a tension problem. The fix is a different coverage structure — either a targeted sleeve that wraps the leg directly or a cone that blocks access — not more force on the same failing edge.
What wound locations are most likely to be left exposed by a recovery suit?
Lateral stifle incisions, proximal tibial incisions, and upper hamstring-area wounds are the highest-risk zones. These sit within a few inches of where most torso-first suit leg openings terminate. Hind-leg wound location determines whether a recovery sleeve can maintain coverage better than a full suit.
How do I know if a recovery sleeve will hold position better than a suit?
Check cuff design. A sleeve with a wide flat-hem termination resists rolling and migration better than a narrow elastic-band cuff. After fitting, walk the dog ten steps and check whether the cuff has moved more than a quarter-inch. If it has, the edge stability is insufficient for unsupervised use.
When is a cone safer than any fabric barrier?
If the wound is draining, actively infected, or painful to touch through fabric, skip the suit and sleeve — use an e-collar and contact a veterinarian. Fabric holds moisture against a draining incision and can make the wound environment worse. A barrier is for protection, not treatment.
