
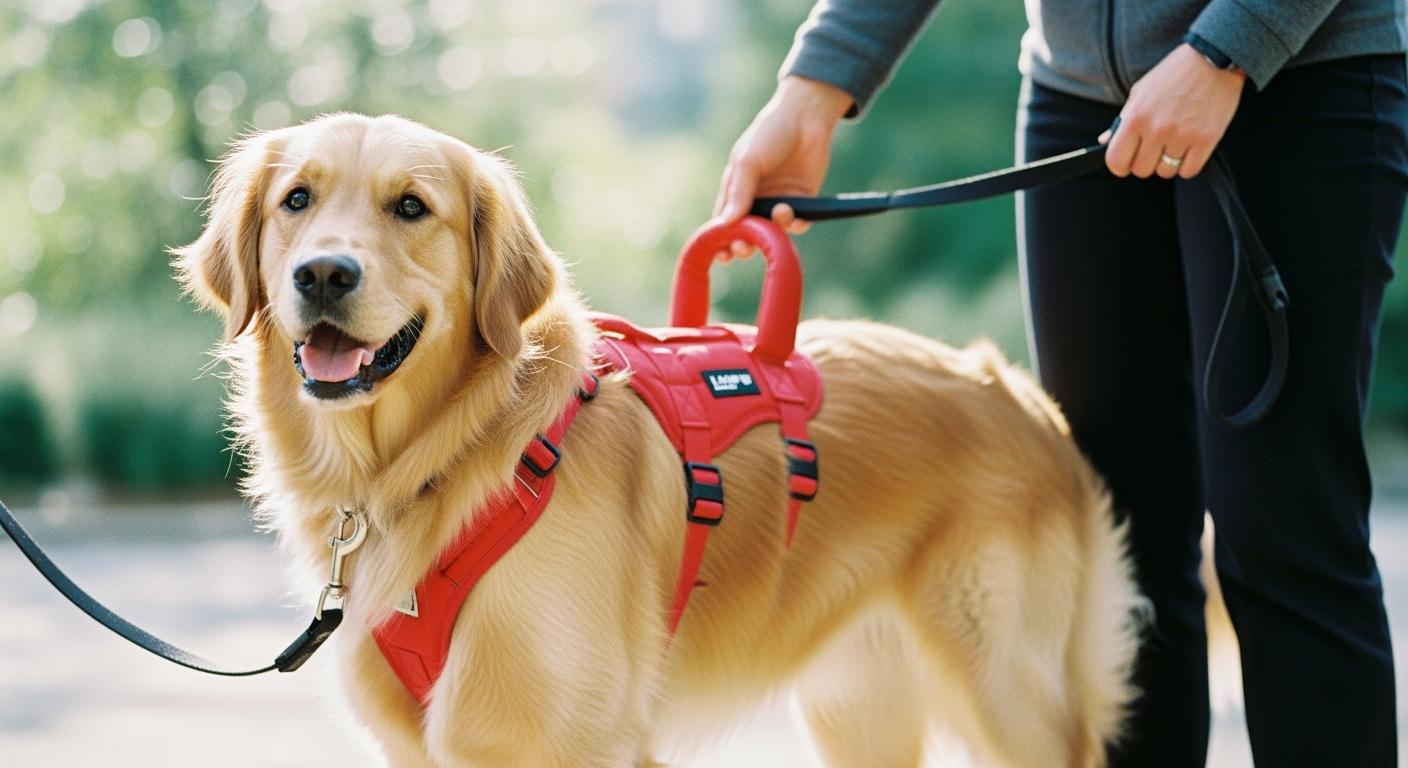
A dog harness with lift handle is designed to give a caregiver controlled assistance during standing, short walks, stairs, bathroom breaks, and brief transfers. The handle alone does not determine whether the harness will work well. Fit, support-zone coverage, strap path, handle placement, and load balance all affect whether the dog stays level or twists when assistance is applied.
This guide explains how to choose the right support type, measure and fit the harness, test handle position under light load, and troubleshoot shifting, rubbing, or uneven lifting during real use. A lift harness should support the intended task without forcing an awkward posture or concentrating pressure in one narrow area.
Safety boundary: A mobility harness is a handling aid, not a diagnosis or treatment. Stop use and seek veterinary or rehabilitation guidance if the dog shows new pain, sudden weakness, worsening instability, breathing difficulty, swelling, open skin, or a significant change in movement.
Key Takeaways
- Choose the harness by the body area that needs support: rear, front, or full body.
- Measure first, then confirm strap path, body coverage, armpit clearance, and movement under light assistance.
- The handle should sit over the intended support zone and help the dog remain level rather than tipping forward, lifting rear-first, or rotating.
- Fit must be checked during the exact task—walking, stairs, turning, or bathroom support—not only while the dog stands still.
- Redness, hair loss, deep strap marks, repeated slipping, or resistance to movement are reasons to stop and reassess the setup.
Who May Need a Dog Harness with Lift Handle?
A lift-handle harness may be considered when a dog can still participate in movement but needs controlled assistance for balance, transitions, or short daily tasks. Common use situations include age-related weakness, reduced rear-leg stability, limited balance during recovery, and temporary difficulty standing or navigating elevation changes.
| Use situation | What the harness needs to do | Fit priority |
|---|---|---|
| Short assisted walks | Add balance without interrupting forward movement | Stable torso coverage and minimal rotation |
| Standing and bathroom support | Provide brief, repeatable upward assistance | Clearance around the abdomen and hindquarters |
| Stairs or elevation changes | Improve caregiver control while the dog continues stepping | Handle alignment and front-to-rear balance |
| Short transfers | Help reposition the dog without relying on one narrow strap | Broad load-bearing panels and secure buckles |
For a narrower guide focused on aging dogs, see senior dog mobility support harnesses. For a solution overview centered on weak rear legs, stairs, walking, and bathroom support, review dog lift harness solutions for hind leg weakness.
Choose the Support Type Before Checking Handle Placement
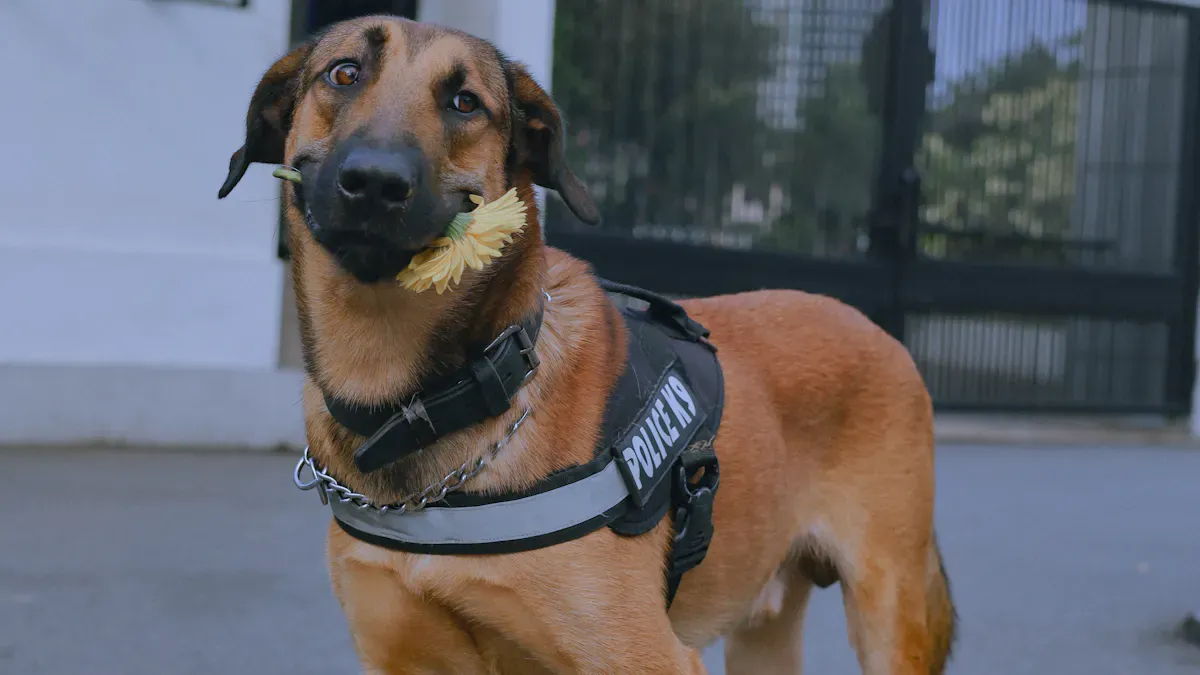
Handle placement cannot correct a harness that supports the wrong body area. Start by identifying where assistance is needed and whether the dog requires rear-only, front-only, or coordinated full-body support.
| Harness type | Primary support area | Best suited to | Main limitation to check |
|---|---|---|---|
| Rear-support harness | Pelvis and hindquarters | Dogs that can bear weight through the front legs but need rear assistance | Rear lift should not pull the torso into a steep forward angle |
| Front-support harness | Chest and front quarters | Dogs needing controlled front-end assistance | Straps must stay clear of the throat and front-leg movement |
| Full-body harness | Chest, torso, and rear support zones | Dogs needing coordinated support across more than one body area | Front and rear sections must work together without opposing pull |
| Short support sling | One limited zone for brief use | Very short assistance where simple placement is more important than repeat-use stability | Narrow coverage may rotate or concentrate pressure during repeated tasks |
Compare support coverage, adjustment range, handle layout, panel width, padding, and toileting clearance before choosing a design. Product-side options are available in the dog lift harness collection.
How to Measure for a Dog Lift Harness
Size labels are not interchangeable between harness designs. Use the sizing chart for the specific product and record each measurement more than once, especially if the dog cannot stand squarely without assistance.
- Position the dog naturally. Measure while the dog is standing as evenly as possible. Ask another person to provide calm support if needed.
- Measure chest girth. Wrap a soft tape around the widest part of the ribcage, usually behind the front legs. Keep the tape level and close to the body without compressing the coat.
- Measure neck or shoulder-base circumference. Follow the location shown in the product sizing guide rather than assuming every neck opening sits in the same place.
- Measure body length when required. Full-body systems may need a length measurement to place the rear support panel and handles correctly.
- Record body-shape details. A deep chest, narrow waist, thick coat, prominent abdomen, or uneven muscle loss can change strap path even when girth falls inside the size range.
- Repeat and compare. Take each measurement two or three times and use the most repeatable number.
The two-finger check is a final fit confirmation, not a replacement for measuring. A harness can feel snug and still be positioned incorrectly.
For a more specific check of strap tension and armpit clearance, see the dog harness chafing and two-finger fit guide.
Step-by-Step Fit Check
1. Place the Harness Before Tightening
Loosen the straps before placement. Set each chest, torso, rear, and support panel in the position intended by the design. The back panel should sit centered, straps should lie flat, and buckles should not rest directly in the armpit, on the throat, or over a sensitive skin area.
2. Adjust Both Sides Evenly
Tighten in small steps and compare the left and right sides. Uneven adjustment can pull the back panel off-center, move the handle away from the support zone, or cause the harness to rotate as soon as upward tension is applied.
3. Check Strap Path and Clearance
- The neck opening should not press on the throat or interfere with shoulder movement.
- The chest and girth straps should stay on stable body areas rather than sliding into the soft abdomen.
- The front-leg and armpit areas need enough clearance for the dog’s normal stride.
- Support panels should lie flat without folding, rolling, or creating narrow pressure edges.
- Toileting openings should remain clear during standing and squatting.
4. Apply Light Tension Before Lifting
Hold the handle and apply only enough upward tension to engage the support panels. Watch whether the harness stays centered and whether the dog’s chest, torso, and rear support zones respond together. Do not begin with a full lift.
5. Test Movement, Turning, and Transitions
Walk a few controlled steps, pause, turn in both directions, and test a normal stand-to-walk transition. A harness that looks correct at rest may still shift, pinch, or rotate under movement. Recheck every strap after the first short test.
Handle Placement and Load Balance
The handle should sit over the body area the harness is designed to support. Its position, height, stiffness, and connection to the load-bearing panels determine whether the caregiver can add assistance without tipping or rotating the dog.
| What happens under light assistance | Likely problem | What to recheck |
|---|---|---|
| The dog tips forward | The lift is acting too far forward, or rear support is insufficient for the task | Handle position, rear panel coverage, and whether a rear-only design is appropriate |
| The rear rises first while the chest remains heavily loaded | The lift is acting too far back or the front support zone is not engaged | Front-to-rear adjustment and whether full-body support is needed |
| The harness rotates to one side | Side straps are uneven, the body shape exceeds the adjustment range, or the load path is asymmetrical | Left-right strap length, panel centering, and girth placement |
| The handle moves but the support panels lag behind | The handle connection is too flexible or the harness is too loose | Handle attachment, webbing slack, buckle security, and size |
| The dog stays level and continues stepping | The handle and support panels are working together | Confirm the same result during the intended daily task |
A Practical Handle-Stability Test
- Inspect the handle stitching, webbing, buckles, and support panels before use.
- With the dog standing, apply light upward tension and confirm that the harness remains centered.
- Assist for three to five controlled steps while watching for tipping, twisting, slipping, or a shortened stride.
- Turn in both directions. Rotation during turning often reveals uneven adjustment that is not visible in a straight line.
- Test the exact task—such as a bathroom posture, a threshold, or one stair—only after the flat-ground check remains stable.
- Remove or loosen the harness after the test and inspect the skin for concentrated marks, redness, or hair pulling.
A wide or padded handle may improve caregiver grip, but it does not correct poor body coverage. The handle must transfer assistance into the intended support panels rather than pulling from one narrow point.
Daily Use: Walking, Stairs, Bathroom Breaks, and Transfers
Assisted Walking
Use the handle to add only the level of assistance needed for balance. The dog should continue stepping rather than hanging from the harness. Keep the leash and lift handle functions separate when possible: the leash guides direction, while the handle provides controlled support.
Stairs and Elevation Changes
Stairs increase the effect of poor handle placement because the dog’s body angle changes. Test flat-ground balance first, move one step at a time, and stop if the harness rotates or the dog cannot maintain a controlled stepping pattern. Larger dogs or dogs requiring substantial assistance may need a second handler.
Bathroom Support
Check that the harness allows normal elimination posture and does not press across the abdomen or interfere with the hind legs. Use brief upward assistance rather than suspending the dog. Recheck the rear panel after the dog turns, squats, or lifts a leg.
Short Transfers and Large-Dog Handling
For repositioning, car entry, or moving between surfaces, coordinate the lift with the dog’s movement and avoid twisting. Do not rely on a single rear or abdominal point when the dog needs support across more than one body area. For additional handler checks, see how to lift a large dog safely with a harness or sling.
For broader daily walking and stability planning, continue with dog mobility support solutions.
For pet brands and sourcing teams evaluating lift-support harness development, sizing systems, strap layouts, or private-label adaptation, review GaitGuard’s OEM/ODM pet orthotics support.
Troubleshooting Fit and Handle Problems
| Observed problem | Possible cause | First adjustment to try |
|---|---|---|
| Rubbing near the armpit | Front strap sits too close to the leg or the harness slides forward | Reset the chest position and confirm girth size before tightening further |
| Harness slips toward the abdomen | Girth strap is loose, sitting off the ribcage, or the body shape does not match the design | Reposition the girth strap and reassess the size range |
| Back panel rotates | Uneven side adjustment or asymmetric upward pull | Equalize both sides and repeat the light-tension test |
| Dog shortens stride | Strap or panel interferes with shoulder, armpit, or hind-leg movement | Stop assistance and check clearance through the full stride |
| Deep marks remain after removal | Pressure is concentrated or wear duration exceeded the dog’s tolerance | Stop use, inspect the skin, and reassess size, padding, and support distribution |
| Dog resists when the handle is engaged | The lift angle is uncomfortable, the dog is unstable, or pain is present | Stop the test and seek professional guidance if resistance continues |
Signs the Fit Should Not Be Accepted
- Repeated twisting, sliding, or buckle movement during light assistance
- Redness, hair loss, swelling, pinching, or deep pressure marks
- Head tossing, shortened steps, sudden stopping, or reluctance to move
- Difficulty breathing, coughing, or pressure near the throat
- Loss of toileting clearance or interference with leg movement
Do not solve persistent shifting by continuing to tighten the straps. Excess tension can create a different pressure problem without correcting the support geometry.
Cleaning, Inspection, and Re-Fitting
- Follow the product care label and close hook-and-loop fasteners before washing.
- Remove dirt, hair, and moisture from padding and webbing after use.
- Allow the harness to dry completely before the next session.
- Inspect stitching, handle attachments, buckles, webbing edges, and panel shape regularly.
- Re-measure after weight change, coat change, muscle loss, or a change in mobility level.
- Recheck fit whenever the intended task changes—for example, moving from flat-ground walking to stairs or transfers.
There is no universal wear schedule for every dog or harness. Use duration should follow the product instructions, the dog’s skin and movement tolerance, and any guidance provided by the veterinary or rehabilitation team.
FAQ
How tight should a dog harness with lift handle fit?
It should remain stable without restricting movement. Use the two-finger check under the main straps, then confirm that the harness stays centered, the armpits remain clear, and the dog can walk and turn without rubbing or pinching.
Where should the lift handle sit?
The handle should sit over the intended support zone and keep the dog reasonably level under light assistance. The correct location depends on whether the harness is rear-support, front-support, or full-body; it should not tip the dog forward, lift rear-first, or rotate the torso.
Can a dog be lifted using only the handle?
Use the handle only as the harness design and support coverage allow. A single handle is not automatically suitable for fully lifting or carrying a dog. When substantial front-and-rear support is needed, use an appropriate full-body system and additional handler support.
Can the harness be used for daily walks?
It may be used for short assisted walks when the product is intended for walking and the dog remains stable. Check fit before each session and stop if the harness shifts, rubs, or changes the dog’s stride.
Why does the harness rotate when the handle is used?
Common causes include uneven side adjustment, incorrect girth placement, excessive slack, asymmetric upward pull, or a body shape that does not match the harness geometry. Reset the fit from the beginning rather than tightening only one side.
When should I stop using the harness?
Stop if the dog shows pain, worsening weakness, sudden instability, breathing changes, swelling, open skin, persistent resistance, or a marked change in gait. Seek veterinary or rehabilitation guidance before resuming use.
