
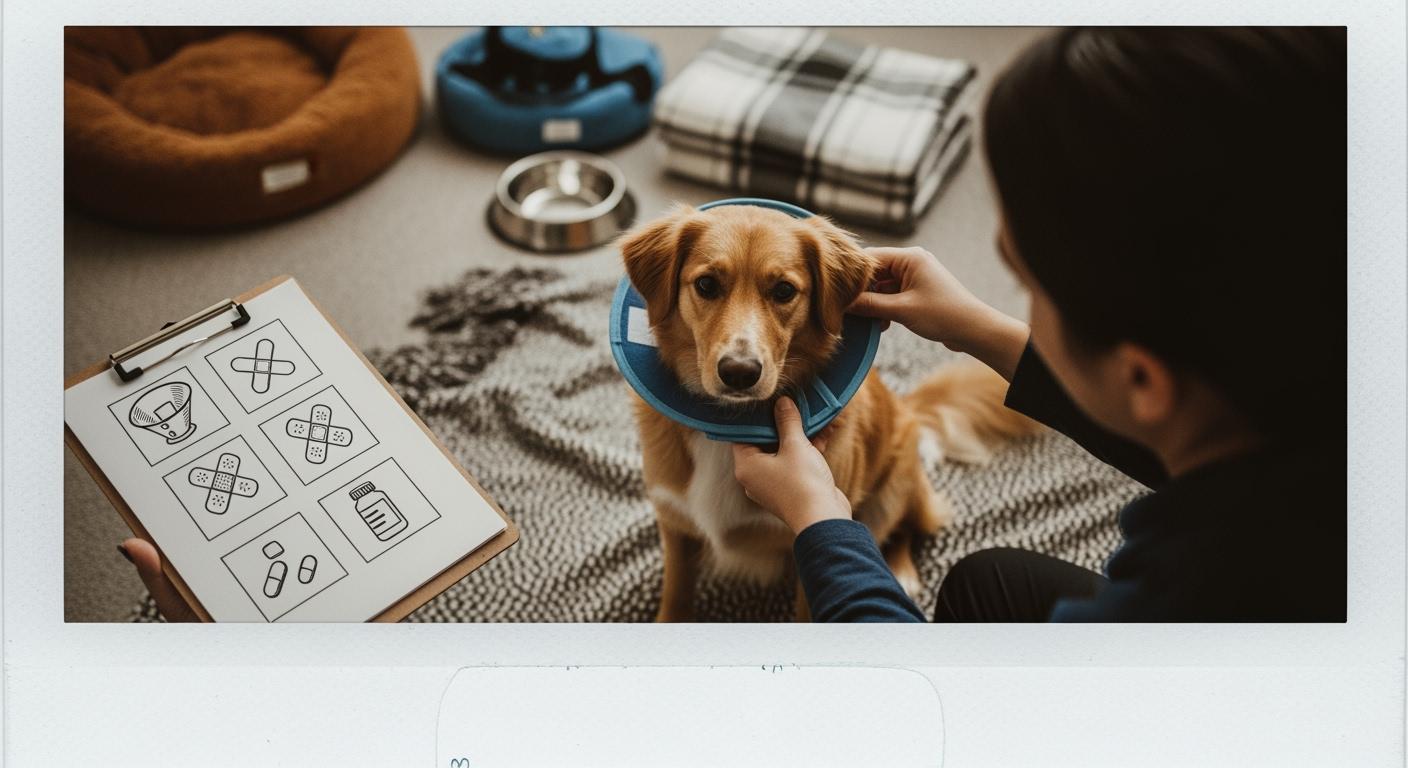
Many dog owners feel overwhelmed by post-surgery recovery. You may face confusion when you do not have a clear dog post-op care checklist. If you struggle with detailed discharge instructions, you are not alone. A printable dog post-op care checklist gives you confidence at home. You need to check your dog’s recovery gear every day. Correct gear selection, fitting, and daily checks help prevent skin problems. This checklist works for both home use and veterinary care teams. Your vet should guide you if you notice any changes. Use this dog post-op care checklist as your daily reference for safe post-op recovery.
Key Takeaways
Pick the best recovery gear for your dog’s surgery. Good fit and comfort stop skin problems and help healing. – Make a calm place for your dog to rest. A quiet space lowers stress and helps your dog heal faster. – Check your dog’s behavior and comfort every day. Watch for pain or discomfort and call your vet if you see any problems.
Dog Post-Op Care Checklist: Essential Gear Setup
Choosing Recovery Gear for Your Dog
You want your dog to heal well. Pick gear that matches your dog’s surgery and activity. The right gear protects the incision and helps healing. It also keeps your dog comfortable. Use this checklist to help you choose:
Read your vet’s instructions for gear ideas.
Choose gear that fits your dog’s surgery and size. [See our gear selection and sizing guide]
Think about these things:
Material: Pick soft, stretchy fabric for comfort.
Fit: Make sure the gear covers the surgery spot but is not tight.
Convenience: Choose gear that is easy to put on and take off.
Durability: Get gear that does not tear or get chewed easily.
Washability: Pick gear you can wash in a machine.
Look at the table below to see gear features for each medical need:
Medical Need | Suit Features |
|---|---|
Spaying/Neutering | Covers belly and private area; special fits for male dogs. |
Orthopedic Surgery | Lets you reach hurt legs; has sleeves or extra coverage. |
Dermatitis or Skin Allergies | Covers most of the body; uses soft, safe fabric. |
Wound Protection | Easy to open; tight suits help with swelling. |
Surgical recovery suits stop dogs from licking or scratching their incision. This lowers the chance of infection or the wound opening again. Dogs can move normally, which helps them heal and stay comfy.
Preparing a Calm Recovery Space
Make a quiet space for your dog to rest. This helps your dog feel safe and heal faster. Do these things:
Take away loud sounds and things that distract.
Use calming tools like scent diffusers or gentle music.
Only let your dog out for short, watched bathroom breaks.
Setting Up Support Slings and Joint Braces
Support slings and joint braces help your dog walk safely. Use them if your vet says your dog needs extra help. Checklist:
Put slings and braces on using your dog’s size. [See our sizing guide]
Make sure they fit snug but not too tight.
Check your dog’s skin every day for red spots or marks.
Change the gear if you see rubbing or slipping.
Use socks or mats that do not slip to stop falls inside.
Some people make mistakes like loose gear or missing skin checks. Using the wrong gear for your dog’s surgery is also a mistake. Fix these problems fast.
Call your vet if you see swelling, red skin, or if your dog will not walk.
For more help, check our [pressure sore prevention guide] and [recovery gear fitting guide]. Always follow your vet’s advice.
First 24 Hours: Post-Surgical Care Priorities
Creating a Safe, Quiet Environment
Your dog needs rest after surgery. Make a calm space away from loud sounds. Put your dog on a soft bed. This helps protect sore spots. Keep your dog in a small area. Limit how much your dog moves. Play soft music or use a scent diffuser. These things help your dog relax. Only let your dog outside for short bathroom breaks. Watch your dog during these times. A quiet space helps your dog heal and feel less stress.
Monitoring Behavior and Comfort
Watch your dog closely all day. Look for signs your dog feels okay or is upset. If your dog is comfy, it will look relaxed and breathe normally. If your dog is upset, it may act different. It might stretch in a prayer pose or change its face. Your dog could seem sleepy or have trouble sleeping. It may lick or bite the incision. Some dogs make noises or seem stiff. Others may move a lot or look worried. If your dog acts angry, scared, or sad, call your vet. Check your dog’s breathing and the incision spot. See how your dog reacts to you. Your dog might be tired or not want food because of anesthesia. Give food slowly after 24 hours. Keep watching for pain or infection.
Initial Gear Fitting and Observation
Check your dog’s recovery gear after surgery. Make sure the gear fits well but does not press on the incision. Look for rubbing, slipping, or red skin. Change the gear if you see problems. Some people use gear that is too loose or forget skin checks. Others pick the wrong gear for their dog’s surgery. If you see swelling, red skin, or your dog will not walk, call your vet. Always listen to your vet about gear and daily checks. Good gear helps your dog heal and keeps skin safe.
Tip: For more help, read our gear selection guide, sizing guide, and pressure sore prevention guide. This article does not replace advice from your vet.
Daily Post-Op Care Instructions
Morning and Evening Routine
You help your dog recover by following a steady routine each day. Morning and evening routines set the pace for healing and comfort. Use this checklist to guide your post-op care instructions:
Check your dog’s recovery gear for fit and comfort.
Look at your dog’s skin for red marks or irritation.
Offer gentle reassurance with soft talking and light petting.
Keep your dog in a quiet space to limit movement.
Allow short leash walks only for bathroom breaks.
Watch for changes in behavior or signs of pain.
Stick to regular feeding and sleep times for stability.
Stay nearby to help your dog feel secure.
Tip: If you notice swelling, persistent licking, or your dog refuses to walk, contact your vet right away.
Cleaning and Adjusting Recovery Gear
Clean and adjust your dog’s recovery gear every day. Proper gear use supports healing and prevents skin problems. Follow these steps:
Remove gear and inspect for dirt, hair, or moisture.
Wash gear with mild soap and let it dry completely.
Check straps and fasteners for wear or looseness.
Adjust gear to avoid pressure points or slippage.
Make sure gear covers the incision but does not press tightly.
Replace gear if you see tears or damage.
Look for signs of discomfort or rubbing on your dog’s skin.
Common mistake: Leaving gear on too long without cleaning. Correction: Clean and check gear twice daily.
Checking Water, Food, and Bathroom Needs
Your dog’s nutrition and hydration play a key role in recovery. Monitor these needs closely:
Offer fresh water at all times.
Give small meals unless your veterinarian advises otherwise.
Watch your dog’s appetite and note any vomiting.
Observe urination and bowel movements. Soft stool may happen after surgery.
Allow bathroom breaks with a short leash and gentle support.
Contact your vet if diarrhea, vomiting, or lack of appetite continues.
Note: Your veterinarian may adjust medication or diet based on your dog’s recovery progress.
For more tips on gear fitting and skin care, visit our [recovery gear fitting guide] and [pressure sore prevention guide]. This article does not replace advice from your veterinarian.
Monitoring Checklist: Daily Health and Safety
Checking your dog every day helps you catch problems early. Use this checklist to help your dog heal and stay safe.
Checking Alertness and Pain Levels
Watch your dog’s alertness and comfort each day. Look for changes like not wanting food or play. If your dog seems tired or ignores your voice, it may hurt. Use simple ways to check pain. Pain scales can help you rate pain and decide what to do. Here is a table to show pain assessment methods for recovery:
Pain Assessment Method | Description |
|---|---|
Standardized Pain Scales | Give scores and help guide treatment. |
Visual Analogue Scale (VAS) | Mark pain on a line; needs training. |
Simple Descriptive Scales | Use words for pain; easy for daily checks. |
Multidimensional Composite Pain Scales | Include feelings; reduce observer differences. |
Response to Analgesic Treatment | Watch for change after pain medicine; best for recovery. |
Call your vet if pain does not get better.
Inspecting Incision and Skin
Taking care of the incision helps your dog heal. Check the surgery spot and skin every morning and night. Look for dry edges and no fluid. Use this checklist to watch the incision:
Check for fever or warm skin near the surgery spot.
Look for swelling or pain that gets worse after two days.
Watch for pus or bad-smelling fluid.
Notice redness that spreads or red lines.
Feel for big or sore lymph nodes near the wound.
Watch for more pain or tenderness.
Call your vet if you see any of these signs.
Watching for Swelling or Redness
Swelling and redness can mean healing problems. Check your dog’s skin under and around recovery gear. Use this checklist:
Look for new or worse swelling.
Watch for redness spreading from the incision.
Check for strange fluid.
Make sure gear fits and does not press on sore spots.
Adjust gear if you see marks or irritation.
If you see swelling or redness, take off the gear and call your vet. Picking the right gear and checking every day helps keep your dog safe and healing well.
For more tips, see our recovery gear fitting guide and pressure sore prevention guide. This article does not replace advice from your vet.
Gear Fitting Checklist: Safe and Secure Wear
Measuring and Adjusting Fit
You want your dog’s recovery gear to support healing and prevent problems. Follow these steps for a safe fit:
Measure your dog’s weight and length from the base of the neck to the base of the tail.
Use the size chart to pick the right gear for your dog.
Make sure the recovery suit fits snugly but does not squeeze. Your dog should move and breathe easily.
For male dogs, adjust the suit along the perforation if needed.
Check the fit every morning and night. If you see swelling or your dog seems uncomfortable, call your vet.
Tip: Correct sizing helps your dog heal and lowers the risk of skin issues. For more help, see our [recovery gear fitting guide].
Preventing Slippage and Pressure Points
You must check for slippage and pressure points to keep your dog safe. Use this table to guide your daily checks:
Step | Description |
|---|---|
1 | Remove the brace and check your dog’s skin for redness or swelling. |
2 | Clean under the brace with mild antiseptic or saline. |
3 | Dry the skin with a soft towel. |
4 | Use ointment if your vet recommends it. |
5 | Change bedding often to keep it dry. |
6 | Stop your dog from licking or scratching. |
7 | Reposition your dog every 2–3 hours if resting long. |
Fleece liners, foam padding, or sheepskin pads add comfort and protect your dog’s skin.
Ensuring Mobility and Comfort
Watch your dog walk and sit with the gear on. Look for shifting, twisting, or new red spots. Adjust straps so they are snug but not tight. If you see hair loss or your dog limps, remove the gear and call your vet. Always check for comfort and movement. Good gear helps your dog recover and prevents returns or extra vet visits.
For more tips, visit our [pressure sore prevention guide]. This checklist does not replace advice from your vet.
Mobility and Bathroom Assistance
Using Slings and Harnesses Indoors
You help your dog move safely during recovery by using slings and harnesses. Choose gear that fits your dog’s size and surgery type. Support slings keep weight off sore legs and joints. Harnesses give you control and prevent sudden movements. Always check the fit before each use. Make sure straps do not press on the incision or cause discomfort. Watch your dog’s skin for red marks or irritation. If you see swelling or your dog refuses to walk, contact your vet. Daily gear checks support healing and lower the risk of injury.
Preventing Slips and Falls
Your dog needs a safe space to avoid slips and falls. Follow these steps to protect your dog during recovery:
Place non-slip mats or rugs in walking areas.
Use paw traction socks or booties for better grip.
Try orthopedic shoes or boots for extra support.
Support your dog with a sling or harness.
Limit movement to controlled rooms.
Trim nails regularly for stability.
Block access to stairs until your dog regains full mobility.
Supervise your dog and watch for discomfort.
Ask your vet if slipping continues.
Correct gear and daily checks help your dog heal and stay safe.
Safe Bathroom Breaks
Bathroom breaks are important for your dog’s comfort and healing. Use these tips for safe trips:
Use a towel sling under the belly if your dog struggles to walk.
Keep bathroom trips short and always use a leash.
Confine your dog to a safe room when you cannot supervise.
Watch for signs of pain or trouble moving.
Contact your vet if your dog shows distress or cannot urinate.
Proper support and supervision during bathroom breaks help your dog recover well.
Wound and Lick Protection
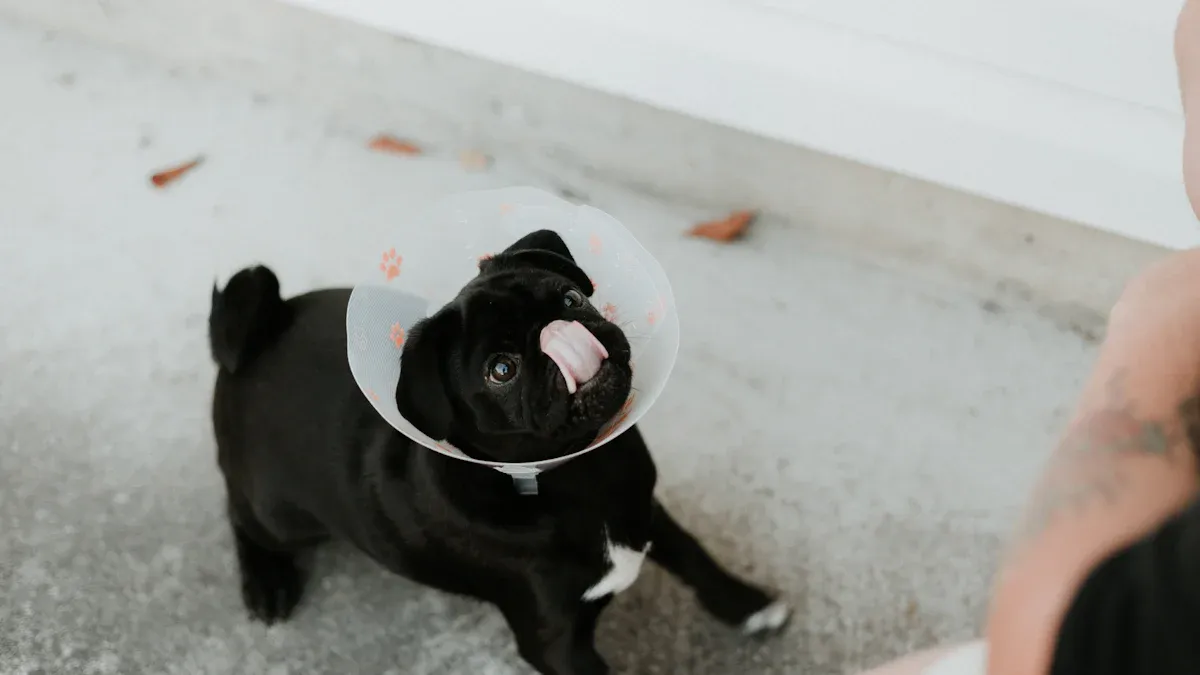
Using Recovery Suits and E-Collars
You do not want your dog to lick or scratch the incision. Recovery suits and e-collars help keep wounds safe and help healing. Pick gear that fits your dog’s surgery and feels comfortable. Use the table below to see your choices:
Type of Recovery Suit/E-Collar | Description | Suitability |
|---|---|---|
You can wash these in a machine. They look nice and work for wounds on the neck, chest, back, or belly. | Best for belly incisions. | |
Padded Rings and Donuts | These are soft and let your dog see better. | Good for dogs that do not like regular cones. |
Cloth Cones | These are strong but can fold down. They feel better to wear. | Not always good for every injury because they can fold. |
Inflatable Cones | These are softer than regular cones. | Good if your dog does not like other cones. |
Traditional Plastic Cones | These cost less and work for many injuries. | Best for leg wounds. |
Check the gear every morning and night. Make sure it covers the wound but is not too tight. If your dog looks upset or tries to take off the gear, change the fit or try something else.
Keeping the Incision Dry and Clean
You help your dog heal by keeping the incision dry and clean. Follow these steps:
Keep the incision dry for at least two days after surgery.
Do not give your dog a bath, shower, or let it swim.
Water can make infection more likely.
After two days, you can shower your dog but do not let the incision go under water for two weeks.
If you need to clean your dog, use a sponge bath and stay away from the wound.
Look at the incision two times a day for redness, swelling, or fluid. If you see anything different, call your vet.
When to Pause Gear and Call the Vet
You need to know when to stop using gear and call your vet. Watch for these signs:
Your dog keeps licking or chewing the wound.
The incision is red, swollen, or has fluid coming out.
Your dog acts like it hurts or will not move.
The skin under the gear looks sore or raw.
The gear does not fit or makes your dog uncomfortable.
If you see any of these problems, take off the gear and call your vet for help. Checking every day and using the right gear helps your dog get better.
For more tips, check our recovery gear fitting guide and pressure sore prevention guide. This article does not replace your vet’s advice.
Skin Care and Pressure Sore Prevention
Spotting Red Marks and Irritation
Check your dog’s skin every morning and night. Look for red marks, swelling, or irritation under the gear. Focus on bony spots like shoulders, hips, and ribs. These places can get pressure sores first. If you see hair loss or blisters, act fast. If your dog looks uncomfortable, do something right away. Some people forget daily checks or leave gear on too long. Fix this by taking off the gear and looking at the skin. Adjust the fit if needed. If redness or swelling stays, call your vet.
Tip: Finding problems early helps stop serious skin issues and helps healing.
Placing Liners and Pads Correctly
You can keep your dog’s skin safe with liners and pads. Put them in places that need extra protection. Use soft padding shaped like a donut to lower pressure. Put padding inside diapers or under braces, not on the dog’s skin. Add layers of memory foam and fleece for more comfort. Change your dog’s position often so one spot does not get sore.
Key Findings | Details |
|---|---|
Risk Zones | Skin over shoulders, hips, and ribs can get pressure sores. |
Pressure Relief | Mats that lower pressure work better than blankets. |
Position Changes | Move your dog every two or three hours, especially if thin or not moving much. |
For more tips, check our [pressure sore prevention guide].
What to Do if Skin Issues Appear
If your dog’s skin gets sore or irritated, follow these steps. Move your dog every two or three hours. Give soft bedding like memory foam. Use wedges or blocks to help with pressure. Keep your dog’s skin clean and dry. Help your dog move gently with your vet’s advice. Feed healthy food to help healing. Call your vet if sores get worse or do not heal.
Alert: If you see open wounds, deep sores, or your dog acts like it hurts, take off all gear and call your vet right away.
Picking the right gear, fitting it well, and checking skin every day keeps your dog safe. Using liners and pads the right way helps your dog heal faster. For more details, see our [pressure sore prevention guide]. This article does not replace advice from your vet.
Red Flags: When to Contact Your Vet
You need to watch your dog during recovery. Some signs mean you should call your vet fast. Acting quickly helps your dog heal better. Use this checklist to find urgent problems:
Signs of Pain, Swelling, or Infection
Check your dog’s incision and health every day. Look for these warning signs:
Red Flag | Description |
|---|---|
Signs of infection | Redness, discharge, or warmth at the incision site. |
Increased swelling | Swelling that is more than expected during recovery. |
Severe pain | Persistent pain despite pain management. |
Behavioral changes | Reluctance to walk or sudden vocalizing. |
Wound reopening | Any reopening of the surgical site. |
Dogs with bad infections may get a fever or stop eating. They may seem very tired. If you see smelly discharge, lots of pain when touched, or dark skin, call your vet right away.
Persistent Licking or Chewing
If your dog keeps licking or chewing the incision, do something:
Put an Elizabethan collar on for 7 to 10 days.
Use a bitter liquid near the incision (not on it).
Try socks or sweatpants to block licking.
Use a lick sleeve for back legs to keep them dry.
Call your vet if licking does not stop or the wound gets worse.
Sudden Lameness or Loss of Appetite
Watch for sudden changes in walking or eating. These can mean serious problems:
More limping or whining than before.
Not wanting food or refusing to eat.
Discharge from the surgical site.
Suddenly not able to stand or walk.
Call your vet if you see any of these signs. Finding problems early helps your dog heal and stops bigger issues.
Always follow your veterinarian’s advice. This checklist does not replace professional care.
Print this checklist and use it every day for your dog. Choose recovery gear that fits your dog’s surgery and size. Write daily notes for your vet and bring them to follow-up care. Watch your dog for healing signs. Supervision after surgery and daily checks help your dog’s recovery. Contact your vet for any concerns. Your dog needs your supervision and support for safe healing.
FAQ
How often should you check your dog’s recovery gear each day?
You should check the fit and skin under the gear at least twice daily. This helps you spot redness, swelling, or slipping early.
What if your dog keeps trying to remove the recovery suit or collar?
You can adjust the fit or try a different style. If your dog stays upset or the wound looks worse, call your vet for advice.
Can you leave recovery gear on your dog all day and night?
You should remove the gear twice daily for skin checks and cleaning. Always make sure the gear stays dry and fits well after each check.
