
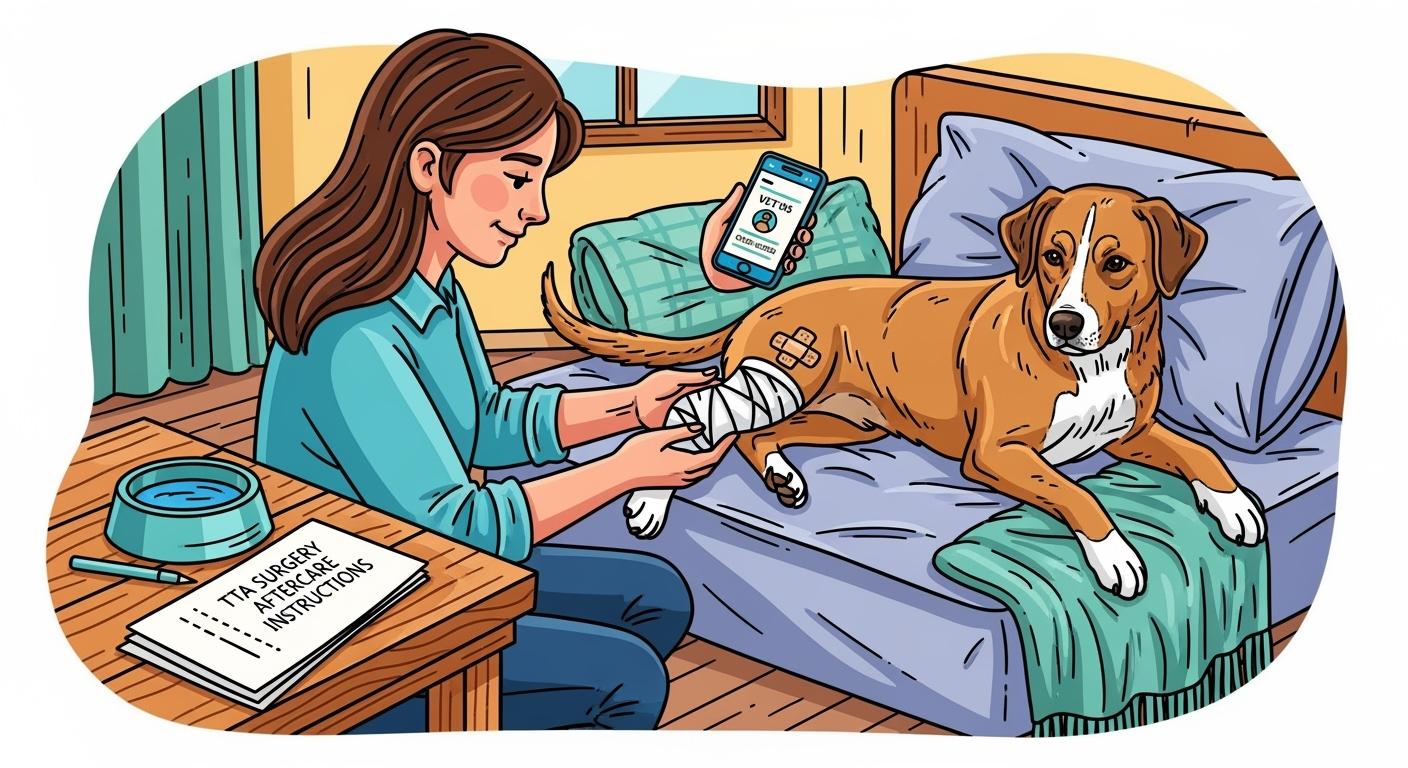
TTA surgery aftercare for dogs should follow the discharge plan provided by the surgeon who performed the procedure. At home, the main priorities are controlled movement, a non-slip recovery area, incision protection, prescribed medication, and close monitoring for changes in comfort, appetite, behavior, or use of the operated leg.
Recovery plans vary according to the dog, the surgical technique, implant stability, follow-up findings, and any additional joint or health problems. A dog may look more comfortable before the bone and surgical site are ready for normal activity, so activity should not be increased simply because the dog appears eager to move.
This article provides a general home-care framework. It does not replace the surgeon’s instructions, follow-up examination, imaging schedule, medication plan, or rehabilitation prescription. For a broader overview of movement support, incision protection, braces, lift harnesses, and recovery-product selection, see the Dog Recovery Support Guide.
Key takeaways
Use a crate, pen, or small recovery area with non-slip flooring and no access to stairs or furniture unless the surgeon has provided another setup.
Use a short leash for every outdoor trip. A support harness or sling may help with balance when approved and fitted correctly.
Prevent licking or chewing of the incision with the device recommended by the veterinary team.
Give only prescribed medication and follow the exact dose and schedule on the discharge instructions.
Do not begin exercises, increase walk duration, use heat or cold therapy, or add a brace solely from a general online timeline.
Contact the veterinary team if the incision changes, pain or lameness worsens, the dog stops eating, or an unexpected slip, fall, or jump occurs.
Why TTA aftercare matters
What changes after TTA surgery
Tibial tuberosity advancement changes the biomechanics of the knee after a cranial cruciate ligament injury. The operation involves bone and an implant, so recovery depends on more than whether the dog is willing to place the foot on the ground. The incision, soft tissues, bone, implant, and overall gait all need time and veterinary reassessment.
What owners may notice | What it does and does not mean |
|---|---|
The dog starts touching the foot down | This can be encouraging, but it does not confirm that the bone or implant is ready for unrestricted activity. |
The dog wants to run, jump, or play | Energy may return before healing is complete. Continue the prescribed restrictions. |
Walking varies from one day to the next | Small fluctuations can occur, but a clear or persistent decline should be discussed with the veterinary team. |
Swelling or discomfort changes | Do not assume the cause. Contact the surgeon if the change is new, marked, or worsening. |
Healing versus feeling better
A dog may appear brighter and more mobile before internal healing is complete. Running, jumping, slipping, uncontrolled stairs, and rough play can place unexpected load on the operated leg. Keep following the discharge plan until the veterinary team changes the restrictions after reassessment.
Important: The surgeon’s protocol takes priority over a generic recovery calendar. Do not use willingness to walk as the only sign that activity can increase.
Common recovery setbacks
Incision irritation or infection concerns: licking, chewing, moisture, contamination, or wound disruption can require veterinary attention.
Unexpected loading: a fall, jump, sudden turn, or uncontrolled stair use may increase pain or lameness and should be reported if symptoms change.
Poor tolerance of a support device: slipping, twisting, rubbing, or altered gait can make a harness, sling, boot, or brace unsuitable without adjustment.
Persistent or worsening lameness: do not assume this is a normal part of recovery. The veterinary team may need to reassess the leg.
For a broader TPLO and TTA recovery overview, see the dog CCL surgery recovery timeline. Use that page as background information only; the individual surgeon’s plan remains the controlling instruction.
TTA surgery aftercare for dogs: Home setup and controlled movement
Safe confinement and flooring
Prepare the recovery area before the dog returns home. Use the confinement method recommended by the veterinary team, such as a crate, exercise pen, or small room. The dog should be able to rest, stand, turn, and reach water without walking across a slippery surface.
Cover smooth flooring with secure, non-slip mats or runners.
Keep bedding dry, clean, low to the ground, and easy to enter without jumping.
Block access to stairs, sofas, beds, and other elevated surfaces.
Keep the area calm and separate from children or pets that may trigger sudden movement.
Remove loose rugs, cords, and objects that can catch a foot, leash, or support strap.
If you are considering traction socks, booties, or another mobility aid, check that the device does not twist, rub, or change foot placement. Product use should be discussed with the veterinary team when the dog has an operated limb.
Potty trips with support
Use a short leash for every outdoor trip. Follow the surgeon’s instructions for route, duration, frequency, and weight-bearing. Choose the shortest practical path to a level, non-slip potty area and return the dog to confinement after the trip.
A rear-support harness or sling may help a dog that is weak, unsteady, or reluctant to rise, but the device must support without lifting the dog into an unnatural posture. Stop if the dog becomes more painful, drags the foot, loses balance, or walks worse with the device.
Before using a postoperative brace, review the brace fit, wear schedule, and skin-check guidance, then confirm the device and timing with the surgeon.
For additional movement-control considerations, review this article on whether a dog knee brace or other support should be used during rehabilitation. A brace should not be added automatically after surgery.
Stairs, furniture, and car travel
Avoid stairs and jumping unless the surgeon has provided a specific method for unavoidable steps. Use gates or closed doors to prevent unsupervised access. For necessary car travel, prevent jumping in or out and follow the veterinary team’s lifting or ramp instructions for the dog’s size and condition.
If a slip, fall, jump, or uncontrolled stair event occurs, reduce activity and watch for a change in weight-bearing, swelling, pain, or behavior. Contact the veterinary team promptly when symptoms appear or when the event involved substantial impact.
General information about when a brace cannot replace surgical or veterinary management is available in Can a Dog Knee Brace Replace ACL Surgery?
Incision care and lick prevention
What to check each day
Check the incision at the frequency recommended on the discharge instructions. Use clean hands, good lighting, and the same viewing angle when possible. A daily photo can help owners notice change, but it should not delay a veterinary call.
Observation | Recommended response |
|---|---|
Incision edges remain closed and appearance is stable | Continue the prescribed care and monitoring plan. |
Redness, warmth, swelling, discharge, odor, bleeding, or opening increases | Contact the veterinary team rather than treating the area with a home product. |
The dog repeatedly licks, chews, or rubs the area | Restore effective protection and check the incision. Call the clinic if contact has damaged the wound. |
The dog appears increasingly painful, quiet, weak, or unwilling to stand | Contact the veterinary team promptly. |
For a focused overview of licking and wound access, see what to do when a dog keeps licking an incision.
E-collar and alternative barriers
The safest barrier is the one that prevents the individual dog from reaching the surgical area. A rigid E-collar is often used because it provides broad reach prevention, but the veterinary team may recommend another option depending on incision location, body shape, behavior, and supervision.
Option | Potential role | Important limitation |
|---|---|---|
Rigid E-collar | Broad reach prevention when correctly sized | Must extend far enough and remain securely attached |
Inflatable collar | May be tolerated by some dogs | May not prevent access to a knee or lower-leg incision |
Soft cone | May improve comfort for selected dogs | Can bend or collapse and allow access |
Recovery garment | May cover selected body areas | May not protect a leg incision and can trap moisture if poorly managed |
Read more about garment limits and fit in the dog recovery suit incision-protection guide. Do not substitute a garment for an E-collar unless the veterinary team confirms that the dog cannot reach the incision.
Keeping the incision dry
Follow the surgeon’s instructions for bathing, cleaning, bandages, and moisture exposure. Do not apply ointment, disinfectant, petroleum jelly, cream, or another topical product unless the clinic has instructed you to do so. If the incision becomes wet or contaminated, contact the veterinary team for cleaning instructions.
Medication, comfort, and rest
Medication safety
Give only medications prescribed for this dog and this surgery. Follow the label and discharge schedule exactly. Do not add human pain medication, leftover veterinary medication, supplements, or dose changes without veterinary approval.
Record each dose to reduce the risk of missed or repeated medication.
Contact the clinic if vomiting, diarrhea, marked sedation, agitation, poor appetite, or another unexpected effect occurs.
Ask the clinic what to do if a dose is missed; do not automatically double the next dose.
Cold or warm compresses
Use cold or warm compresses only when they are included in the surgeon’s instructions. Timing, duration, skin protection, and whether heat is appropriate vary by procedure and healing stage. Never place an extreme-temperature pack directly against the skin, and stop if the dog resists or the skin changes.
Safe sleep setup
Choose a quiet sleeping area with secure footing and low bedding. Keep water within easy reach, maintain a comfortable temperature, and prevent nighttime access to stairs or furniture. Check bedding for moisture or contamination and wash it as needed without using strong scents around the resting dog.
Changes that may indicate pain or distress
Increasing panting, restlessness, trembling, vocalization, or inability to settle
Guarding the leg, reacting to touch, or repeatedly looking at the surgical area
Sudden refusal to stand, walk, eat, drink, or take medication
A clear worsening in lameness or behavior after initial improvement
These signs do not identify the cause by themselves. Contact the veterinary team for guidance rather than increasing medication or adding a home treatment.
TTA surgery recovery timeline: Follow the surgeon’s phases
There is no single schedule that is safe for every dog. The surgeon may divide recovery into an early protection phase, a controlled progression phase, and a return-to-activity phase. Movement, exercise, follow-up imaging, and rehabilitation should advance only according to that individual plan.
General phase | Main priorities | Do not advance based only on |
|---|---|---|
Early protection | Confinement, leash-only potty trips, incision protection, medication, and monitoring | The dog appearing energetic or beginning to use the leg |
Controlled progression | Veterinarian-approved increases in controlled walking or rehabilitation | A fixed online week number or comparison with another dog |
Return to activity | Follow-up examination, imaging when requested, and gradual reintroduction of activity | The absence of obvious limping during one walk |
If activity is followed by increased limping, swelling, pain, fatigue, or reluctance to move, stop the new activity and contact the veterinary team. Do not repeatedly test the leg to see whether the problem improves.
The article on TPLO recovery, leash walks, exercises, and red flags provides related background, but TTA aftercare should still follow the operating surgeon’s instructions.
Home rehabilitation: What owners should and should not do
Rehabilitation can be useful after orthopedic surgery, but the correct exercise, starting point, technique, and progression depend on the dog’s examination and surgical plan. Do not begin passive range-of-motion work, weight shifting, sit-to-stand repetitions, incline walking, swimming, or treadmill exercise simply because it appears in a general article.
Rehabilitation activity | Why professional direction matters |
|---|---|
Passive range of motion | Incorrect handling or timing may cause pain or conflict with the surgeon’s restrictions. |
Weight shifting or balance work | The dog may compensate, overload another limb, or lose balance without correct support. |
Sit-to-stand work | Poor alignment can reinforce compensation rather than controlled limb use. |
Inclines, swimming, or underwater treadmill | These require clearance, appropriate timing, and control of intensity. |
Ask the surgeon whether rehabilitation should be performed at home, by a canine rehabilitation professional, or through a combined plan. Stop an approved exercise if the dog becomes more painful, unstable, resistant, or lame.
Daily monitoring and when to call the vet
Daily aftercare checklist
Check | What to record |
|---|---|
Incision | Whether redness, swelling, warmth, discharge, odor, bleeding, or opening has changed |
Movement | Ability to rise, balance, use the operated leg, and complete prescribed potty trips |
Comfort | Restlessness, panting, guarding, vocalization, or difficulty settling |
Appetite and medication | Food and water intake, medication doses, vomiting, diarrhea, or unusual sedation |
Recovery equipment | Whether the E-collar, harness, sling, boot, or other device remains secure and is not rubbing |
Unexpected events | Any slip, fall, jump, stair use, rough movement, or access to the incision |
Contact the veterinary team promptly
The incision opens, bleeds, develops discharge or odor, or becomes increasingly red, hot, or swollen.
The dog suddenly stops using the operated leg, becomes more lame, or shows a marked change after a fall or jump.
Pain or distress appears to be worsening rather than controlled by the prescribed plan.
The dog repeatedly vomits, cannot keep medication down, refuses food or water, or becomes unusually weak or difficult to wake.
The dog damages the incision, removes a bandage, or bypasses the lick-prevention device.
You are unsure whether a change is expected. A photo or short video may help the clinic triage the concern.
Seek emergency care
Seek urgent veterinary care for collapse, difficulty breathing, uncontrolled bleeding, severe weakness, repeated unproductive retching with a swollen abdomen, seizure activity, or another rapidly worsening emergency sign. These are not specific to TTA surgery, but they should not wait for routine follow-up.
For general contact and site information, visit the FAQ and Help Center. Medical questions about an individual dog should be directed to the operating clinic or an emergency veterinary service.
Support devices during TTA recovery
Support devices can help manage a specific movement problem, but they must not create new pressure, slipping, twisting, or overconfidence. A device should be selected for the task and used only when compatible with the surgeon’s plan.
Device | Possible role | Stop and reassess if |
|---|---|---|
Rear-support harness | Assistance with rising, balance, or short controlled movement | The dog hangs in the device, twists, rubs, or walks worse |
Sling | Brief support during a prescribed transfer or unavoidable step | It compresses the abdomen, slips, or changes limb placement |
Protective boot or traction aid | Foot protection or traction for selected surfaces | It rotates, traps moisture, causes rubbing, or interferes with gait |
Knee brace | Only when the surgeon identifies a specific role | It encourages premature activity, migrates, presses the incision, or changes gait |
For mobility-support considerations, see the guide to a dog lift harness for the back legs. Device fit and handling should be reviewed before relying on it during postoperative movement.
Owners considering a brace should review the dog recovery brace fit and wear-schedule guide and obtain surgeon approval. The same resource is useful for understanding why skin checks and gradual introduction matter, but it does not replace postoperative clearance.
Owner FAQs
How long should my dog wear the E-collar after TTA surgery?
Keep the E-collar or approved alternative in place for the full period specified by the veterinary team. Do not remove it based only on the incision looking better. The clinic should confirm when the dog no longer needs protection.
Can my dog go for car rides during recovery?
Limit car travel to necessary trips unless the veterinary team says otherwise. Prevent jumping, use the recommended support method, and keep the dog controlled during entry, exit, and transport.
What if my dog refuses to eat after surgery?
Follow the clinic’s feeding and medication instructions. Contact the veterinary team if appetite does not return as expected, if the dog cannot keep food or medication down, or if poor appetite occurs with weakness, vomiting, diarrhea, pain, or unusual sedation. Do not introduce a new home diet without checking whether it is compatible with the prescribed medication and recovery plan.
Is limping expected after TTA surgery?
The veterinary team should explain what level of limb use is expected for the individual dog. Contact the clinic when limping worsens, returns after improvement, follows an accident, or is accompanied by swelling, pain, incision change, or unwillingness to stand.
When can strict confinement end?
End or reduce confinement only when the veterinary team changes the restrictions. Follow-up examination and imaging may be required before longer walks, stairs, running, jumping, play, or off-leash activity are permitted.
Final aftercare reminder
TTA surgery aftercare for dogs is primarily a process of preventing uncontrolled movement, protecting the incision, following the prescribed medication and rehabilitation plan, and reporting meaningful changes early. Keep the discharge instructions accessible, record medication and daily observations, and contact the operating clinic whenever the dog’s recovery differs from the expected plan.
Support equipment may make selected tasks easier, but no harness, sling, boot, garment, or brace should replace veterinary reassessment or be used to accelerate activity. Correct fit, close supervision, and a clearly defined purpose are essential throughout recovery.
