
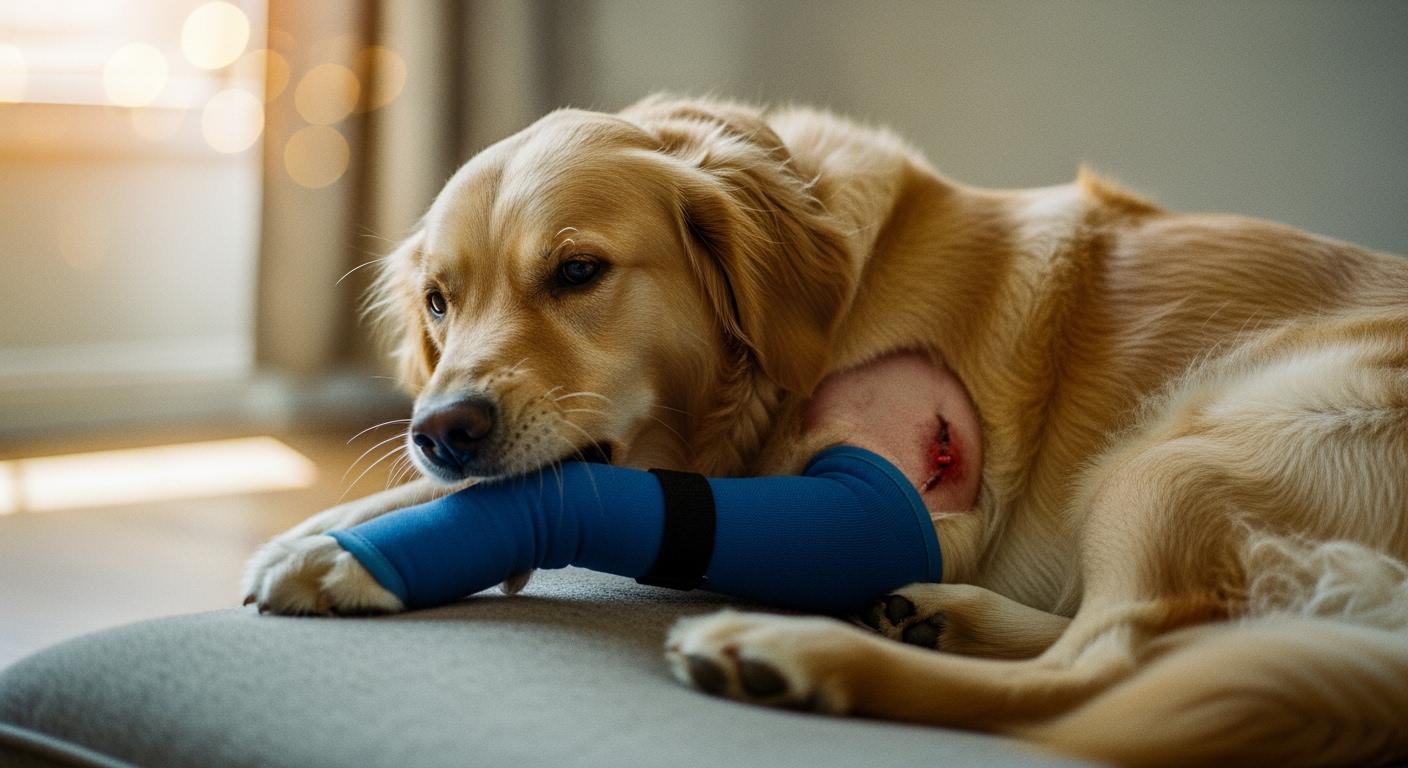
A recovery sleeve looks fine when the dog stands still. The fabric covers the wound. The edges sit flat. Everything checks out.
Then the dog curls up for a nap. The sleeve edge rolls back half an inch. The wound sits exposed. One lick, and days of healing unravel.
This is the gap between standing fit and real-use coverage. Most sleeves pass the standing check. Many fail the curled, seated, or twisting check—the positions a dog actually spends hours in. The failure is not about the sleeve being “bad.” It is about where the edge lands relative to the wound, how the fabric behaves at joints, and whether the anchoring holds when the leg changes angle.
Understanding those three variables lets you spot a failing sleeve before the dog does. That is what this article covers: the real failure points, how to test for them, and when a sleeve alone is the wrong choice.
Why Standing Fit Hides Real-Use Failure
Most dog owners check a recovery sleeve the moment they put it on—dog standing, leg straight, fabric smooth. That snapshot tells you almost nothing about whether the sleeve will still be covering the wound two hours later.
Dogs do not recover in a standing position. They lie down. They curl into a ball. They twist around to groom. Each of these movements changes the geometry of the leg: the skin stretches, the muscle belly shifts, the joint angle changes. A sleeve that sat flat at 180 degrees of extension may bunch, gap, or slide at 90 degrees of flexion.
The mechanism is straightforward. When a joint bends, the circumference of the limb changes. The fabric—if it lacks enough mechanical stretch or if the panel cut does not accommodate the shape change—must either stretch, bunch, or slide. Stretch keeps the edge in place but requires elastomeric material with enough recovery force. Bunching creates a fold of fabric near the joint crease. That fold is a gap your dog can nose into. Sliding moves the entire sleeve proximally or distally, which shifts the edge closer to the wound.
None of this is visible during a standing fit check. And it is the curled resting position—the one a dog stays in for hours overnight—where the most persistent licking happens.
The 3-Position Reach Test
This is an observable check you can run in under five minutes. It catches the failures a standing snapshot misses.
- Identify the exact wound location. Do not estimate—mark the proximal and distal edges with a small piece of tape on the outside of the sleeve once it is on.
- Put the sleeve on snug, not tight. If you can slide two fingers under the cuff without forcing them, the baseline tension is reasonable.
- Observe the sleeve in three positions:
- Standing normally — the baseline. Note where the sleeve edges sit relative to the tape marks.
- Sitting or lying with legs tucked — watch for the cuff pulling back, rolling, or bunching at the joint crease.
- Curled and turning toward the wound — the high-risk position. Check whether the dog’s mouth can reach within half an inch of the wound edge.
- In each position, measure or estimate the distance between the sleeve edge and the wound. If that distance drops below roughly an inch in any position, the margin is too thin.
- Decide: if the wound stays covered with at least an inch of margin in all three positions, the sleeve may be adequate alone. If not, add a backup or switch to a longer-coverage option.
Run this test twice a day. A sleeve that passes in the morning can fail by evening after hours of movement have stretched the fabric or loosened an anchor.
Where Sleeves Fail: Edge Proximity, Joint Bunching, and Anchor Slide
Wound Too Close to the Sleeve Edge
This is the most common failure and the easiest to miss. A sleeve with a wound sitting two inches from the cuff looks well-covered. But dogs can push fabric with their nose, pull at the edge with their teeth, and twist their body to shorten the effective distance.
The edge of a sleeve is structurally the weakest point in the barrier. There is no fabric beyond it to resist displacement. When a dog applies force at or near the edge—nudging, licking, pulling—the fabric lifts or folds. The closer the wound sits to that edge, the less displacement is needed to expose it.
Observable check: After 20 minutes of unsupervised rest, look at the sleeve edge. If it has crept closer to the wound by more than half an inch compared to the starting position, the margin is too small. The dog is working the edge. You need longer coverage above and below the wound site, or a cone backup to block access to the edge entirely.
Fabric Bunching at the Joint
Every time a dog bends a leg, the fabric on the inner side of the joint compresses. If the sleeve material cannot distribute that compression evenly, it bunches into a fold. That fold is a three-dimensional gap—a tunnel your dog can push a tongue into.
Stiff fabrics gap rather than bunch. They hold their shape but pull away from the skin, creating an open channel. Soft, thin fabrics bunch aggressively, forming tight folds that still leave a void at the crease. The ideal fabric for joint coverage has enough body to resist folding into sharp creases, combined with enough elasticity to recover its shape when the joint straightens again.
This is a design-level difference. A sleeve with a flexible panel over the joint area—one that moves with the leg rather than resisting it—distributes compression across a wider zone and reduces the depth of any single fold. A single-layer tube of uniform fabric cannot do that.
Observable check: Bend the dog’s leg manually (gently) to the angle it would reach during curled rest. Run a finger along the inner joint line under the sleeve. If you feel a gap deeper than roughly the thickness of your fingertip, a determined dog can exploit it.
Sleeve Sliding Toward Paw or Shoulder
Sleeves that rely entirely on circumferential tension to stay in place inevitably slide. The leg is conical—wider at the top, narrower at the bottom. Tension creates a downward force vector. Movement adds shear. Over hours, the sleeve migrates.
Anchoring changes this equation. A sleeve with a shoulder or chest anchor redirects the migration force into a structure that does not taper. The anchor point stays fixed relative to the body, and the sleeve moves with the limb as a unit rather than sliding along it. For active dogs or wounds that sit close to a joint, an anchored recovery sleeve design provides a different order of stability compared to a simple tube.
| Failure Pattern | What It Looks Like | Design Factor That Reduces It | Main Limitation |
|---|---|---|---|
| Edge proximity | Wound within 1 inch of cuff; dog noses the edge open | Extended coverage length above and below wound | Longer sleeve adds weight and may bunch more at joints |
| Joint bunching | Fabric fold at knee or hock crease; tongue access through gap | Flexible panel over joint zone; elastic recovery material | Flexible panels add manufacturing complexity and cost |
| Anchor slide | Sleeve migrates distally; wound emerges from proximal end | Shoulder or chest anchor; multi-point fixation | Anchored designs are harder to fit on deep-chested breeds |
| Signal Level | What You See | Action |
|---|---|---|
| Green | Wound stays covered in all three positions; edge does not migrate over 2+ hours | Continue, recheck fit morning and evening |
| Yellow | Edge drifts closer to wound; dog occasionally noses the area but cannot make contact | Add backup protection, monitor hourly |
| Red | Dog licks, chews, or wets the wound area; sleeve edge has exposed part of the wound | Stop relying on sleeve alone; combine with cone or suit; contact veterinarian |
When a Sleeve Is Not the Right Choice
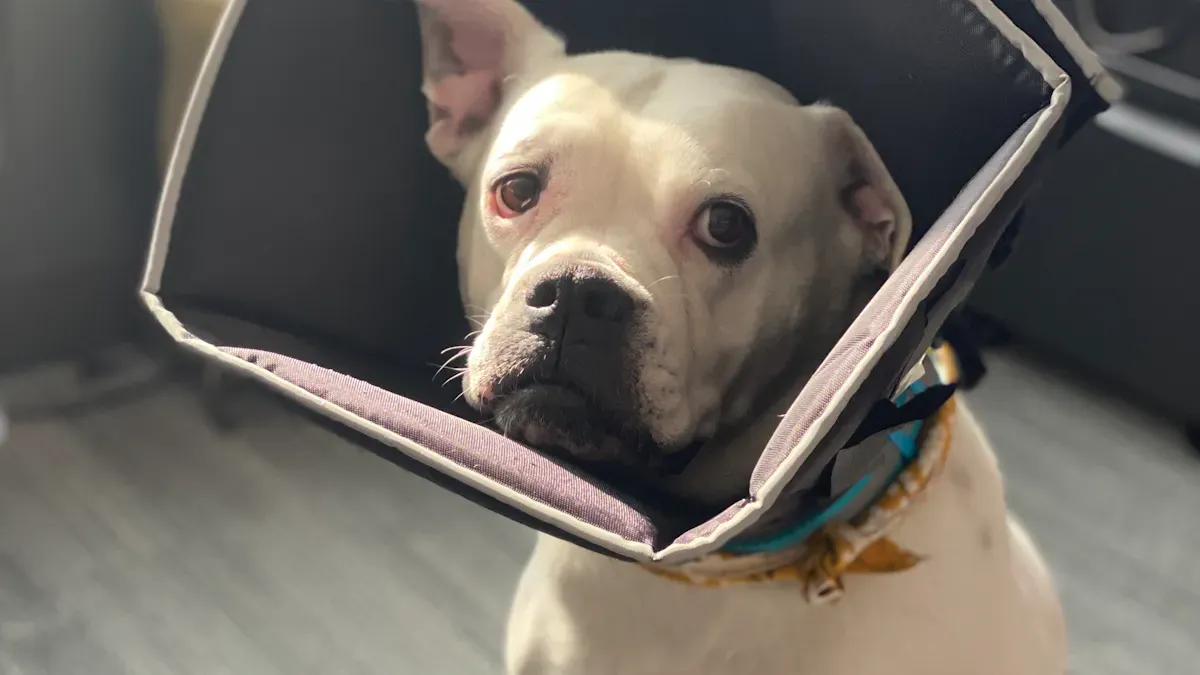
A recovery sleeve is a coverage tool. It works by interposing fabric between the mouth and the wound. When the geometry of the wound, the dog’s flexibility, or the dog’s determination defeats that fabric barrier, the sleeve is the wrong primary device.
Wounds on the paw or toes are notoriously hard to protect with a sleeve. The dog can bend around the distal edge. No reasonable sleeve length can prevent that—the dog’s mouth simply approaches from a different angle. For these wounds, a cone or a combined bandage-and-barrier approach usually performs better.
Body-side and chest wounds also fall outside sleeve territory. The coverage shape does not match the wound location. A recovery suit that wraps the torso provides the full-coverage barrier that a limb sleeve cannot. The trade-off: suits can gap at the leg openings on lean or narrow-bodied breeds. Check the leg-hole seal specifically during the curled position—that is where most suit failures occur.
Determined chewers defeat any single-layer barrier given enough time. If a dog has already chewed through one sleeve, adding a second sleeve of the same design rarely solves the problem. The correct escalation is a cone—a rigid barrier the dog cannot collapse with jaw pressure—combined with supervision. You can learn more from a detailed fit guide that covers sizing and wear-time limits.
Disclaimer: The fit checks described here assume a short-coated dog where skin and wound edges are visible through or around the sleeve. Double-coated or very thick-furred breeds may show subtler signs of sleeve failure—dampness at the fabric edge, a sour smell developing under the sleeve, or the dog fixating on one area without visible skin contact. In these cases, hand-check the wound margin by feel rather than relying on visual inspection alone. If the dog’s leg conformation falls well outside typical breed proportions—particularly in dogs with angular limb deformities, very deep chests, or heavy muscling—the standard coverage guidelines may not catch every pressure point or gap.
Stop-Use Signs
Stop using the sleeve as the sole protective device if you observe any of the following:
- The dog licks or chews at the sleeve fabric itself—this means the dog has identified the barrier and is working to defeat it
- The wound edge is visible beyond the cuff in any of the three test positions
- The sleeve is wet with saliva, even if you did not witness licking
- The skin under or around the sleeve shows new redness, heat, or swelling that was not present before
- The sleeve has visible damage—frayed edges, stretched-out elastic, torn stitching
Any of these signals means the sleeve has stopped functioning as a reliable barrier. The wound is either already being accessed or is one unsupervised moment away from being accessed. Escalate to combined protection and call your veterinarian if the wound shows signs of regression.
FAQ
Why does my dog still reach the wound even though the sleeve looks tight?
Tightness is not coverage. A tight sleeve can still gap at the joint crease when the leg bends, and overtightening creates pressure points that cause the dog to focus more attention on the area. What matters is edge distance from the wound in all positions, not how snug the sleeve feels at rest.
How far past the wound should a sleeve extend?
At minimum, the sleeve edge should sit at least one and a half to two inches beyond the wound in both directions when the dog is standing. Then verify that this margin holds when the dog curls—the distance often shrinks in that position. If it drops below roughly an inch, the margin is insufficient for an unsupervised dog.
Can I layer two sleeves for extra protection?
Layering adds thickness but does not fix the underlying failure. If the inner sleeve shifts, the outer sleeve shifts with it. The failure mode remains the same. A layered approach works better when you combine different barrier types—a sleeve underneath for wound coverage, plus a rigid cone to block mouth access to the sleeve edge.
Does a recovery suit work better than a sleeve?
It depends on wound location, not on any inherent superiority of one product type. A suit covers the torso and can protect body-side wounds that a sleeve cannot reach. But a suit cannot match the focused limb coverage of a properly fitted sleeve for leg wounds. The question is not which product is better—it is which coverage shape matches the wound geometry.
What if my dog tolerates the sleeve but I still find it wet in the morning?
Wetness means the dog accessed the area, even if you did not witness it. The sleeve failed as a barrier. Do not wait for visible wound damage—by the time you see redness or discharge, the licking has already caused harm. Add overnight backup protection immediately, and check the wound in the morning for any changes.
