

The head protector sits flush across your dog’s face. The closures are tight. It looks right. Then your dog drops its head, rotates slightly, and the front paw comes up — hooking the bottom edge, pulling the mesh inward, pressing fabric directly into the wound you were trying to protect.
This is not an anomaly. It is a geometry problem. Most head protectors are designed to block forward contact — debris, grass, direct licking. They are not built to resist a paw approaching from below at an angle. And that is the distinction that determines whether protection holds or fails within the first fifteen minutes of wear.
Why a Head Protector Lets a Paw Through Even When the Fit Looks Right
Here is the causal chain: when a dog lowers its head to sniff or eat, the head protector’s bottom edge moves closer to the shoulder line. That shortens the distance the front leg must travel to make contact. The paw lifts, the carpus flexes, and the arc of the reach brings the paw up under the protector’s rim. If the edge is unsecured or too soft, the paw catches it. That is edge hook. Once hooked, the dog pulls — and the entire cover shifts toward the wound site.
Three variables determine whether this chain completes or breaks:
- Edge stiffness. A flexible edge folds under paw pressure. A stiffer edge resists the hook but can press into the face if the dog pulls hard enough to shift the entire protector.
- Lower closure point position. If the lowest closure sits above the jawline, the bottom rim floats. A floating rim is catchable. A closure that anchors below the jaw reduces the unsupported edge length the paw can grab.
- Mesh tension under load. Breathable mesh stretches. When a paw presses against stretched mesh, the fabric deforms inward — it does not need to tear to press against a healing incision or an irritated eye.
A quick observable check: fit the protector and let the dog drop its head to the floor. Run a finger along the bottom rim from ear to ear. If you find more than a finger’s width of unsupported fabric between the rim and the dog’s skin anywhere along that arc, a determined paw will find that gap. It is not a question of if. It is a question of how many minutes.
Licking, biting, rubbing, and pawing each stress the protector differently. A tongue applies moisture and low shear. Teeth apply focused point pressure. Rubbing against furniture applies lateral displacement. But pawing combines all three — the claw hooks, the pad pushes, and the leg pulls. That is why pawing persists through products designed primarily for lick deterrence. The failure mode is mechanically distinct.
| What the dog does | Why the product fails | Fail signal to check |
|---|---|---|
| Paw hooks the bottom edge | Edge is too flexible or unsupported below the jaw | Cover pulls downward or shifts toward the nose after paw contact |
| Paw pushes mesh into the face | Mesh lacks enough tension or standoff to resist inward deformation | Fabric contacts the wound or eye when pressed lightly with a finger |
| Dog rubs against furniture | Side closures allow lateral rotation under shear | Cover sits off-center by half an inch or more after a rub sequence |
| Dog removes the protector entirely | Rear closure or crown strap cannot hold against repeated pulling | Closure loosens by one adjustment notch or more within 15 minutes |
| Dog scratches near the eye or nostril | Coverage arc is too shallow — the rim sits too high on the cheek | Paw reaches the target zone without needing to hook the cover first |
Testing Whether the Protector Actually Blocks the Paw
A static fit check tells you almost nothing. The protector must be tested in motion, under the specific movements that trigger the failure. Head cover fit depends on dynamic stability, not just initial strap tension.
Run this sequence during the first supervised wear session. It takes about ten minutes.
Step one — head lowering. Hold a treat at floor level and let the dog follow it down. Watch the bottom rim. Does it gap open? Does it fold under? A rim that lifts more than a finger’s width from the jaw during a full head drop will catch a paw.
Step two — side turning. Call the dog’s attention to each side. The protector should not rotate independently of the head. If the eye or nose opening shifts off-center by half an inch or more, the crown closure is not stabilizing against lateral torque. That same rotation will happen when the dog rubs against a couch or doorframe.
Step three — paw reach. This is the one that matters most. Let the dog attempt a natural pawing motion. Do not restrain. Watch the arc. Does the paw contact the cover edge first, or does it slip under? A paw that contacts the edge and glances off is manageable. A paw that slips under without resistance means the bottom rim is floating in the reach zone.
After each test, run a finger under the rim at the point closest to the wound. If you feel fabric touching a healing spot that was clear before the test, the protector shifted under load. That is a failure. Do not tighten and re-test indefinitely — a protector that needs constant readjustment is the wrong configuration for the behavior it is facing.
| Product option | Best protection role | Common failure when dog paws face | Structure that reduces failure |
|---|---|---|---|
| Field Guard Head Protector | Face shielding, outdoor debris blocking | Paw hooks the bottom rim or pushes mesh inward | Multi-point closure anchoring, breathable mesh with standoff clearance, low jawline coverage |
| Front Leg Sleeve or Anti-Lick Sleeve | Paw-side scratch reduction | Sleeve slides down, exposing the pawing zone | Above-elbow anchor, anti-slip inner band, full-limb coverage above the carpus |
Edge Design, Mesh Standoff, and Anchor Placement That Change the Outcome
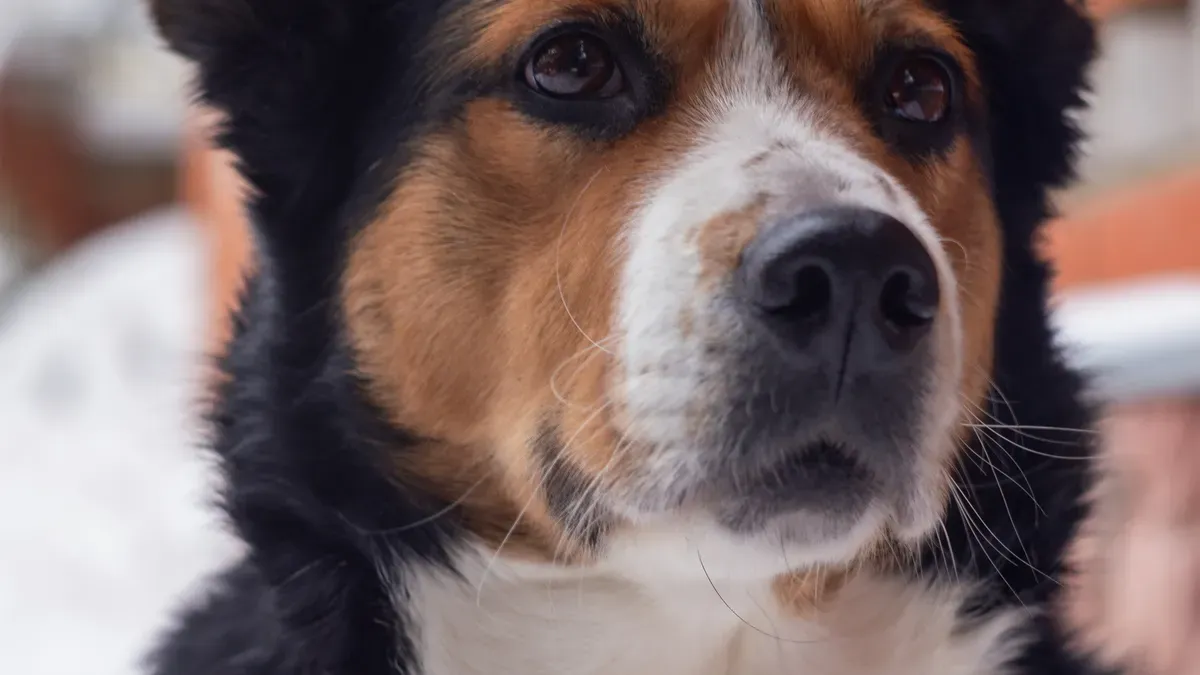
The difference between a head protector that blocks a paw and one that does not is rarely visible in a product photo. It lives in three design details.
Edge construction. A rolled or bonded edge resists hooking better than a raw-cut or single-layer hem. The paw claw catches on exposed fabric lips. When the edge presents a smooth, continuous surface without a lip, the claw glances off instead of digging in. This is the same principle that determines whether a sleeve cuff rolls or stays flat — exposed cut edges are catch points.
Mesh-to-face distance. Mesh that sits directly on the fur transmits every push straight to the skin underneath. A protector with even a quarter-inch of structural standoff — created by a light internal frame, a shaped nose bridge, or raised cheek panels — means the paw can press the mesh inward without the fabric contacting the wound. The mesh deforms but does not reach the target. That quarter-inch is the margin between irritation and protection.
Observable check: press the mesh lightly with two fingers directly over the wound site. If fabric touches skin with less pressure than a paw applies, the standoff is insufficient. A paw generates more force than two fingers. If two fingers close the gap, the paw will too.
Anchor count and position. A single crown strap and a single under-chin closure create two anchor points. That gives the protector one axis of stability — vertical. A paw coming from below applies force on a completely different axis. Three or more closure points — crown, cheek, and a low rear anchor behind the jaw — create multi-axis stability. The protector resists rotation, lift, and lateral shift simultaneously. Head cover designs vary most in closure configuration, and that variation matters more than material or color for actual paw-blocking performance.
A front leg sleeve changes the equation from the other side. Instead of making the head protector paw-proof, it removes the paw from the equation. But sleeve height is critical. A sleeve that stops below the elbow leaves the carpus and upper limb free — the dog can still flex the shoulder and reach the face. Coverage that extends above the elbow restricts the full reach arc, not just the lower leg. The sleeve must anchor above the joint that drives the reaching motion.
When a Head Protector Alone Is the Wrong Tool
There is a point where adjusting, re-tightening, and layering stops being useful and starts being delay. Recognizing that point is not giving up. It is understanding the product’s real boundary.
A head protector alone is the wrong configuration when any of these are true:
- The dog can reach the wound with a paw within the first five minutes of supervised wear, despite correct sizing and closure tension.
- The protector shifts into the eye or nostril area during normal head movement. A cover that migrates into sensitive zones creates a new problem while attempting to solve the original one.
- The wound is located at the edge of the protector’s coverage zone — near the eye corner, the lip margin, or the ear base. These border zones are mechanically hardest to seal against a paw approaching from the side.
- The dog shows signs of mounting frustration — repeated pawing that accelerates rather than subsides. Escalating pawing can turn a small wound into a larger one within minutes.
In these cases, the head protector is not failing because it is defective. It is failing because paw blocking was never its primary design function. Face shielding against debris and lick deterrence are different mechanical problems than resisting a motivated paw. Anti-lick and wound protection solutions that combine head coverage with limb-level barriers address the full access path rather than half of it.
Adding a front leg sleeve that covers above the elbow, switching to a cone-style clearance barrier, or combining a head protector with a recovery suit are not concessions. They are configuration choices that match the product combination to the behavior. Anti-lick product combinations exist because single-point protection solves single-axis problems — and pawing is a multi-axis problem.
Disclaimer: The fit checks described here assume a mesocephalic or moderately dolichocephalic skull shape — the head forms most commercially available protectors are patterned for. Brachycephalic breeds with very short muzzles and pronounced eye projection may show different failure points because the protector’s standoff geometry changes when the facial plane is compressed. For those dogs, edge catch near the eyes is a higher risk than bottom-rim hooking, and the finger-press mesh check may underestimate contact risk because of the reduced muzzle-to-eye distance. If the dog has an angular limb deformity or a very deep chest that changes the front-leg reach arc relative to breed norms, the reach-angle tests described here may not catch every pressure point.
FAQ
How quickly will a dog find the failure point in a head protector?
Most dogs that are motivated to paw at their face will find a catchable edge or a mesh gap within the first ten to fifteen minutes of wear. The first supervised session is the highest-yield observation window. If the protector holds through two full cycles of the three-step movement test without shifting, it is likely stable for that dog’s behavior pattern.
Can tightening the closures solve the paw-through problem?
Tightening alone changes strap tension but does not change edge geometry, mesh standoff, or the number of anchor points. A tighter protector that still has a floating bottom rim will still catch a paw — the paw just pulls against more tension, which can increase the force transmitted to the wound when the edge eventually hooks. Better to change the anchor configuration than to keep tightening the same one.
What is the observable difference between a protector that fits and one that actually blocks the paw?
A protector that fits stays in place when the dog is still. A protector that blocks the paw stays in place and does not press mesh into the wound when the dog drops its head and reaches with a front leg. The test is the motion sequence, not the static look.
