
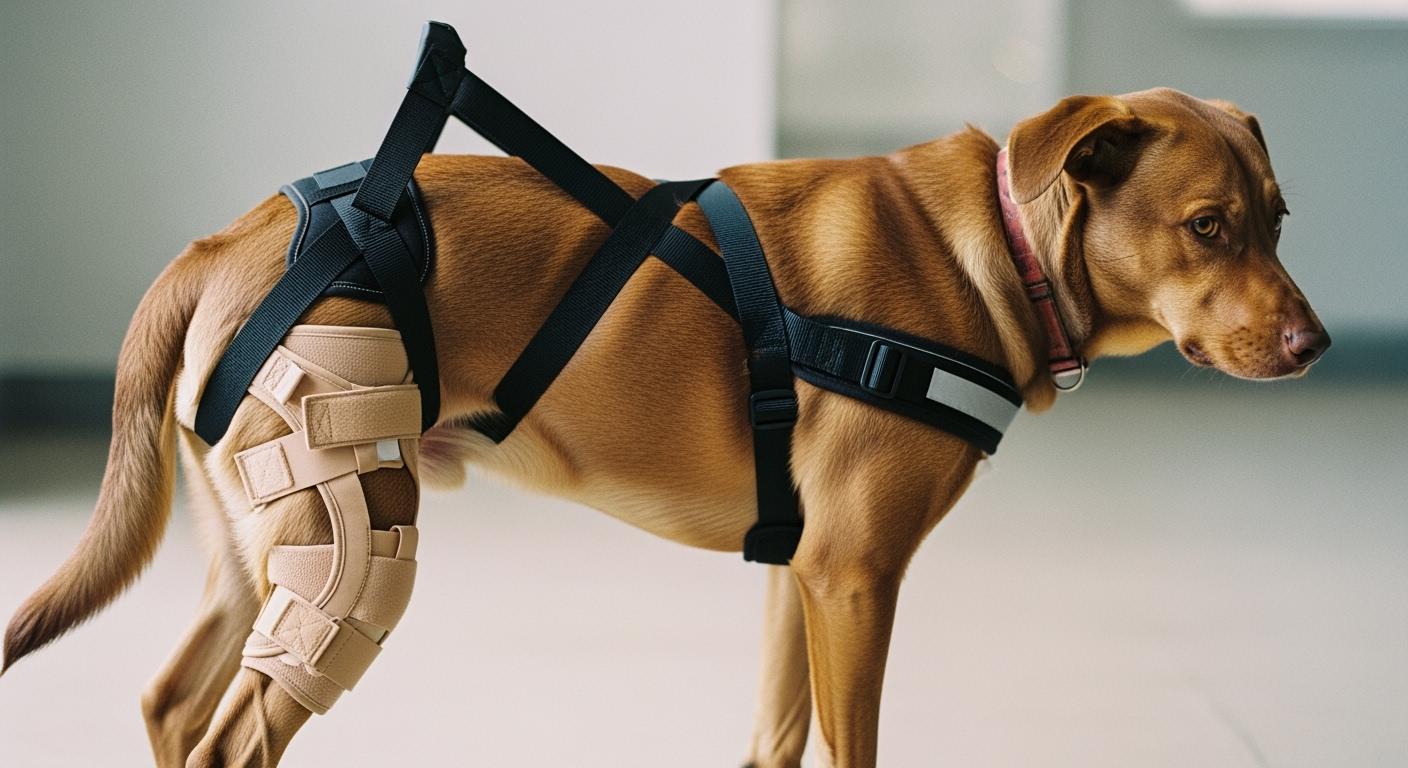
A dog wears a knee brace for ACL or CCL support. The owner adds a rear lift harness for stairs or car entry. Within minutes, the brace rotates. The hinge digs behind the knee. The dog hesitates, limps, or sits down and refuses to move.
This is not a sizing mistake. It is a strap-path conflict. Two support tools, each designed to help, are working against each other mechanically. The harness transfers upward force through straps that cross the brace hinge or closure path. That force pulls the brace out of stifle alignment. What breaks first is usually the brace position — and once the hinge no longer tracks the joint axis, the brace is doing nothing useful while simultaneously causing discomfort.
A dog knee brace depends on a stable hinge-to-joint relationship. The stifle is not a simple hinge — it rotates and translates through its range of motion. A polycentric hinge that roughly approximates this path works only when the brace shell stays anchored to the leg. Any external force that shifts the shell also shifts the hinge center relative to the joint center. Once offset exceeds roughly the hinge’s tolerance band, the brace resists natural motion instead of guiding it. The dog compensates. Compensations cascade — altered stride, hip hike, weight shift to the opposite leg.
Where the Conflict Starts Mechanically
The rear lift harness applies force to help the dog stand or climb. But that force has a direction. Most harnesses route straps under the belly and behind the hind legs, then converge at a handle above the hips. When the handler lifts, the force vector is upward and slightly rearward.
The knee brace is designed to resist forces perpendicular to the leg — side-to-side shear from joint instability. It is not designed to resist an upward pull concentrated at a single strap line crossing behind the knee. When the harness rear-leg strap passes across the brace hinge or its closure tab, the upward lifting force converts into a rotational torque on the brace shell. The hinge axis tilts. The proximal shell segment angles inward or outward relative to the femur. Over multiple steps, the brace walks itself down the leg or rotates around it.
This is the core of the rear lift harness fit problem when two devices overlap: the brace needs a clean, uninterrupted path around the stifle to maintain alignment. The harness strap, pulling at even a slight angle across that path, becomes a persistent displacement force. Tightening the brace straps does not fix this. It only adds compression to a device that is already being pulled off-axis.
Check this yourself. Fit the brace alone. Mark the brace edge position on the fur with a finger or a small piece of tape. Add the harness. Walk five minutes on flat ground. Remove both. If the brace edge has drifted more than a half-inch from the mark, the harness strap path is intersecting the brace path — even if no obvious overlap was visible at setup.
What Fails First and How to Spot It
Brace rotation and hinge misalignment
This is the mechanic at work: the harness rear-leg strap crosses the brace closure at an oblique angle. Each time the handler lifts — even slightly — that strap tightens against the brace shell. The resulting torque rotates the brace a few degrees. A few degrees becomes ten. Ten degrees becomes the hinge binding against the skin instead of tracking the joint. The dog shortens stride on that leg. The handler interprets this as fatigue or soreness from the underlying condition. It is not. It is the brace fighting the joint instead of supporting it.
Walk the dog on flat ground for ten minutes with both devices on. Remove both. Run your hand along the inside of the brace liner. Dampness concentrated under the hinge zone indicates the brace was trapping heat and moisture — a sign it was not moving with the leg freely. A dry liner with a uniform temperature profile suggests the hinge tracked correctly.
Pressure lines that do not fade
A narrow harness strap concentrates force on a small skin area. When that strap sits under or over a brace edge, it creates a double pressure zone: the brace edge presses down, the strap presses up. The skin between them takes the full load.
Remove both devices after a flat-ground walk. Look behind the knee and along the thigh. A pink mark that fades within ten minutes is normal compression. A deep red line that stays visible after fifteen minutes means capillary-level pressure damage has already started. That line is the exact path where the harness strap and brace edge intersect. It is not a sizing issue. It is a strap-path issue.
Disclaimer: This visual check assumes a short-coated dog where skin is visible without parting fur. Double-coated breeds may hide early rub marks beneath the undercoat. For these dogs, run your fingers along the skin surface behind the knee and the inner thigh — warmth, dampness, or any texture change on the skin is a warning signal even if no red line is visible.
Behind-knee rubbing under load
Stairs and car entry amplify every fit problem. The handler lifts more deliberately. The harness straps tighten more. The brace, already marginally positioned, shifts further. The dog feels the hinge press into the knee crease and responds — swinging the leg outward, bunny-hopping, freezing on the step.
Do not test stairs or car transfers until the flat-ground test passes. If the dog hesitates on a single step during that first stair attempt, the conflict is unresolved. Go back to separated strap paths.
| Combined-use problem | What the handler sees | Why it happens | Better structure or adjustment |
|---|---|---|---|
| Harness strap crosses brace strap | Brace shifts, dog limps | Strap paths overlap | Separate strap paths around the knee |
| Lift panel sits too low | Brace digs into knee crease | Panel presses brace hinge | Wider padded lift panels |
| Handle pulls straight upward | Brace rotates, dog resists | Upward force twists brace | Adjustable handles guide forward |
| Brace rotates during walking | Brace moves, dog bunny-hops | Harness shifts brace | Low-profile closures near thigh |
| Red line appears behind knee | Lasting mark, dog chews area | Narrow pressure line forms | Check for pressure, adjust padding |
| Dog hesitates on stairs | Stops, swings leg outward | Brace loses alignment | Confirm hinge tracks stifle joint |
A compatible setup is not about buying different products. It is about strap-path separation. Each device needs its own route around the joint. When the orthopedic knee brace fit depends on hinge-to-joint alignment, any external strap crossing that alignment zone is a failure point waiting to surface.
| Signal level | What it looks like | What to do |
|---|---|---|
| Green | Brace stays centered, harness does not cross hinge, dog walks slowly without stress | Continue use, monitor fit |
| Yellow | Light strap shift, mild rubbing, short hesitation, harness panel sliding | Adjust straps, check padding, retest |
| Red | Swelling, heat, lasting red marks, sudden lameness, refusal to move, chewing, pain reaction | Stop use, contact your veterinarian |
When the Combined Setup Is Not the Right Choice
Some combinations simply do not work. Recognizing that early saves the dog days of discomfort and the handler days of troubleshooting.
Wider padded lift panels distribute force across more square inches of surface area. That helps. Low-profile closures reduce the bulk at the thigh where brace and harness layers meet. That also helps. Adjustable handles that let the handler guide forward rather than lift straight up change the force direction from perpendicular to more parallel with the brace plane. That helps most of all.
But none of these refinements matter if the dog’s leg shape or the specific brace-harness geometry makes strap separation impossible. A dog with a short femur and deep flank may have no space for two separate strap paths around the stifle. The harness rear-leg strap may inevitably cross the brace zone. In that case, the combination fails — not because either product is poorly designed, but because the anatomy leaves no room for both paths.
A knee brace for dog stability works within specific anatomical boundaries. So does a lift harness. When those boundaries overlap without clearance, the handler faces a choice: use one device at a time, or find a harness design that routes the lift entirely differently — such as a full-body harness that transfers weight through the chest and hips without rear-leg straps.
Disclaimer: If your dog has an angular limb deformity, a very deep chest, or a leg conformation that falls outside the breed norms the brace was patterned for, the fit checks described here may not catch every pressure point. In those cases, even a visually clean strap separation may still create uneven loading under the brace shell during movement.
When the dog resists, the setup is already failing
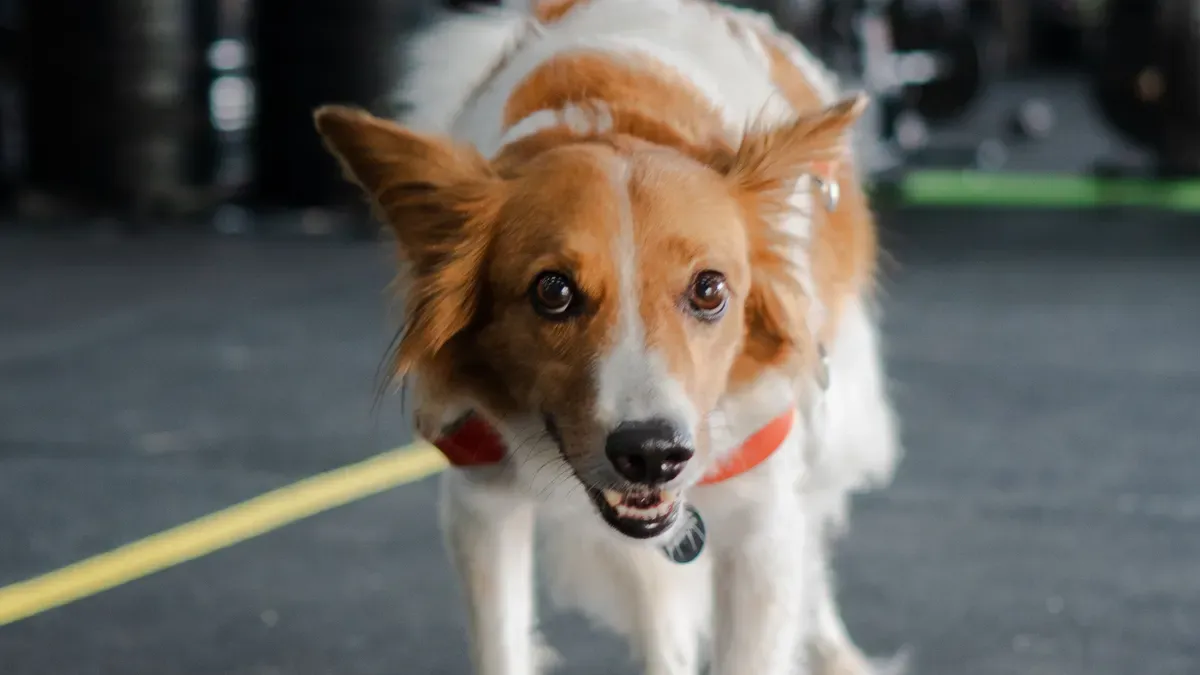
Dogs communicate discomfort through behavior before skin breaks down. Freezing at the top of stairs. Swinging the rear leg outward instead of stepping through. Sitting down mid-walk. Chewing at the brace or harness. These are not training issues. They are mechanical conflict signals.
Stop using both devices together. Separate the knee brace fit and hinge alignment check from the harness check. Use the brace alone for short, supervised walking. Use the harness alone for transfers. Wait until the dog moves comfortably in each device separately before attempting combined use again — and even then, only if the flat-ground ten-minute test produces no yellow or red signals.
Skin signals that mean stop
Remove both devices. Check behind the knee, along the inner thigh, and at the groin crease. These are the three zones where harness and brace interact. A mark that does not fade within fifteen minutes means capillary compression exceeded safe limits. Swelling after removal means tissue fluid accumulated under the pressure zone — the body’s response to extended low-grade compression. Heat in a specific spot means friction, not just contact.
Any one of these signals means the current strap-path setup is not working. Do not add padding and try again. Padding adds bulk. Bulk changes the fit geometry of both devices. Instead, change the strap paths so the harness rear-leg strap avoids the brace entirely — routing above or below the joint line without crossing the hinge or closure.
For rear lift harness use during stairs and transfers, the safest approach is to shorten the duration of combined use rather than attempting to engineer a perfect fit. Use the brace for walking. Attach the harness only for the specific transfer — stairs, car entry, getting up from rest. Remove immediately after. This reduces cumulative pressure time even if strap paths cannot be fully separated.
FAQ
Why does the brace rotate even after tightening the straps?
Tightening adds compression, not positional stability. The brace rotates because an external force — the harness strap — is pulling it at an angle the brace shell was never designed to resist. Tightening does not redirect that force. It only increases skin pressure underneath a device that is already being pulled off-axis. The fix is moving the harness strap path so it no longer crosses the brace hinge or closure zone.
Can padding bridge the gap between the brace and harness?
Padding adds material thickness. That changes how both devices sit on the leg. The brace shell, designed to contour against the leg, now sits on top of a pad, increasing its offset from the joint center. The harness strap rides higher, altering its force angle. For most dogs, padding trades one fit problem for another. Separating strap paths is the more reliable approach.
How long should a combined-use test session last?
Ten minutes of slow walking on flat ground. No stairs. No car transfers. No ramps. Remove both devices immediately after and check the three interaction zones: behind the knee, inner thigh, groin crease. If no red, yellow, or heat signals are present, extend to fifteen minutes the next session. Build duration slowly over multiple days before introducing elevation changes.
Should the knee brace or the harness be put on first?
The knee brace goes on first. Set the hinge alignment against the stifle joint. Confirm the brace shell sits centered and does not rotate during a brief stand-and-weight-shift test. Then add the harness, checking that no strap crosses the brace hinge, closure, or behind-knee crease. Adjust harness strap routing before attaching the handle.
What if the dog needs both devices for daily mobility?
Alternate. Use the knee brace for controlled walking sessions. Use the rear lift harness for transfers only — attach it, complete the stair or car entry, remove it. This keeps cumulative pressure low and gives the skin recovery time between sessions. Combined continuous use tends to create problems that neither device alone would cause, because the failure mode is in the interaction, not in either product individually.
