
You want to know how to help your dog get in car after surgery without causing harm. Always follow your vet’s discharge instructions first. Use slow, gentle movements and support your dog’s body with a ramp or harness if needed. These tools keep your dog safe and reduce pain after surgery. Medium and large dogs often need extra help to avoid slips or sudden movements.
Key Takeaways
Always do what your vet says for safe travel after surgery.
Use a ramp or harness to help your dog and stop injury when moving.
Make a path that does not slip to the car so your dog feels safe and steady.
Watch your dog closely for pain or discomfort after surgery.
Only take car trips when needed to lower stress and help healing.
Risks of dog get in car after surgery
You need to plan before helping your dog in the car. Moving your dog can hurt healing spots and stitches. You want to keep your dog safe from pain and problems while they heal. Knowing the risks helps you make better choices for your dog after surgery.
Why no jumping protects healing
Jumping after surgery can be dangerous. When dogs jump, it can hurt healing areas. This is worse after bone or joint surgeries.
Jumping can cause new injuries or slow healing.
Dogs who are active too soon can hurt themselves again.
Bones may need eight weeks or more to heal.
Not letting your dog jump helps them heal better.
First 24 hours after anesthesia
The first day after surgery is very important. Anesthesia can make your dog tired and wobbly for a day.
Sleepiness and confusion are normal and affect movement.
Your dog may have trouble walking or standing up.
Sometimes, sleepiness lasts two days, so watch your dog closely.
When to delay collecting your dog from the vets
Sometimes, it is best to wait before taking your dog home. If your dog is not awake or cannot stand, ask your vet if you should wait.
If your dog is very tired, keeps throwing up, or has trouble breathing, your vet may want them to stay longer.
Always listen to your vet for safe travel and care after surgery.
If you know these risks, you can help your dog heal with fewer problems.
Quick prep before collecting your dog from the vets
Getting ready before collecting your dog from the vets helps make the ride home safer and less stressful. You want to set up your home and car so your dog can rest and heal right away.
Non-slip path to car
Dogs after surgery often feel weak or unsteady. You can help by making a safe, non-slip path from the clinic door to your car.
Place a non-slip runner or towel on the ground if the surface is slick.
Clear away clutter or obstacles that could trip you or your dog.
Keep the path short and direct to limit your dog’s movement.
Tip: If your dog is large or wobbly, ask a helper to steady them as you walk.
Safest seat or crate setup
A secure spot in the car keeps your dog safe during travel.
Use a crate that fits your car and locks in place.
Secure the crate with seatbelt straps to prevent sliding.
Choose a crate large enough for your dog to lie down and turn around.
Line the crate or seat with non-slip mats and soft bedding.
Keep the car cool and bring a blanket for warmth if needed.
If you use a harness, attach it to a seatbelt for extra safety.
Make the crate a cozy space with a soft bed and a favorite toy.
Incision and bandage check
Before you leave, check your dog’s incision and bandages.
Look for redness, swelling, or discharge around the incision.
Expect mild swelling or redness for the first few days, but call your vet if you see heat, bleeding, or cloudy discharge.
Make sure bandages stay clean and dry.
Cover the bandage when outside to protect it from dirt or moisture.
Use an e-collar if your dog tries to lick or chew the area.
Your vet may give pain medicine and special instructions. Always follow these directions to help your dog recover safely.
Safest method of traveling with your dog: decision table
Choosing the safest method of traveling with your dog after surgery helps you protect healing tissues and avoid injury. You need to consider your dog’s size, the type of surgery, and their current strength. The right tools and techniques make transfers smoother and safer.
Choosing by size and surgery type
You should always match your transfer method to your dog’s needs. Dogs who weigh more than 51 pounds are too heavy for one person to lift safely. If your dog is groggy from anesthesia or recovering from orthopedic surgery, you must avoid jumping and sudden movements.
Here is a decision table to help you choose the safest method:
Dog Size/Strength | Surgery Type | Best Loading Method | Why It’s Safer |
|---|---|---|---|
Small (under 25 lb) | Soft-tissue | Two-arm cradle carry | Keeps spine neutral, easy to control |
Medium (25–50 lb) | Soft-tissue | Ramp or assisted step | Limits strain, reduces risk of slips |
Large (>50 lb) | Orthopedic | Ramp + harness + helper | No jumping, full support, prevents twisting |
Any size, groggy window | Any | Ramp or two-person lift | Minimizes movement, supports weak limbs |
Hind-leg weakness | Any | Ramp + rear support sling | Supports weak areas, avoids falls |
Tip: If your dog is over 50 pounds, use a ramp or ask a helper for a two-person lift. Keep your arms close to your body for better support.
Mini Scenario:
You have a 50 lb dog who just had knee surgery. Your dog feels groggy and weak in the first 24 hours after anesthesia. You check the decision table and see that a ramp or harness with a helper is the safest method. You set up a non-slip ramp from the clinic door to your car. You use a harness to guide your dog slowly up the ramp, keeping their body supported. You avoid lifting alone or letting your dog jump, which protects their healing knee.
Ramp, step, or harness: pros and cons
You have several options for helping your dog get in the car after surgery. Each tool has benefits and drawbacks.
Ramps
Gentle slope reduces strain on joints.
Safer for dogs with mobility issues.
Often compact and portable.
May need more space to set up.
Stairs
Can be stable for some dogs.
May take up less space.
More difficult for dogs with joint problems.
Higher risk of slips and falls.
Harnesses
Give you control and support.
Help guide dogs with weak legs.
Must fit well to avoid rubbing or twisting.
Feature | Ramps | Stairs |
|---|---|---|
Strain on joints | Minimal strain due to gentle incline | More strain as dogs must step up |
Safety | Often equipped with side rails for safety | Higher risk of slips and falls |
Portability | Generally more portable and compact | Can be bulkier and less portable |
Suitability for injuries | Better for dogs with serious conditions | May not be suitable for certain injuries |
Ease of use | Easier for larger or less mobile dogs | May be challenging for some dogs to use |
Note: Ramps work best for dogs with joint or bone surgery. Stairs may not be safe for dogs who are weak or recovering from orthopedic procedures.
What to avoid during transfer
You want to keep your dog safe and comfortable during every transfer. Avoid these common mistakes:
Do not ignore your vet’s instructions.
Avoid letting your dog get excited or jump.
Do not give your dog free-range space during transfers.
Avoid high-intensity activities like long walks or fetch.
Do not lift heavy dogs alone; use a ramp or get help.
Safety Reminder: Always keep your dog in a controlled area and monitor their activity closely after surgery.
Choosing the safest method of traveling with your dog helps you protect their healing body and reduce stress. Use ramps, harnesses, and helpers when needed. Always follow your vet’s advice for the best recovery.
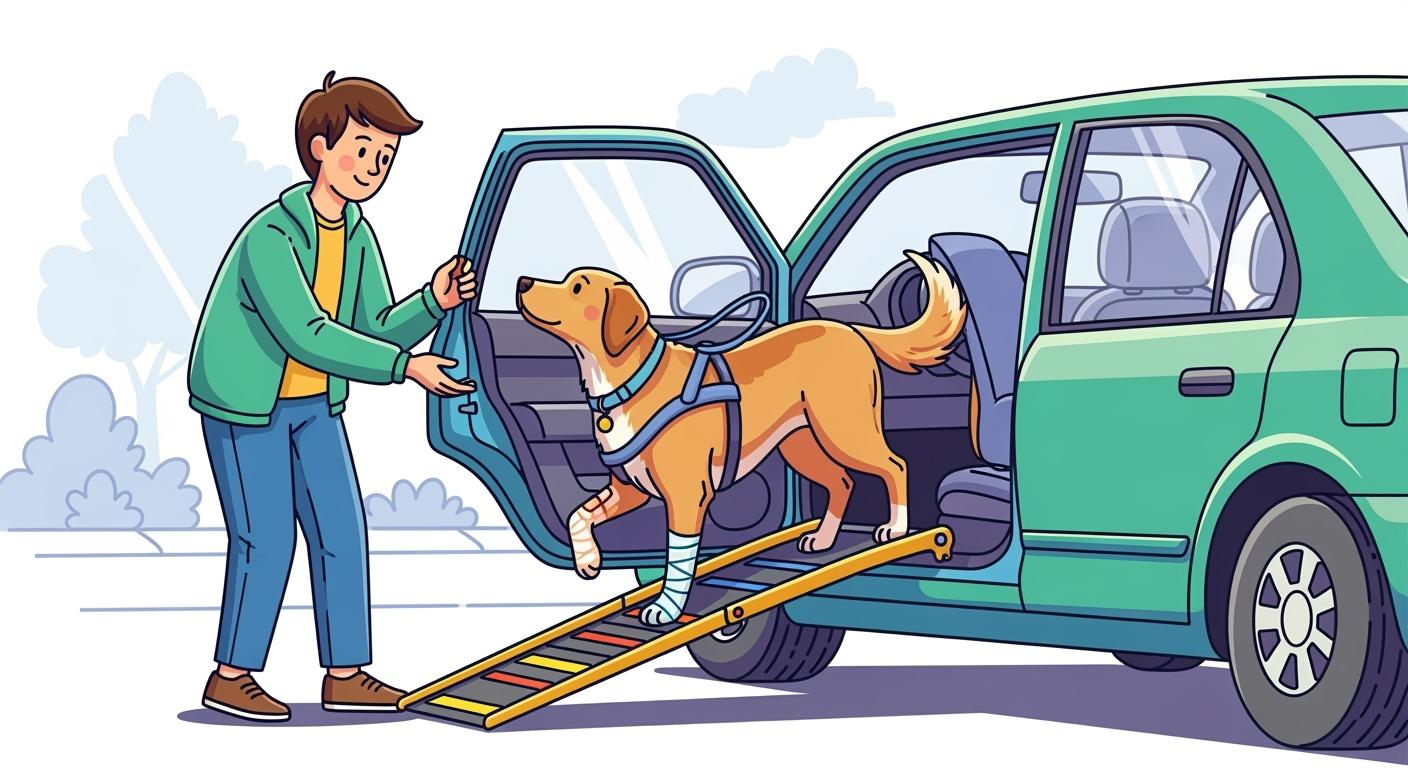
Ramp transfer steps for dog get in car after surgery

Helping your dog get in car after surgery can feel stressful, but using a ramp makes the process safer for both you and your pet. Ramps reduce the impact on healing joints and incisions. They also help dogs with balance problems or weakness after surgery. Follow these steps to make each transfer smooth and safe.
Ramp placement and traction
You want to set up the ramp so your dog feels secure and steady. A good ramp protects healing areas and helps your dog avoid slips.
Step-by-step Ramp Loading
Choose the right ramp for your dog’s size and surgery needs.
Why it matters: A ramp that fits your dog’s weight and the type of surgery gives better support and lowers the risk of falls.Place the ramp on a flat, stable surface leading up to the car seat or crate.
Why it matters: A stable ramp will not shift or wobble, which keeps your dog calm and steady.Check for a non-slip surface on the ramp.
Why it matters: Good traction prevents your dog from slipping, especially if they feel weak or unsteady.Secure the ramp to the car if possible.
Why it matters: A ramp that stays in place helps your dog trust the path and move slowly.Lay a towel or non-slip mat at the base and top of the ramp.
Why it matters: Extra grip at the start and end of the ramp helps your dog step on and off with confidence.Introduce your dog to the ramp slowly.
Why it matters: Letting your dog sniff and explore the ramp first can lower stress and build trust.Have a helper steady the ramp or your dog if needed.
Why it matters: Extra hands can keep the ramp from moving and support your dog if they feel unsure.
Tip: Use a rear support sling or full-body harness for extra help, especially if your dog has trouble with their back legs.
Leash and harness guidance
A harness gives you better control and support than a collar. You want to guide your dog gently and keep their body steady as they walk up or down the ramp.
Use a well-fitted harness that supports your dog’s chest and shoulders.
Attach a short leash to the harness for close control.
Stand beside your dog, not behind them, to guide their pace.
Give calm, steady cues as your dog moves up or down the ramp.
If your dog struggles to stand, use a rear support leash or sling to help lift their back end.
Avoid pulling or jerking the leash. Let your dog move at their own speed.
Note: Always supervise your dog on the ramp. Never let them jump off the side or rush the process.
Safe unloading after travel
Unloading your dog after surgery needs the same care as loading. Ramps give a gentle slope so your dog can walk out of the car at their own pace.
Park on a flat surface before unloading.
Set up the ramp securely from the car door to the ground.
Place non-slip mats at both ends of the ramp.
Attach the harness and leash before opening the car door.
Guide your dog slowly down the ramp, supporting their body as needed.
Watch for signs of pain or weakness. Stop if your dog seems uncomfortable.
Use a helper or a sling for extra support if your dog feels wobbly.
Using a ramp every time you help your dog get in or out of the car can protect healing joints and prevent new injuries. This routine also helps your dog feel safe during recovery.
By following these ramp transfer steps, you give your dog the best chance to heal comfortably after surgery. Always move slowly, use the right tools, and watch your dog closely during each transfer.
Harness and sling transfer for rehabbing your dog after surgery
Using a harness or sling gives you more control and helps support your dog’s weight after surgery. These tools provide stability, which is important when rehabbing your dog after surgery. You can use a full-body lift harness, a rear support sling, or traction aids to help your dog move safely.
No-twist lifting sequence
Follow these steps to help your dog get in and out of the car with a harness or sling:
Place the harness or sling under your dog while they stand or lie on their side.
Why it matters: This keeps your dog steady and avoids sudden movements.Check that the harness fits snugly but does not pinch or rub.
Why it matters: A good fit prevents discomfort and skin problems.Attach the handles or straps so you can lift evenly from both sides.
Why it matters: Even lifting keeps your dog’s spine straight and protects healing areas.Stand close to your dog and keep your back straight.
Why it matters: This protects your back and helps you lift safely.Gently lift using your legs, not your back, and avoid twisting.
Why it matters: Lifting with your legs lowers the risk of injury for both you and your dog.Move slowly and keep your dog’s body level.
Why it matters: Slow movement prevents stress on healing tissues.Guide your dog into the car, keeping them close to your body.
Why it matters: Staying close gives your dog confidence and support.Set your dog down gently, making sure all feet touch the ground at the same time.
Why it matters: Gentle placement avoids sudden pressure on healing spots.
Two-person transfer for large dogs
If your dog is large or heavy, ask a helper to assist you. One person can lift the front while the other supports the back. Use a full-body harness with handles for better control. Communicate clearly with your helper before each move. Count out loud so you both lift and set down at the same time. This teamwork keeps your dog stable and reduces the risk of slips or twists during transfer.
Setting down safely
Always set your dog down on a non-slip surface. Place a towel or mat where your dog will land. Support your dog until they stand steady. Watch for signs of pain or weakness. If your dog seems uncomfortable, pause and let them rest. Using a harness or sling helps you protect your dog’s healing body after surgery.
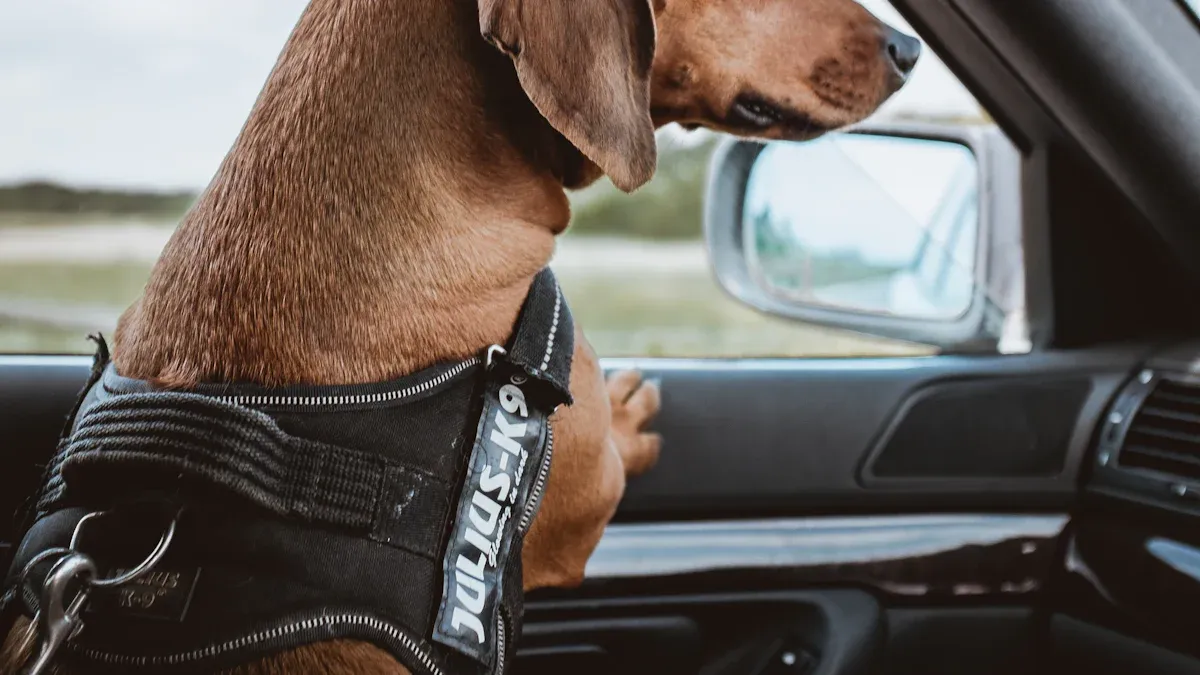
Comfort and safety during travel
Keeping your dog comfortable and safe during car travel after surgery helps protect their healing body. You want to create a calm space that prevents slipping, reduces stress, and keeps your dog from bothering their incision. These steps support a smooth ride home and help your dog get in car after surgery with less risk.
Prevent slipping in car
Dogs often feel unsteady after surgery. You can help by making the car floor or seat less slippery. Place a non-slip mat or towel where your dog will sit or lie down. Use a crate with a soft, grippy bed if possible. Secure the crate or bed so it does not slide during turns or stops. If your dog rides on the seat, use a harness attached to a seatbelt for extra stability. Keep the area free of loose items that could shift and startle your dog.
Tip: Bring your dog’s favorite blanket or toy to help them feel safe and relaxed.
Managing licking and chewing
Dogs may try to lick or chew their incision during travel. This can slow healing or cause infection. You can use several tools to prevent this:
Put a well-fitted recovery suit on your dog to cover the incision and keep it clean.
Keep a soft cone (Elizabethan collar) ready if your dog tries to reach the surgical site.
For some dogs, both a cone and a recovery suit work best for short periods.
On longer trips, stop every 30–45 minutes to check the incision and suit, offer water, and give a short leash break if your vet allows.
Internal link to: dog cone alternatives after surgery
Short trips and essential travel only
Limit car rides to only what is necessary during recovery. Short, direct trips reduce stress and lower the chance of injury. Avoid extra outings or long drives until your vet says it is safe. Always plan your route to avoid sudden stops or sharp turns. Watch your dog for signs of pain or discomfort during travel. If you notice any problems, contact your vet before your next trip.
By following these comfort and safety tips, you help your dog heal and feel secure every time you travel together after surgery.
Monitoring after travel: rehabbing your dog after surgery
When you get home, you help your dog heal. Watching your dog closely helps you find problems early. This support is important after surgery. Use these tips to check swelling, pain, and daily habits for two weeks.
Swelling and healing trends
Swelling happens after surgery. You need to know what is normal. Most swelling gets better in a few days. Look for changes every day. Compare what you see to the table below.
Characteristic | Normal Swelling | Abnormal Swelling |
|---|---|---|
Duration | Goes away in 2–4 days | Lasts more than a week |
Appearance | Mild, soft, near incision | Red, hot, pus, or spreading |
Firmness | Some firmness, soft edges | Hard, lump, or getting bigger |
Discomfort | Minor, easy to handle | Bad pain, dog cries or limps |
Action | Gets better with rest | Needs vet help |
If you see red, hot, pus, or swelling that gets worse after three days, call your vet.
Internal link to: post-op dog swelling normal or not
Pain and mobility setbacks
Your dog may move slowly while healing. Some stiffness is normal. Sudden changes can mean trouble. Use this table to know when to call your vet.
Mobility Issue | Signs to Watch For |
|---|---|
Wobbly or unsteady | Needs help standing or walking after a few hours |
Limping or stiffness | Gets worse after moving, or dog will not use a leg |
Sudden pain | Yelping, shaking, or falls down |
Lower activity if you see limping or new pain. Call your vet if your dog cannot stand or shows signs of paralysis.
Daily checklist for first 2 weeks
A daily routine helps you watch your dog’s healing. Use this checklist every day:
Check the incision for swelling, redness, or pus.
Track pee amount and color.
Watch for trouble pooping or diarrhea.
Give fresh water often and add water to food if needed.
Notice any vomiting, diarrhea, or not wanting to eat.
Watch for shaking, yelping, or sudden changes in behavior.
Write down any changes that last more than one or two days.
Sample daily schedule:
Morning: Short leash potty break, give medicine, offer a small meal.
Midday: Check wound, quiet rest, refill water.
Evening: Short bathroom walk, feed dinner, quiet cuddle time.
Red/Yellow/Green Safety Check Table
Color | Sign(s) | What it may mean | What to do now |
|---|---|---|---|
🟢 Green | Mild swelling, fading color, eating/drinking, calm behavior | Normal healing | Track with photo or tape |
🟡 Yellow | Swelling same or worse, limping, mild redness, low energy | Possible problem | Call your vet for advice |
🔴 Red | Sudden not using a leg, more swelling after day three, pus/bleeding, collapse, bad pain | Emergency or infection | Contact vet or get help fast |
Watch for red signs. Acting early helps your dog heal better after surgery.
You can help your dog get in the car after surgery by getting a safe ramp, harness, and crate ready. Always bring your dog’s medicine, keep the recovery suit clean, and look at the incision often. Watch for signs like swelling, pain, or changes in how your dog acts. Handle your dog gently and help them stay calm while riding in the car. Make sure to visit your vet often to help your dog heal and stop problems before they start.
Key Step | What to Do |
|---|---|
Preparation | Bring medicine, fit harness, set up crate |
During Travel | Check the incision, give water |
Post-Arrival Care | Look at the wound, give quiet time |
FAQ
How soon can you help your dog get in the car after surgery?
You can help your dog get in the car once your vet says it is safe. Most dogs need at least a few hours to recover from anesthesia. Always follow your vet’s advice before moving your dog.
What if your dog refuses to use the ramp after surgery?
You can encourage your dog with gentle praise and treats. Let your dog sniff and explore the ramp first. If your dog still refuses, ask a helper to guide them or contact your vet for more tips.
Can you lift your dog into the car alone?
You should not lift a dog over 50 pounds by yourself. Use a ramp or ask someone to help. Lifting alone can hurt you or your dog, especially after surgery.
How do you keep your dog from licking the incision during travel?
You can use a recovery suit or a soft cone to block access to the incision. Check your dog often during travel. If your dog tries to lick, gently redirect them and secure the protective gear.
