
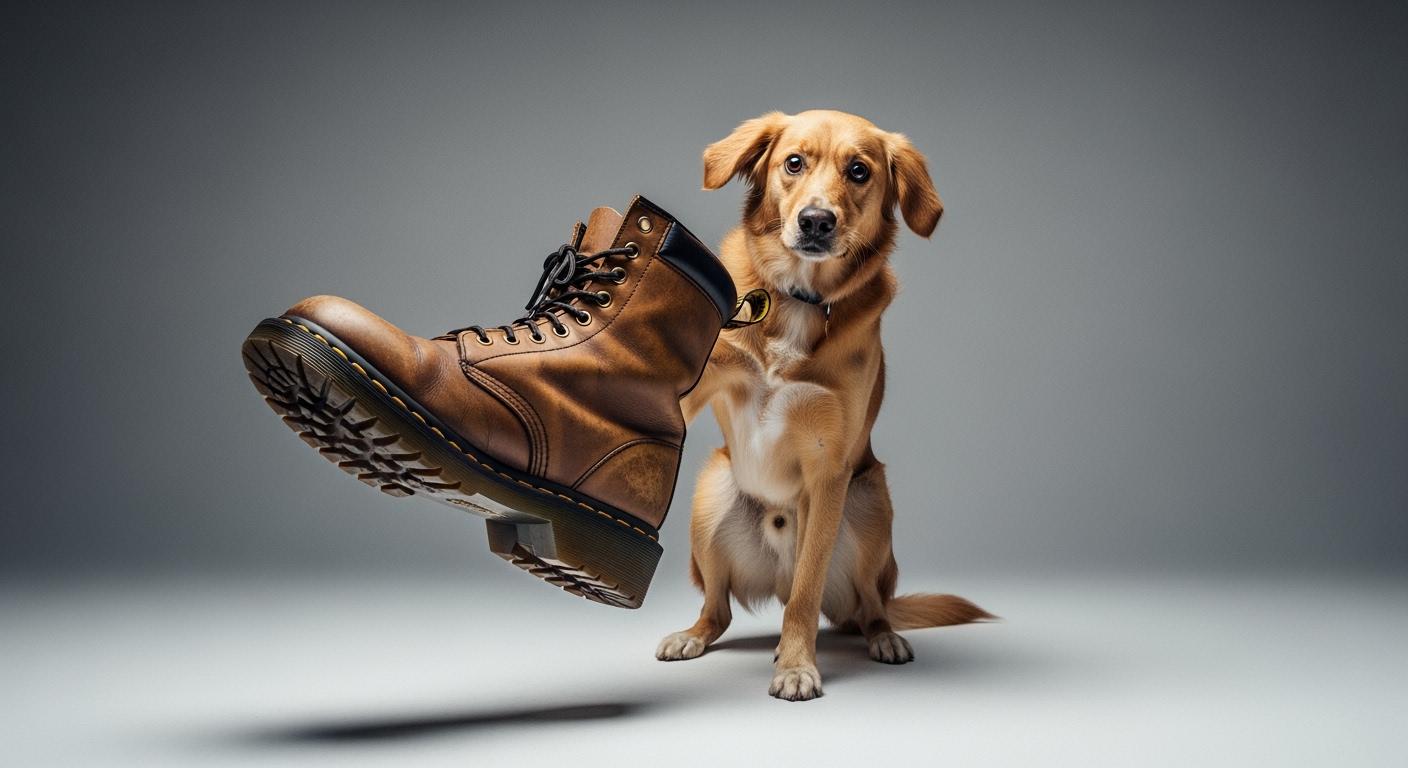
A dog with hind-end weakness takes a few steps in a no-knuckling boot. The first three strides look fine. By the tenth, the rear paw scrapes the ground again. The boot has twisted outward. The heel has crept up inside the pocket.
This is not a sizing error. It is a structural mismatch between the boot’s internal geometry and the mechanics of a paw that cannot self-correct its position mid-stride. The fit problem most owners blame on strap tightness usually traces back to three design-level failures: a heel pocket that cannot resist rearward paw migration, a toe-lift cord that shifts off-center as the boot rotates, and a sole weight that compounds the very weakness the boot was meant to offset.
A knuckling brace for paw support and walking stability only works when the internal structure guides the paw through each step rather than passively wrapping it. Understanding where that guidance breaks down is the difference between a boot that restores stride and one that makes dragging worse.
Note: If the dog shows swelling, open wounds, or sudden loss of mobility, stop using the boot and seek veterinary care. A no-knuckling boot is a support tool, not a replacement for medical assessment of the underlying condition.
Where a No-Knuckling Boot Loses Its Grip on a Weak Rear Paw
A weak rear paw cannot fire the small muscles that keep the paw oriented flat during swing phase. The dog places the paw, but the moment it lifts off, the paw folds under. The boot is supposed to prevent that fold. It often does not. Why the boot fails is rarely about tightness. It is about how three design features interact with a paw that offers no active correction.
Heel slip: the failure that starts everything else
The heel pocket grips a healthy paw because the dog presses down into it. A weak rear paw does not press. It rests. Without that downward force, friction between the inner lining and the heel drops sharply. The paw creeps backward inside the boot with each step.
The causal chain from there is fast. Heel slip shifts the paw rearward inside the boot. The toe-lift cord, originally aligned with the paw centerline, now sits behind the center of mass. Lift force pulls the boot backward rather than upward. The boot rotates as the dog tries to compensate. The paw lands on the side edge instead of the pad. Toes drag. Support collapses.
That chain is visible within a five-minute walk. After ten minutes of walking on flat ground, check whether the boot has rotated more than half an inch from its starting orientation. If the toe-lift cord no longer tracks straight up the front of the paw, heel slip has already begun. If the heel has risen visibly inside the pocket, the chain is well underway. A deep, close-contour heel pocket resists this migration. A shallow or wide one accelerates it.
Boot rotation redirects lift where it cannot help
Rotation is the second failure in sequence, but it creates its own separate problems. When the boot twists outward, the toe-lift cord pulls at an angle instead of straight up. The paw gets diagonal force rather than vertical lift. The outer edge of the paw takes more ground contact, while the inner edge gets none.
This uneven pressure distribution creates hot spots under the straps. The dog compensates by altering hip and knee motion upstream, which can shift strain to joints that were not the original problem. A centered toe-lift cord anchored to a non-rotating boot body keeps the lift vector vertical. An off-center cord turns the boot into a lever working against the dog’s natural stride.
Check rotation by marking the front center of the boot with a small piece of tape before a walk. After ten minutes, compare where the mark sits relative to the paw centerline. Deviation beyond roughly half an inch means the boot’s anti-rotation structure — heel pocket contour, strap width, sole tread pattern — is not holding against the dog’s gait pattern.
The Structural Details That Make or Break Rear Paw Support
Not all no-knuckling boots fail the same way. Some fail at the heel. Some fail under load. Some fail slowly as the lining breaks down. The structural details that separate a boot that helps from one that hinders are measurable, observable, and tied to specific design choices.
Sole weight: the overlooked load on an already-fatigued leg
A boot adds weight to the very end of the limb. Every extra gram at the paw requires disproportionately more effort from the hip flexors and hamstrings to initiate swing phase. A heavy sole, especially a thick rubber tread block, turns the boot into a pendulum weight that the dog must drag forward before it can even begin to lift.
The problem compounds with distance. A dog that walks adequately for two minutes in a heavy boot may start dragging by minute eight, not because the underlying condition worsened, but because the muscles fatigued under the added distal load. A lightweight, flexible sole reduces the work demand at the point of highest leverage against the dog. This is the same mechanical principle that makes a no-knuckling boot brace with a thin, responsive sole feel almost unnoticeable to a dog while a thick, rigid sole fights every step.
After a walk, lift the boot in your hand. Does it feel heavier than you expected? Now imagine that weight at the end of a leg that already fatigues easily. If the dog’s stride visibly worsens after five to ten minutes of wear, sole weight is a likely contributor.
Paw cup depth and toe-up alignment
A shallow paw cup lets the paw fold under — the exact motion the boot is supposed to prevent. The depth of the cup from heel to toe determines whether the paw stays flat inside the boot or collapses forward. The toe-up cord must lift along the paw’s centerline. If the cord attachment sits even slightly off-center, each lift cycle applies a rotational moment to the boot.
These are product-level design decisions, not subtle manufacturing variations. A boot built with a deep, rigid cup and a centered cord channel tends to track straighter through a walk than a boot with a flexible, shallow cup and a side-attached cord. The difference shows up in the dog’s gait within the first few minutes of wear.
The daily-use fit guide for dog foot braces covers how to verify that the toe-up cord sits centered when the dog is standing square and that the paw cup does not collapse under body weight during movement.
| Performance Difference | Why It Matters on a Weak Rear Paw | Main Limitation |
|---|---|---|
| Close heel hold vs. loose heel pocket | Heel migration inside the boot triggers rotation, misaligned lift, and paw-edge landing — the full failure chain starts here | A very close heel hold may not accommodate dogs with irregular heel shapes or prior scar tissue; fit must be checked per session |
| Lightweight flexible sole vs. heavy rigid sole | Distal weight amplifies the work demand on already-fatigued hip flexors; a heavy sole can make knuckling visibly worse after 5-10 minutes of walking | Ultra-thin soles trade some ground protection for weight savings; rough-terrain use may need a middle-ground tread design |
| Centered toe-lift cord vs. off-center attachment | Off-center lift introduces rotational moment; the boot twists, pressure redistributes unevenly, and the paw lands on its side edge | A centered cord requires the boot body to resist rotation structurally — if the boot still twists, centering the cord alone will not fix it |
| Deep paw cup vs. shallow cup | A shallow cup allows the paw to fold forward inside the boot; a deep cup constrains that collapse and guides the paw flat through the full stride cycle | Excessively deep cups on very small dogs may limit natural toe splay; depth must match paw proportions |
| Soft padded lining vs. hard inner seam | Seam friction against a paw with reduced circulation and sensation can create skin breakdown that goes unnoticed until the boot is removed | Padding adds bulk; the boot’s external dimensions may need to account for internal lining thickness in the size selection |
| Dorsal paw protection vs. open-top design | Dogs dragging the top of the paw across ground need a reinforced dorsal panel; an open-top boot trades that protection for breathability | Full dorsal coverage can trap heat; a ventilated dorsal panel balances scraping protection against heat buildup |
Pass signals after a 10-minute walk:
- Paw pad contacts ground before toes on each step
- Toe-lift cord remains centered on the front of the paw
- Heel stays seated at the same depth as when the boot was first put on
- Skin indentations from straps fade within 20-30 minutes of removal
Fail signals:
- Toes drag or the boot twists more than half an inch from center
- Heel rides up visibly inside the pocket
- Paw lands on the side edge of the boot rather than the sole
- Dog trips, freezes mid-walk, or refuses to move forward
- Deep strap lines, nail splaying, or swelling persist after boot removal
When This Boot Type Is Not the Right Support Path
A no-knuckling boot is part of a support plan, not the entire plan. Its design assumes the dog retains at least partial weight-bearing capacity and enough proprioceptive feedback to respond to guided paw placement. When those prerequisites are absent, the boot cannot deliver on its structural promise regardless of how well it fits.
Non-weight-bearing dogs and complete paw drop
If the dog cannot bear any weight on the rear leg — the paw dangles, the dog hops on three legs, or the leg buckles the moment it touches ground — a no-knuckling boot will not restore function. The boot’s toe-lift mechanism requires the paw to reach the ground. Without ground contact, there is nothing to lift from. The boot becomes a passive cover on a non-functional limb.
Dogs with early neurologic knuckling signs that still maintain partial weight-bearing are better candidates than dogs with complete hind-end paralysis. If the paw does not reach the ground at all during a walk attempt, the support equation needs to shift toward lift harnesses or slings, not boots.
Open wounds and unstable skin conditions
A boot that encloses the paw traps moisture, friction, and bacteria against the skin. If the dog has open sores, active dermatitis, or wounds on the paw or lower leg, enclosing them inside a boot can accelerate breakdown rather than protect. The same inner lining that prevents rubbing on healthy skin becomes an occlusive barrier over compromised tissue.
Check the paw before every wear session. Run your fingers between the toes, over the dorsal surface, and around the heel. Any open wound, bleeding, or weeping skin means the boot should not go on until the skin is intact. The rear paw drag and skin safety considerations for foot braces apply every single time — not just at the first fitting.
When a different support tool may be safer
Some rear-leg weakness patterns call for a lift harness or sling rather than a no-knuckling boot. If the dog needs help with the entire rear end — hips, stifles, and paws together — a boot addresses only the distal end of the problem. A lift harness redistributes load across the torso and lets the handler assist the whole hindquarter. A toe-up control brace for safer walking may offer a different balance of lift and ground clearance depending on the dog’s specific gait deficit.
The right tool is the one that matches the support deficit. If the deficit is purely paw-level — toes fold, paw drags, but the dog bears weight and walks — the boot is a strong candidate. If the deficit extends up through the stifle and hip, or if the dog cannot stand unaided, the boot alone is not enough.
Disclaimer: The fit checks and pass/fail signals described here assume a short-coated dog where skin marks and boot rotation are visually observable. Double-coated breeds may show subtler rub marks that require hand-checking under the coat rather than visual inspection. Dogs with angular limb deformities or very deep chests may have leg conformation that falls outside the body profile this boot type was patterned for — the heel hold and toe-lift alignment checks may not catch every pressure point on these dogs, and a custom-fit approach may be warranted.
FAQ
Why does the rear paw still drag even with the boot properly strapped on?
Dragging that persists after strapping usually comes from heel slip inside the pocket, not strap tension. When the heel migrates rearward, the toe-lift cord pulls from behind the paw’s center of mass. The boot lifts backward instead of upward. Tightening the straps harder cannot fix this — it only increases pressure without solving the migration. The fix is a deeper heel pocket that resists rearward paw movement during swing phase.
How quickly should I expect to see improvement after fitting the boot?
If the boot fits correctly, the paw should land pad-first within the first few strides. If it does not, and the fail signals listed above appear consistently after five to ten minutes of walking, the fit is not working. Improvement is not something that builds over days — correct fit either guides the paw or it does not, and that is observable within a single walk session.
Can a boot that is too heavy actually make knuckling worse?
Yes. A heavy sole adds distal weight that the hip flexors and hamstrings must overcome to initiate each swing phase. On a weak rear leg, that added work demand can fatigue the muscles faster than walking without the boot. If the dog’s stride visibly degrades after several minutes — more scraping, more tripping — the boot’s weight is likely exceeding the leg’s remaining strength. A lighter sole with a thinner, more flexible tread tends to reduce this effect.
When should the boot be removed and a different approach tried?
Stop use and reassess if: the boot rotates more than half an inch from center during a walk, the heel climbs visibly inside the pocket, the dog refuses to walk or freezes, skin marks do not fade within 30 minutes of removal, or toes swell or nails spread. Any of these signals means the boot is not matching the paw’s support needs and continuing use risks compounding the problem rather than solving it.
