
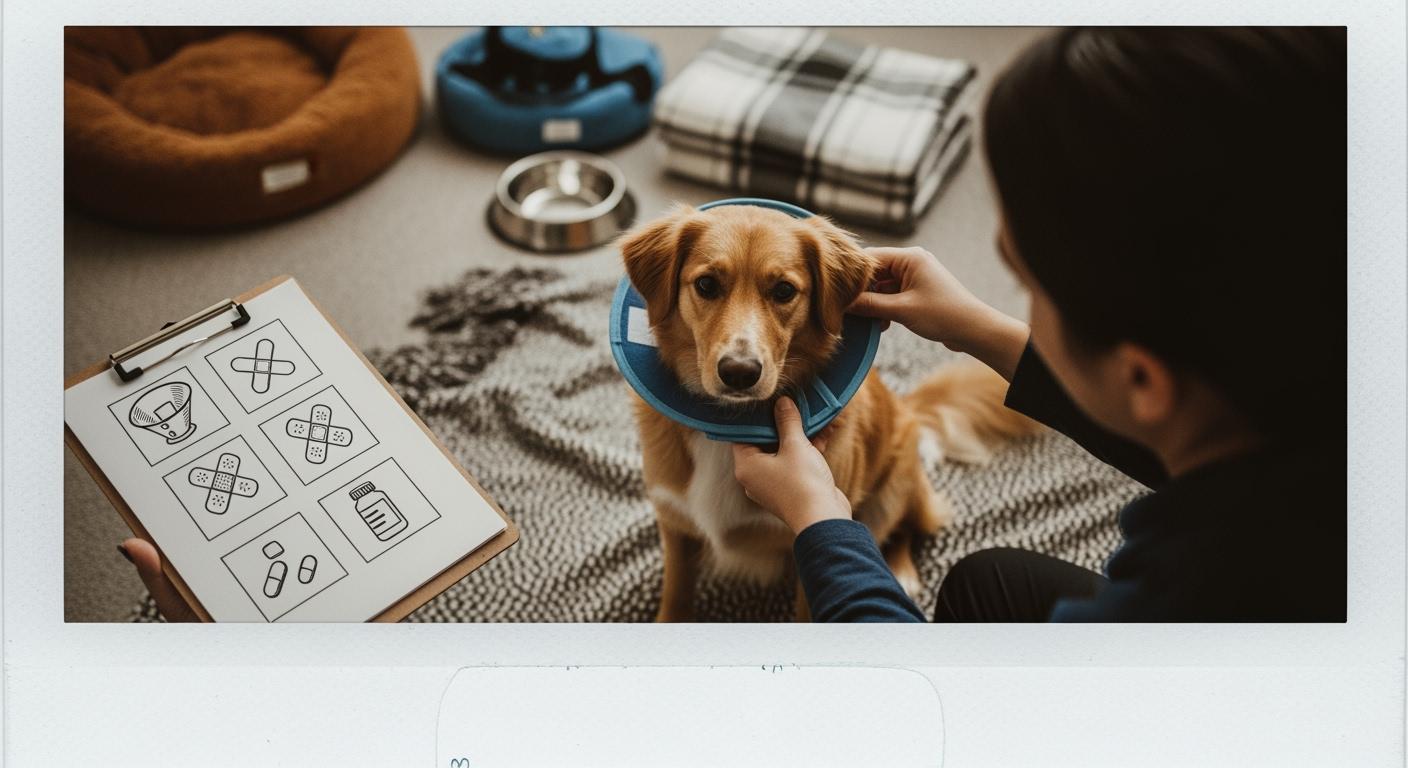
A dog post-op care checklist helps you record what changes from one check to the next after your dog comes home. It does not replace the discharge instructions from your veterinarian, and it should not be used to diagnose complications. Use it to track eating, drinking, bathroom habits, activity limits, incision appearance, licking, behavior, and the fit of any recovery gear your veterinary team has approved.
Follow your veterinarian’s discharge plan first. Surgery type, medication schedules, movement restrictions, wound-care instructions, and follow-up timing vary from dog to dog.
Before Your Dog Comes Home
Review the discharge sheet before leaving the clinic. Ask the veterinary team to clarify anything that is not written clearly, especially instructions that affect movement, incision protection, medication, feeding, or bathroom breaks.
- Record the name and phone number of the clinic that performed the procedure.
- Confirm the medication schedule exactly as prescribed.
- Write down the allowed activity level and any restrictions on stairs, jumping, running, or leash walks.
- Confirm whether the incision should be covered and which protective device is appropriate.
- Ask whether a sling, lift harness, brace, recovery suit, sleeve, or collar is permitted for your dog’s procedure.
- Record the follow-up appointment and any instructions for sending photos or updates.
Set Up a Controlled Recovery Area
Prepare a quiet area where your dog can rest without needing to cross slippery floors or move around furniture. The setup should match the movement restrictions provided by your veterinary team.
- Use stable, dry bedding that is easy to inspect and clean.
- Place water, food, and the resting area where your dog can reach them without unnecessary movement, unless the discharge instructions say otherwise.
- Block access to stairs, furniture, and high-traffic areas when required.
- Add secure non-slip surfaces on the approved route to the bathroom area.
- Keep other pets and excited visitors away during controlled rest.
For a more detailed review of household movement risks, see dog stairs after surgery: safety, red flags, and practical controls.
First Night Home Checklist
The first evening is mainly about following the discharge plan and recording changes. Do not introduce a new recovery device, change a medication schedule, or expand activity without approval.
| Check | What to Record |
|---|---|
| Alertness and behavior | Note whether your dog responds normally to you and whether behavior is different from what the clinic told you to expect. |
| Eating and drinking | Record what was offered and what your dog actually consumed, following the clinic’s feeding instructions. |
| Urination and stool | Record whether your dog urinated or passed stool and whether assistance was needed. |
| Incision area | Record visible changes without touching, cleaning, or treating the area unless instructed. |
| Licking or chewing | Note any attempt to reach the incision or surrounding area. |
| Movement | Record whether your dog could stand, settle, and complete approved bathroom movement. |
| Recovery gear | Check whether approved gear stayed in position and whether it contacted the incision. |
Morning and Evening Dog Post-Op Care Checklist
Use the same sequence each time so changes are easier to compare. A morning-and-evening log is a practical recordkeeping format, but the frequency of wound checks, gear removal, medication, and movement should follow the veterinary discharge plan.
| Daily Check | Morning | Evening | Notes or Changes |
|---|---|---|---|
| Behavior and responsiveness | □ | □ | |
| Eating and drinking | □ | □ | |
| Urination and stool | □ | □ | |
| Incision appearance | □ | □ | |
| Licking or chewing attempts | □ | □ | |
| Activity restriction followed | □ | □ | |
| Approved gear position and condition | □ | □ | |
| Skin under or beside gear | □ | □ | |
| Medication completed as prescribed | □ | □ |
Take notes in plain language. For example: “ate half the usual amount,” “needed support to stand,” or “new red mark under the rear strap.” A dated photo can also help the veterinary team compare visible changes when they ask for an update.
How to Check Recovery Gear Without Turning This Into a Product Test
Recovery suits, sleeves, collars, slings, harnesses, and braces have different purposes. Use only the type approved for the procedure and follow the instructions supplied by the veterinary team and the specific device manufacturer.
- Confirm that the device is the one approved for the current recovery plan.
- Check that it does not press directly on the incision unless the veterinary team specifically instructed otherwise.
- Look for slipping, twisting, rolling edges, damp fabric, trapped hair, or loose fasteners.
- Inspect the visible contact areas for new redness, swelling, hair loss, broken skin, or moisture.
- Observe whether movement becomes more difficult, uneven, or distressed after the device is applied.
- Pause use and contact the veterinary team or qualified fitter when the device cannot stay in position, causes skin damage, or changes movement unexpectedly.
For detailed skin-contact checks, see how to identify rubbing and pressure problems under dog braces.
Match the Support Tool to the Task
This table is a category guide, not a recommendation for a specific dog. The veterinary team should determine whether a device is suitable after a particular procedure.
| Task | Possible Support Category | Daily Check |
|---|---|---|
| Limit access to an incision | Veterinary-approved collar, recovery suit, or protective sleeve | Coverage, moisture, edge pressure, and whether the dog can still reach the area |
| Assist an approved bathroom trip | Support sling or lift harness | Strap position, incision clearance, balance, and skin contact |
| Provide prescribed joint support | Joint-specific brace | Alignment, migration, pressure marks, and changes in gait |
| Reduce slipping on an approved route | Stable non-slip surface | Surface movement, moisture, and whether the route remains clear |
Incision and Lick-Protection Checks
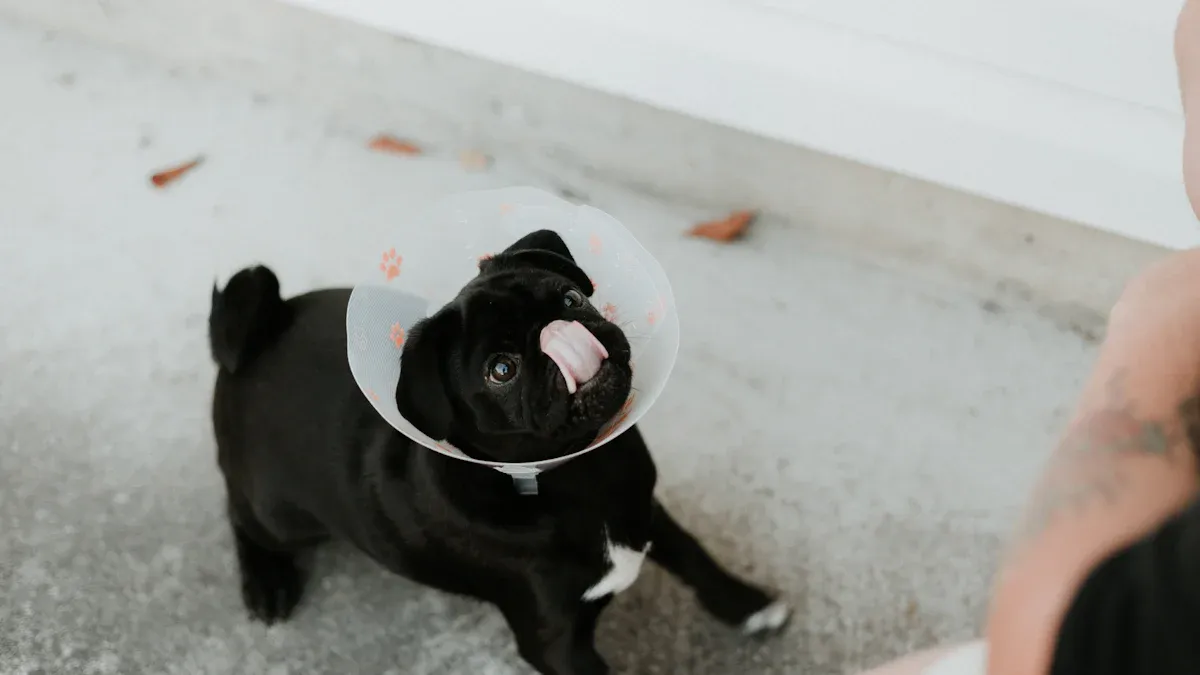
Do not clean, cover, apply ointment, or expose the incision based on a general online schedule. Follow the instructions for the specific procedure. Your role at home is to observe, prevent unauthorized licking or chewing, and report changes.
- Check whether the protective device still blocks access to the intended area.
- Record new bleeding, discharge, odor, opening, or a visible increase in redness or swelling.
- Keep the device and surrounding material dry according to the veterinary instructions.
- Do not place bitter sprays, antiseptics, dressings, or topical products near the incision unless approved.
- Contact the clinic when the dog repeatedly defeats the protective device or the device itself irritates the surgical area.
For a focused discussion of repeated licking, see what to check when a dog keeps licking an incision.
Movement and Bathroom Assistance
Movement rules vary widely after surgery. Follow the prescribed leash, confinement, weight-bearing, and bathroom instructions. Do not use a sling or harness to increase activity beyond the approved plan.
- Prepare the route before moving your dog.
- Keep the trip within the movement limits given by the clinic.
- Check that any approved support device clears the incision and does not twist under load.
- Stop if your dog suddenly cannot bear weight, collapses, becomes distressed, or moves worse than before.
- Record whether urination or stool occurred and whether support was needed.
When to Contact the Veterinary Team
Contact the clinic that performed the procedure when you see a new or worsening change, especially when it differs from the discharge instructions. Seek urgent veterinary help for severe or rapidly developing changes.
- The incision opens, bleeds repeatedly, produces discharge, or develops a strong odor.
- Redness or swelling expands noticeably.
- Your dog suddenly cannot stand, cannot walk, collapses, or loses movement that was present earlier.
- Your dog has repeated vomiting, cannot keep water down, or shows a major change in responsiveness.
- Breathing appears difficult or behavior changes suddenly and significantly.
- The dog continues to reach the surgical area despite the approved protective device.
- Recovery gear causes broken skin, persistent pressure marks, swelling, or an unexpected change in gait.
- You are unsure whether a change is expected for the specific procedure.
A limp or movement change after surgery can have several explanations and should be interpreted in context. See dog limping after surgery: expected soreness versus changes to report for additional observation boundaries.
Printable 14-Day Recovery Log
Use as many rows as your veterinarian recommends. The number of days in this table is for recordkeeping only; it is not a universal recovery timeline.
| Day / Date | Eating and Drinking | Bathroom | Incision / Licking | Movement | Gear and Skin | Questions for Vet | |
|---|---|---|---|---|---|---|---|
| 1 | |||||||
| 2 | |||||||
| 3 | |||||||
| 4 | |||||||
| 5 | |||||||
| 6 | |||||||
| 7 | |||||||
| 8 | |||||||
| 9 | |||||||
| 10 | |||||||
| 11 | |||||||
| 12 | |||||||
| 13 | |||||||
| 14 |
FAQ
How often should I use this dog post-op care checklist?
Use it on the schedule that helps you follow the discharge instructions and report changes accurately. Morning and evening entries are a practical format for many households, but medication, incision, gear, and movement checks must follow the schedule provided for your dog.
Can I decide which recovery gear my dog needs from this checklist?
No. The checklist helps you inspect approved gear and record what happens during use. It does not determine whether a recovery suit, collar, sleeve, sling, harness, or brace is appropriate after a particular surgery.
Should recovery gear stay on all day and night?
Wear time depends on the device, procedure, skin condition, and veterinary instructions. Do not apply a universal schedule. Follow the approved wear plan and check the device and contact areas at the intervals you were given.
What should I do when something changes?
Write down when the change began, take a clear photo when appropriate, and contact the clinic that performed the procedure. Do not change medication, wound care, activity, or equipment use on your own unless the veterinary team instructs you to do so.
For broader recovery-support categories and links to condition-specific guidance, visit the Dog Recovery Support Guide.
